The Chicken Diaries #5 (Perpetual Chicken Roosting Machine & The Chicken Pyramid)

Dear Diary,

The girls and I are finally attempting to get up onto the roosting bar at night as our first port of call. The human has now spent over a month tucking us in each night. He stands there every night and watches us climb up the ramp to the roosting bar, assisting those that are having a few difficulties or give up and try to sleep on the ground. What he didn’t account for is that chickens think the end of the roosting bar near the wall is prime roosting real estate and thus the perpetual chicken roosting machine is created.

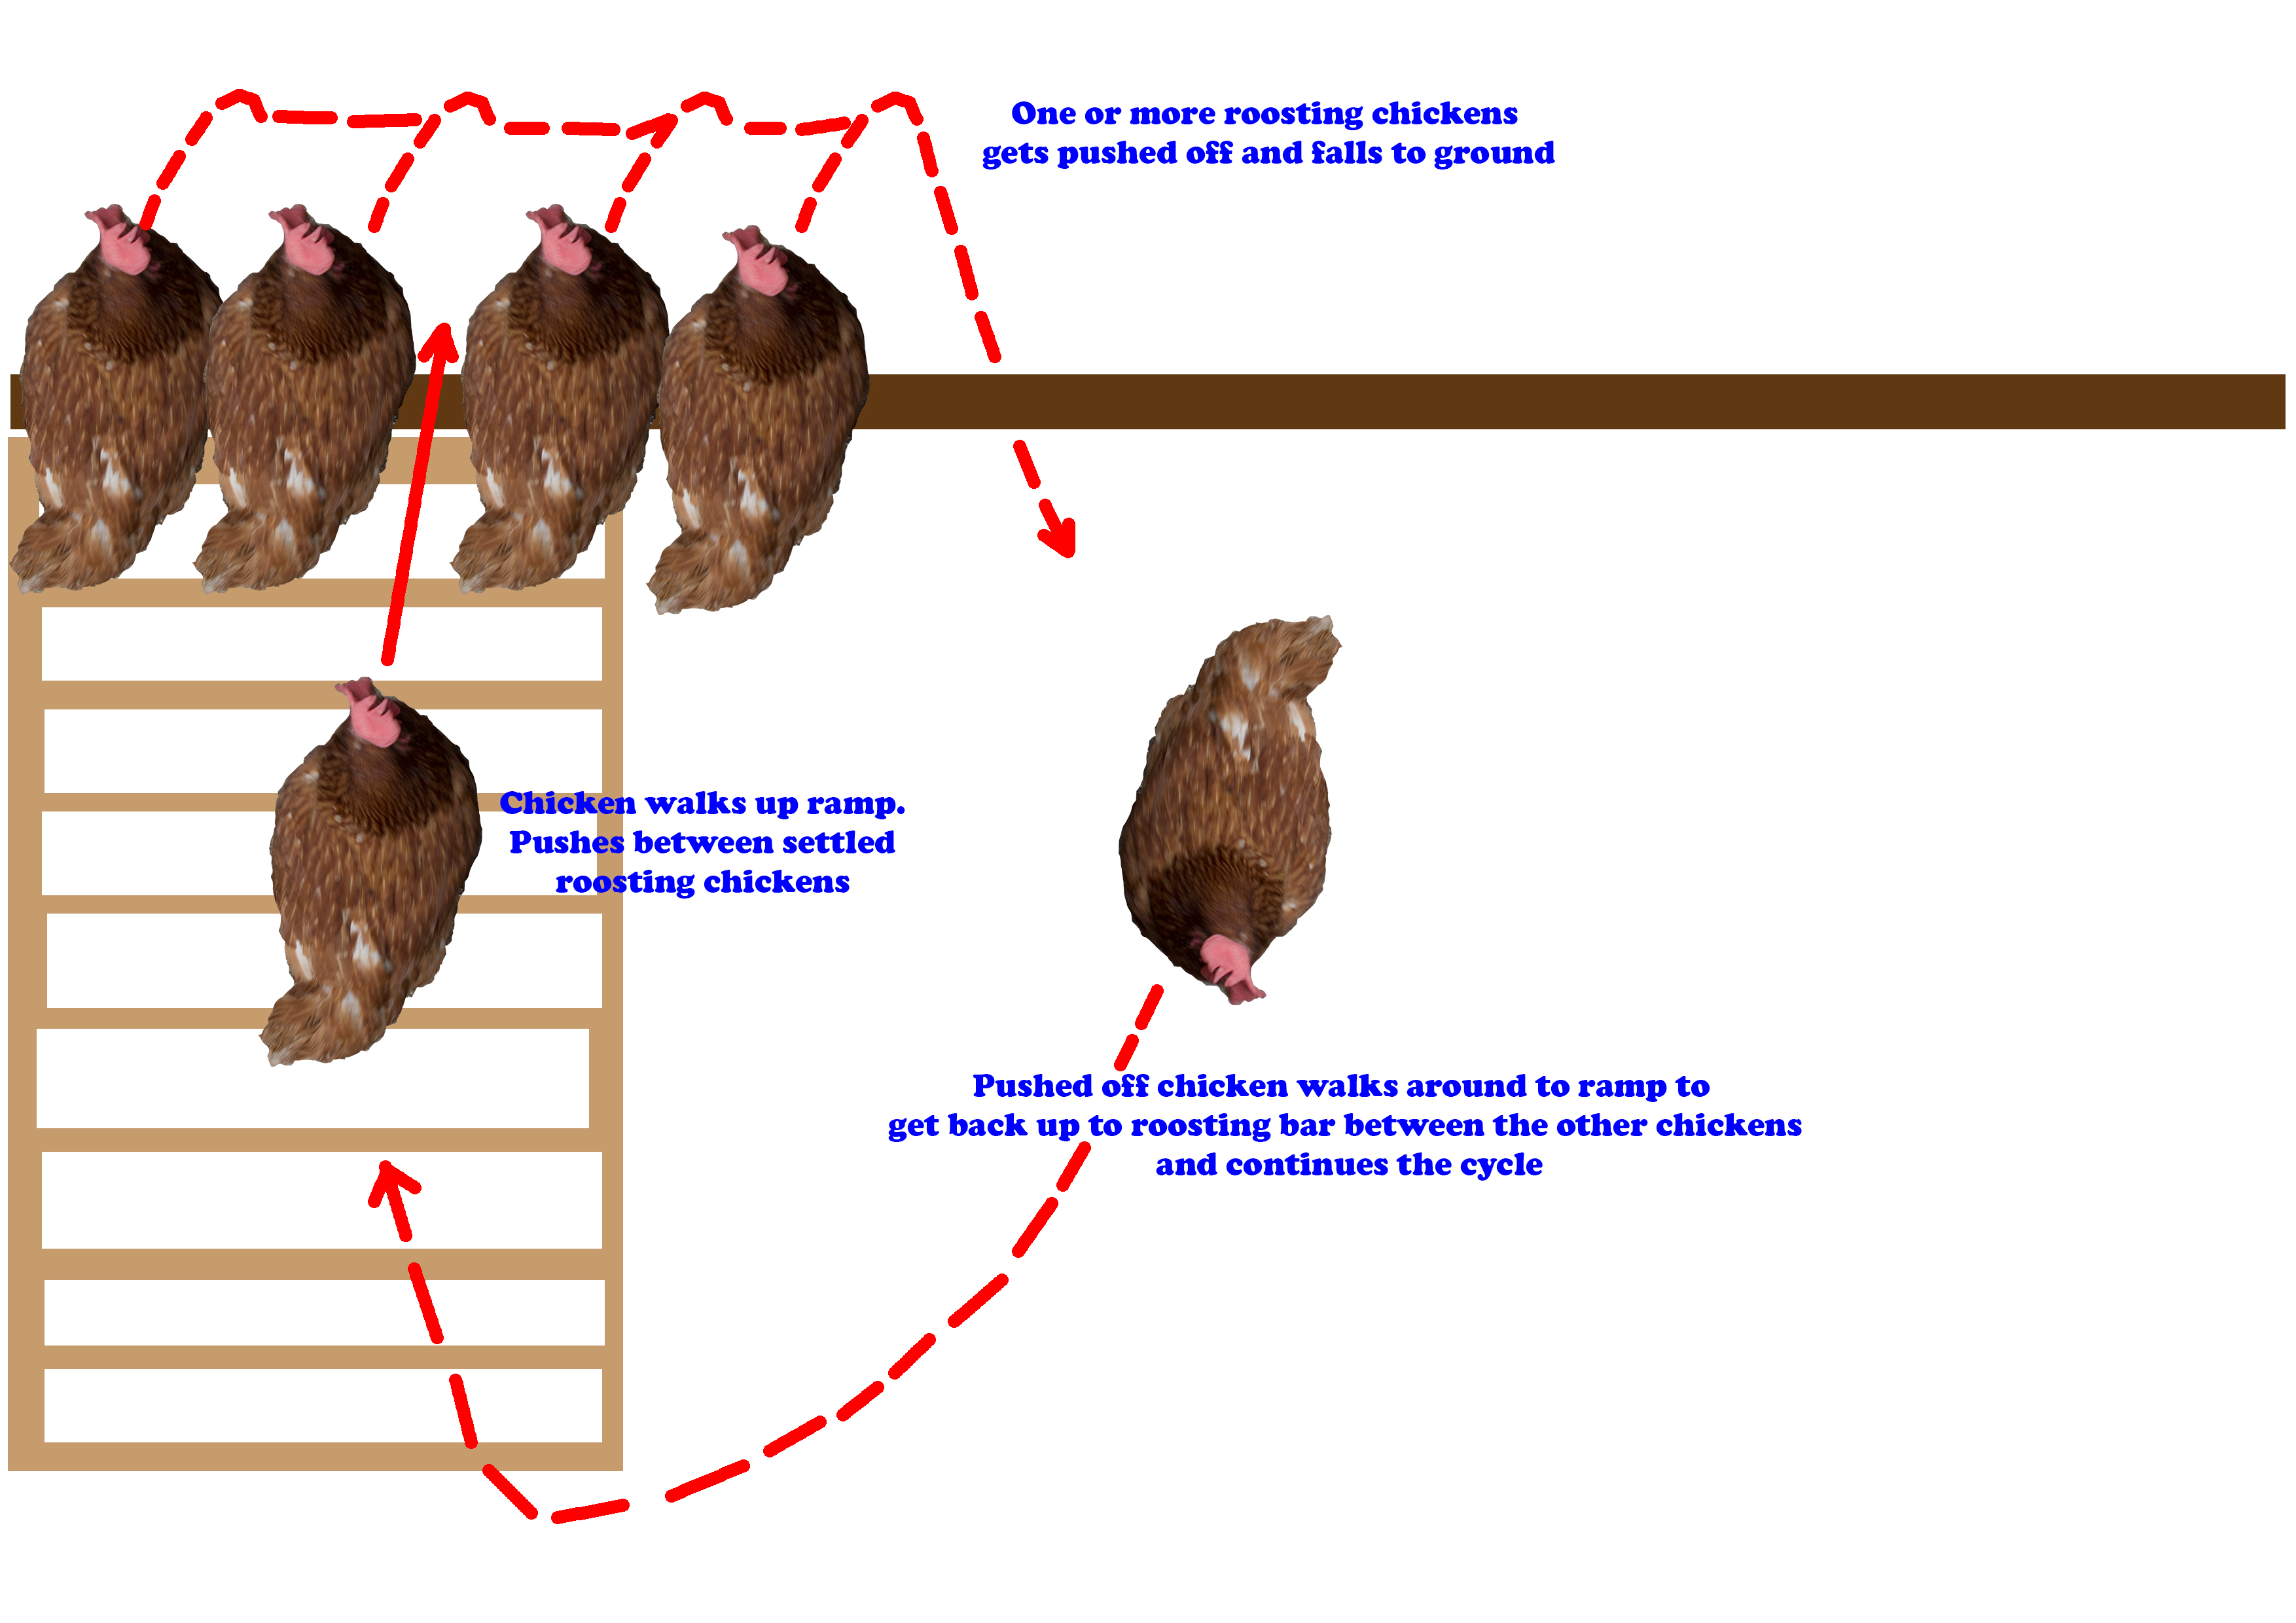
Here’s how it works. The first ladychicken goes up the ramp and sits by the wall. The second and third go up the ramp and sit beside her but don’t move along the roosting bar so when hens number four, five and six come up the ramp they simply try and squeeze in between the already squatting chickens. This results in one or more roosting chickens getting pushed off the roost. The intruding chicken sits down in the newly vacated spot and the fallen chickens make their way up the ramp and once again squeeze between the sitting chickens until one of them falls off.

This will repeat indefinitely until one of the fallen ladies decides to just squat down on the floor and sleep there.

Here’s a picture showing the endless loop.


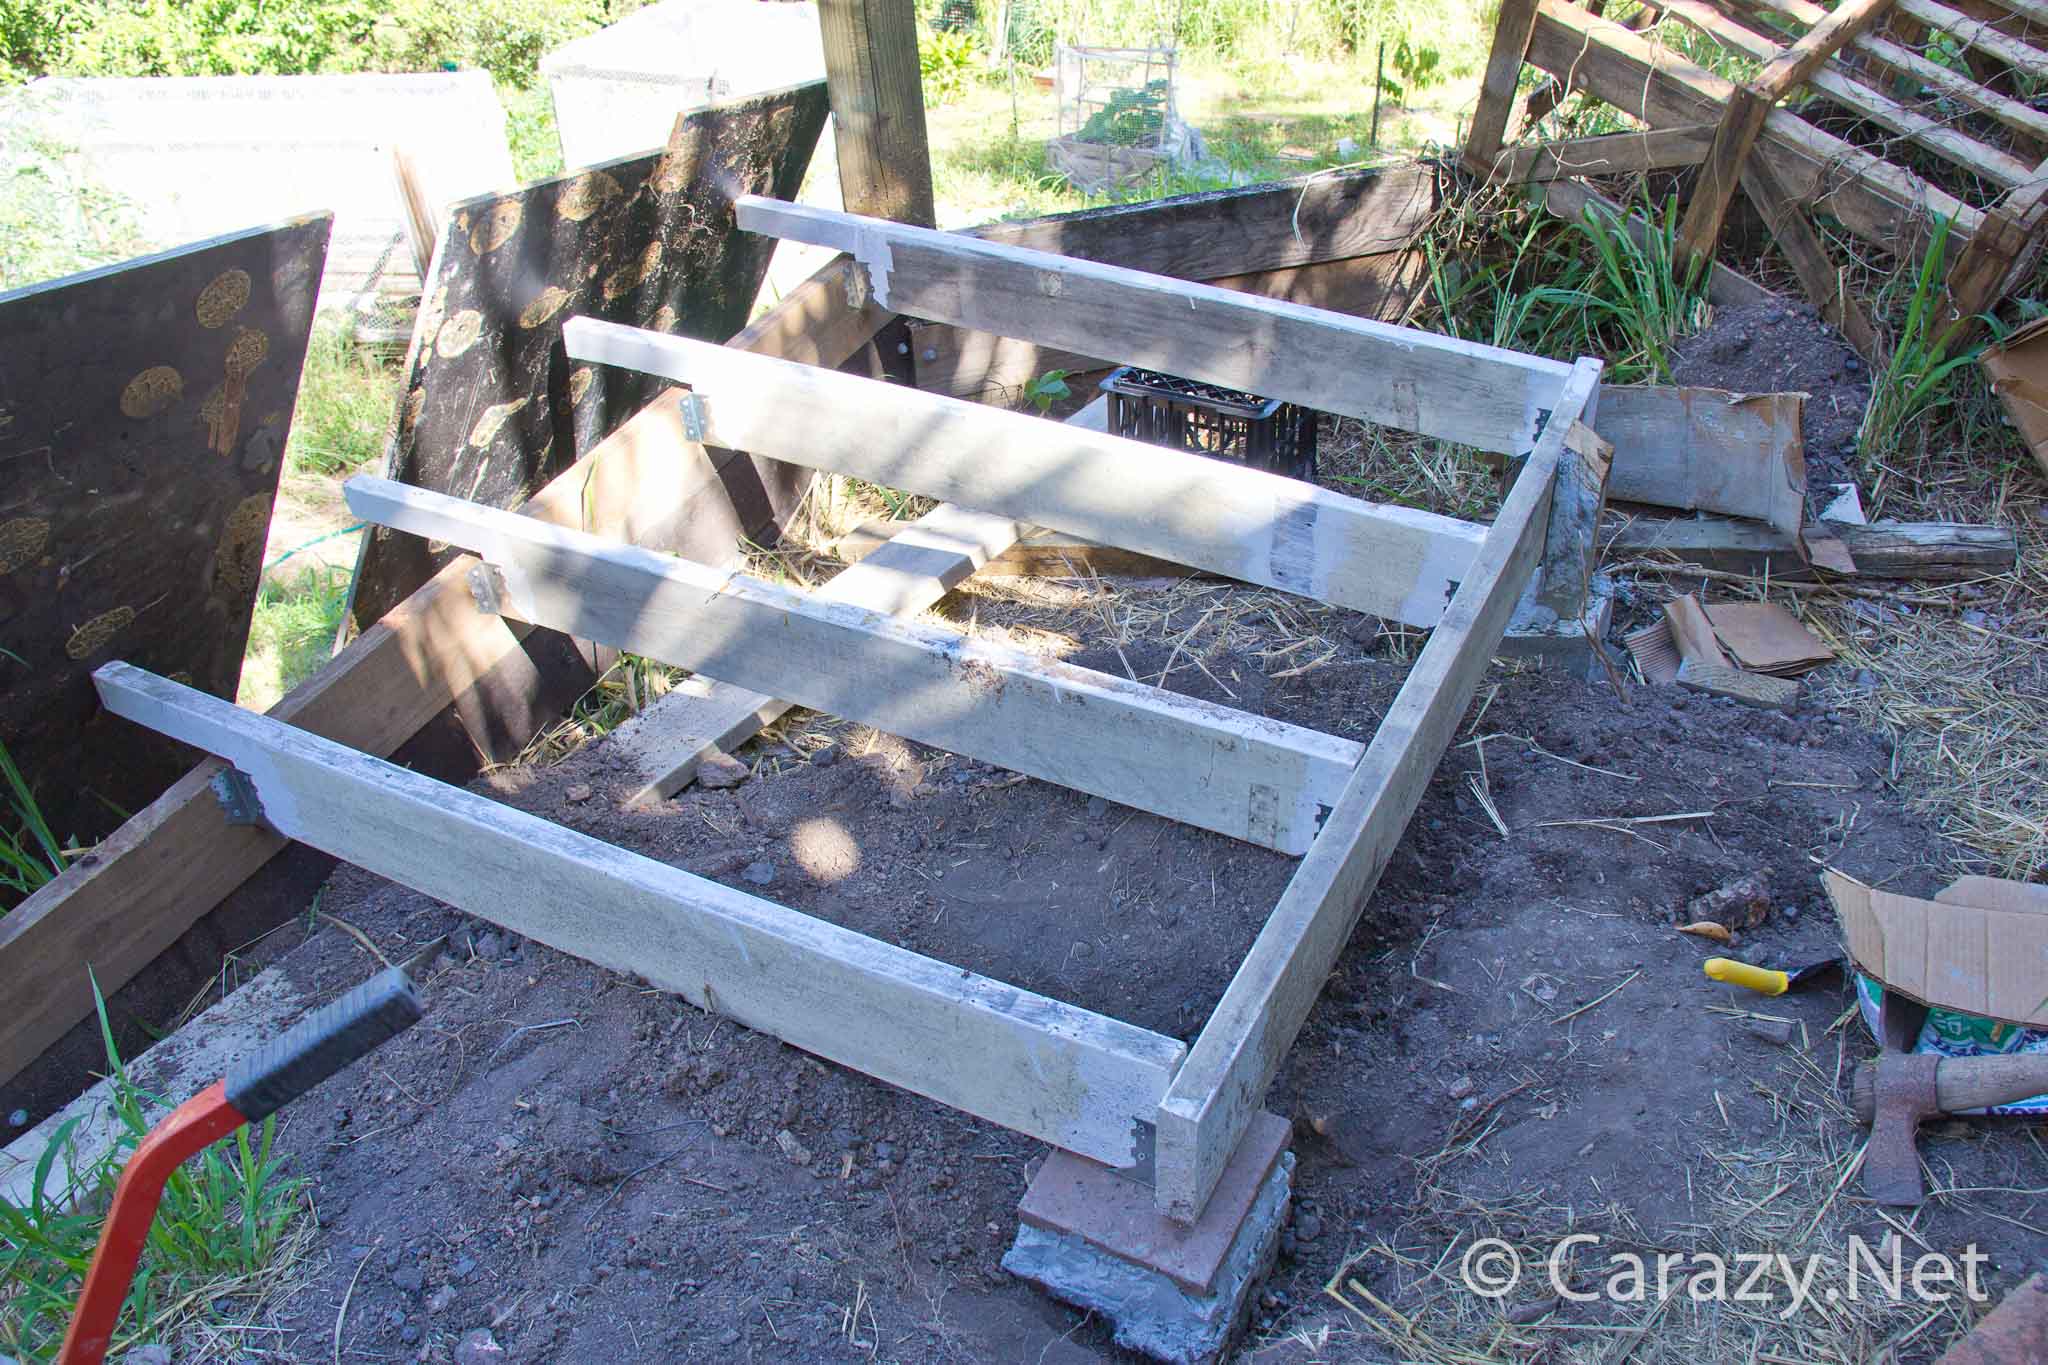
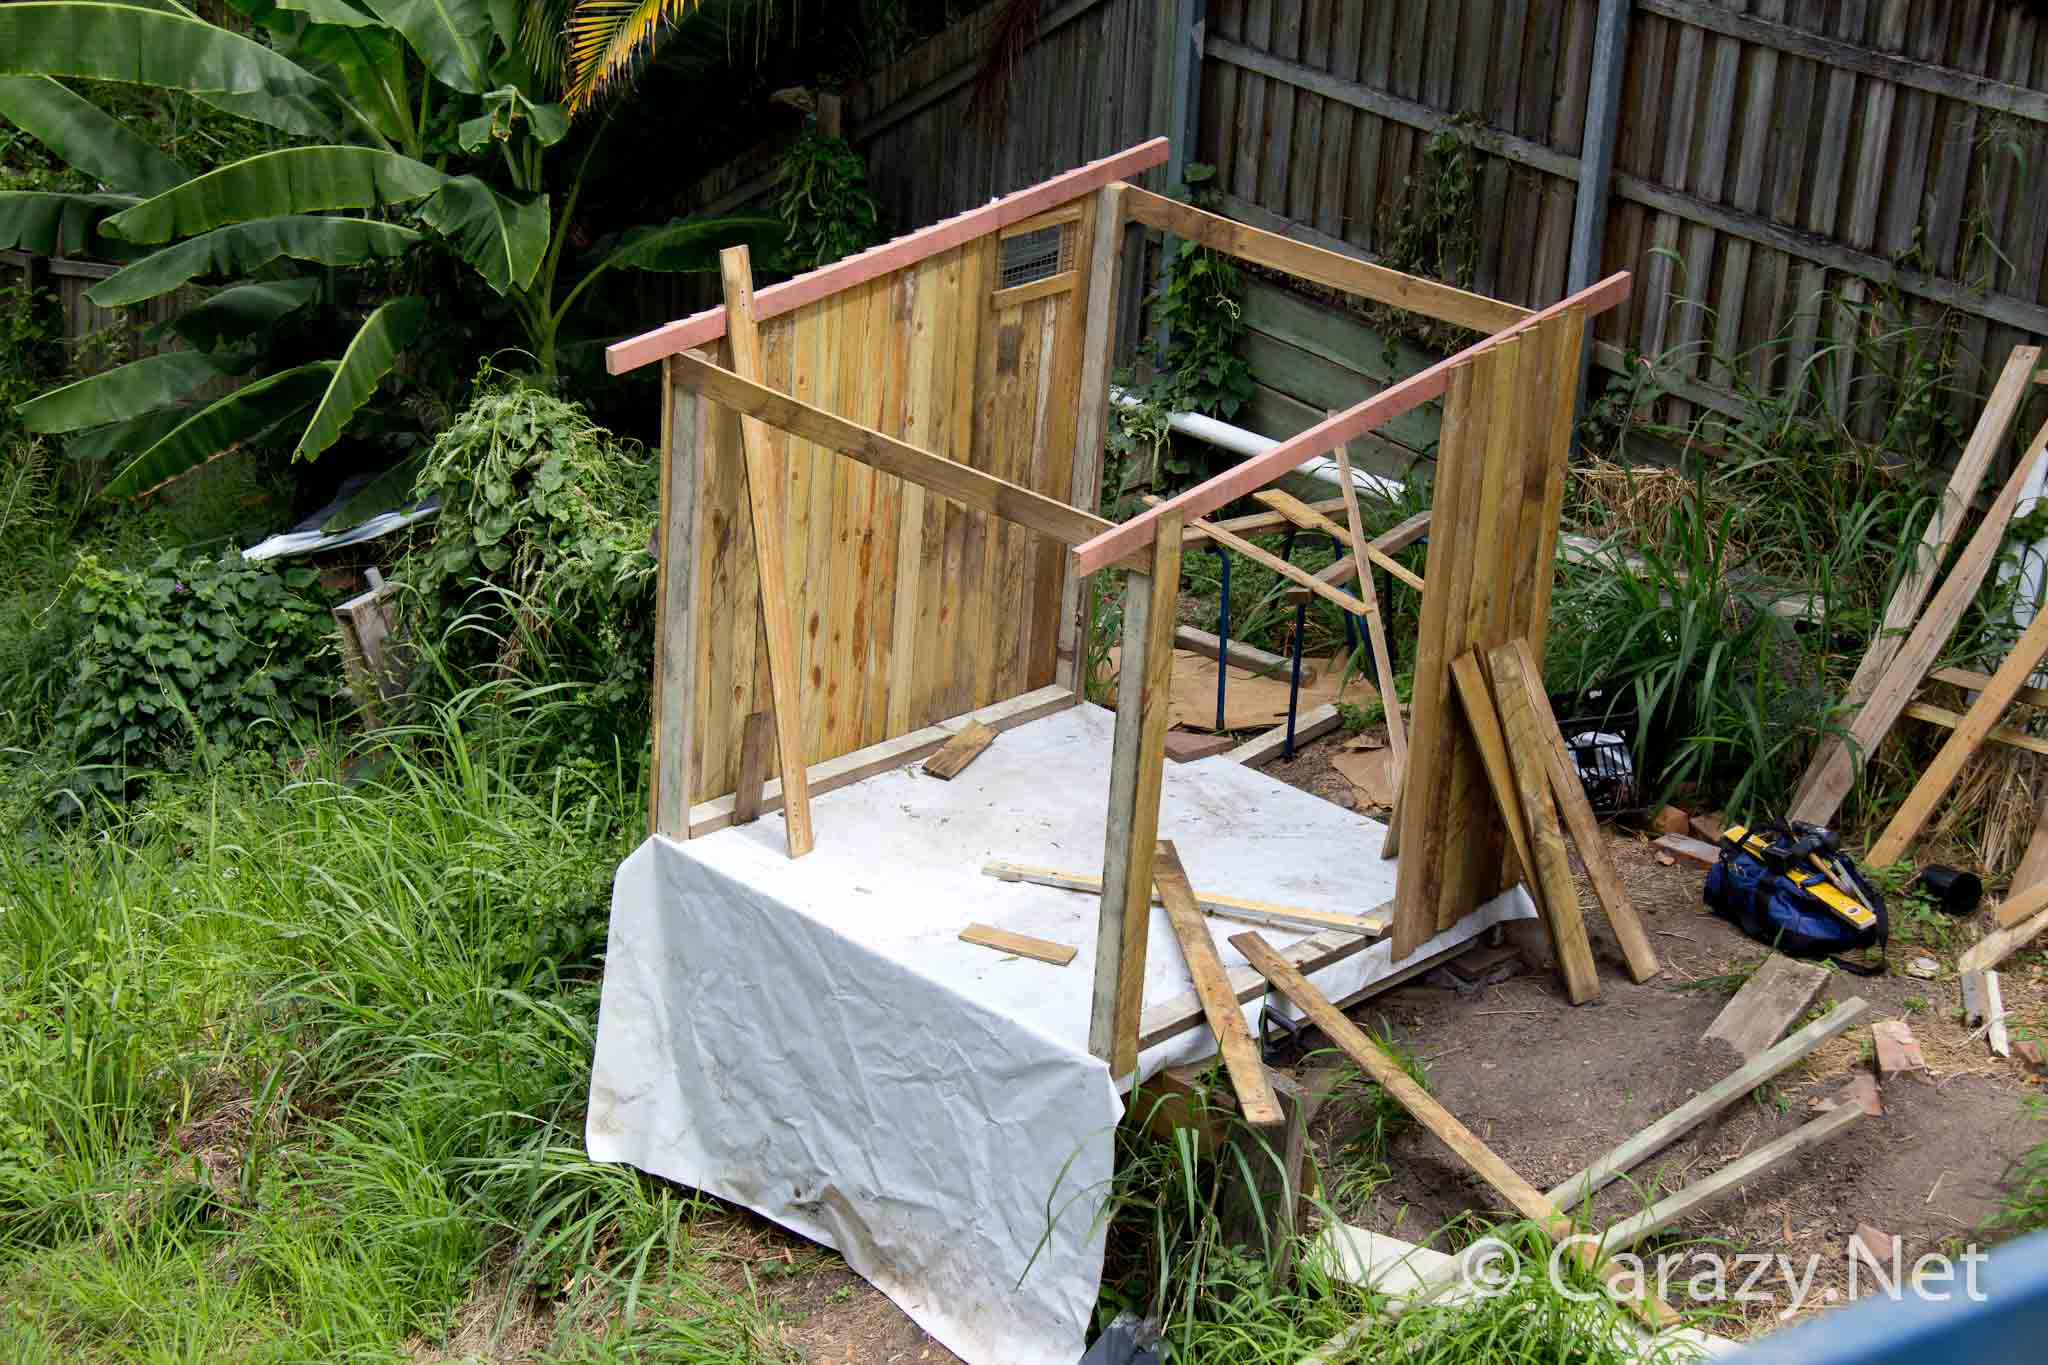
This however isn’t part of the human’s plan for us and continues every night despite the additional step he put along the whole length of the roosting bar so that we can feasibly jump onto any point of the roosting bar with ease. Obviously we choose not to.

The girls are determined to be near the ramp and wall to the point where we now form what the human calls the chicken pyramid. Whoever gets to the roosting bar first buckles in and tries to hold their ground. The incoming ladychickens however take this challenge beak on and just squat on the sitting chickens. Given that our balance has been improving over the weeks with all of Treatgod’s training this stacking effect at times can almost get to three chickens high! At this point we have achieved chicken pyramid status but it’s short lived as several of us tumble to the floor flapping frantically. Lucky for us the human has made the floor a 30cm (1 ft) thick layer of puffy sugar cane mulch so there’s no injuries other than pride.
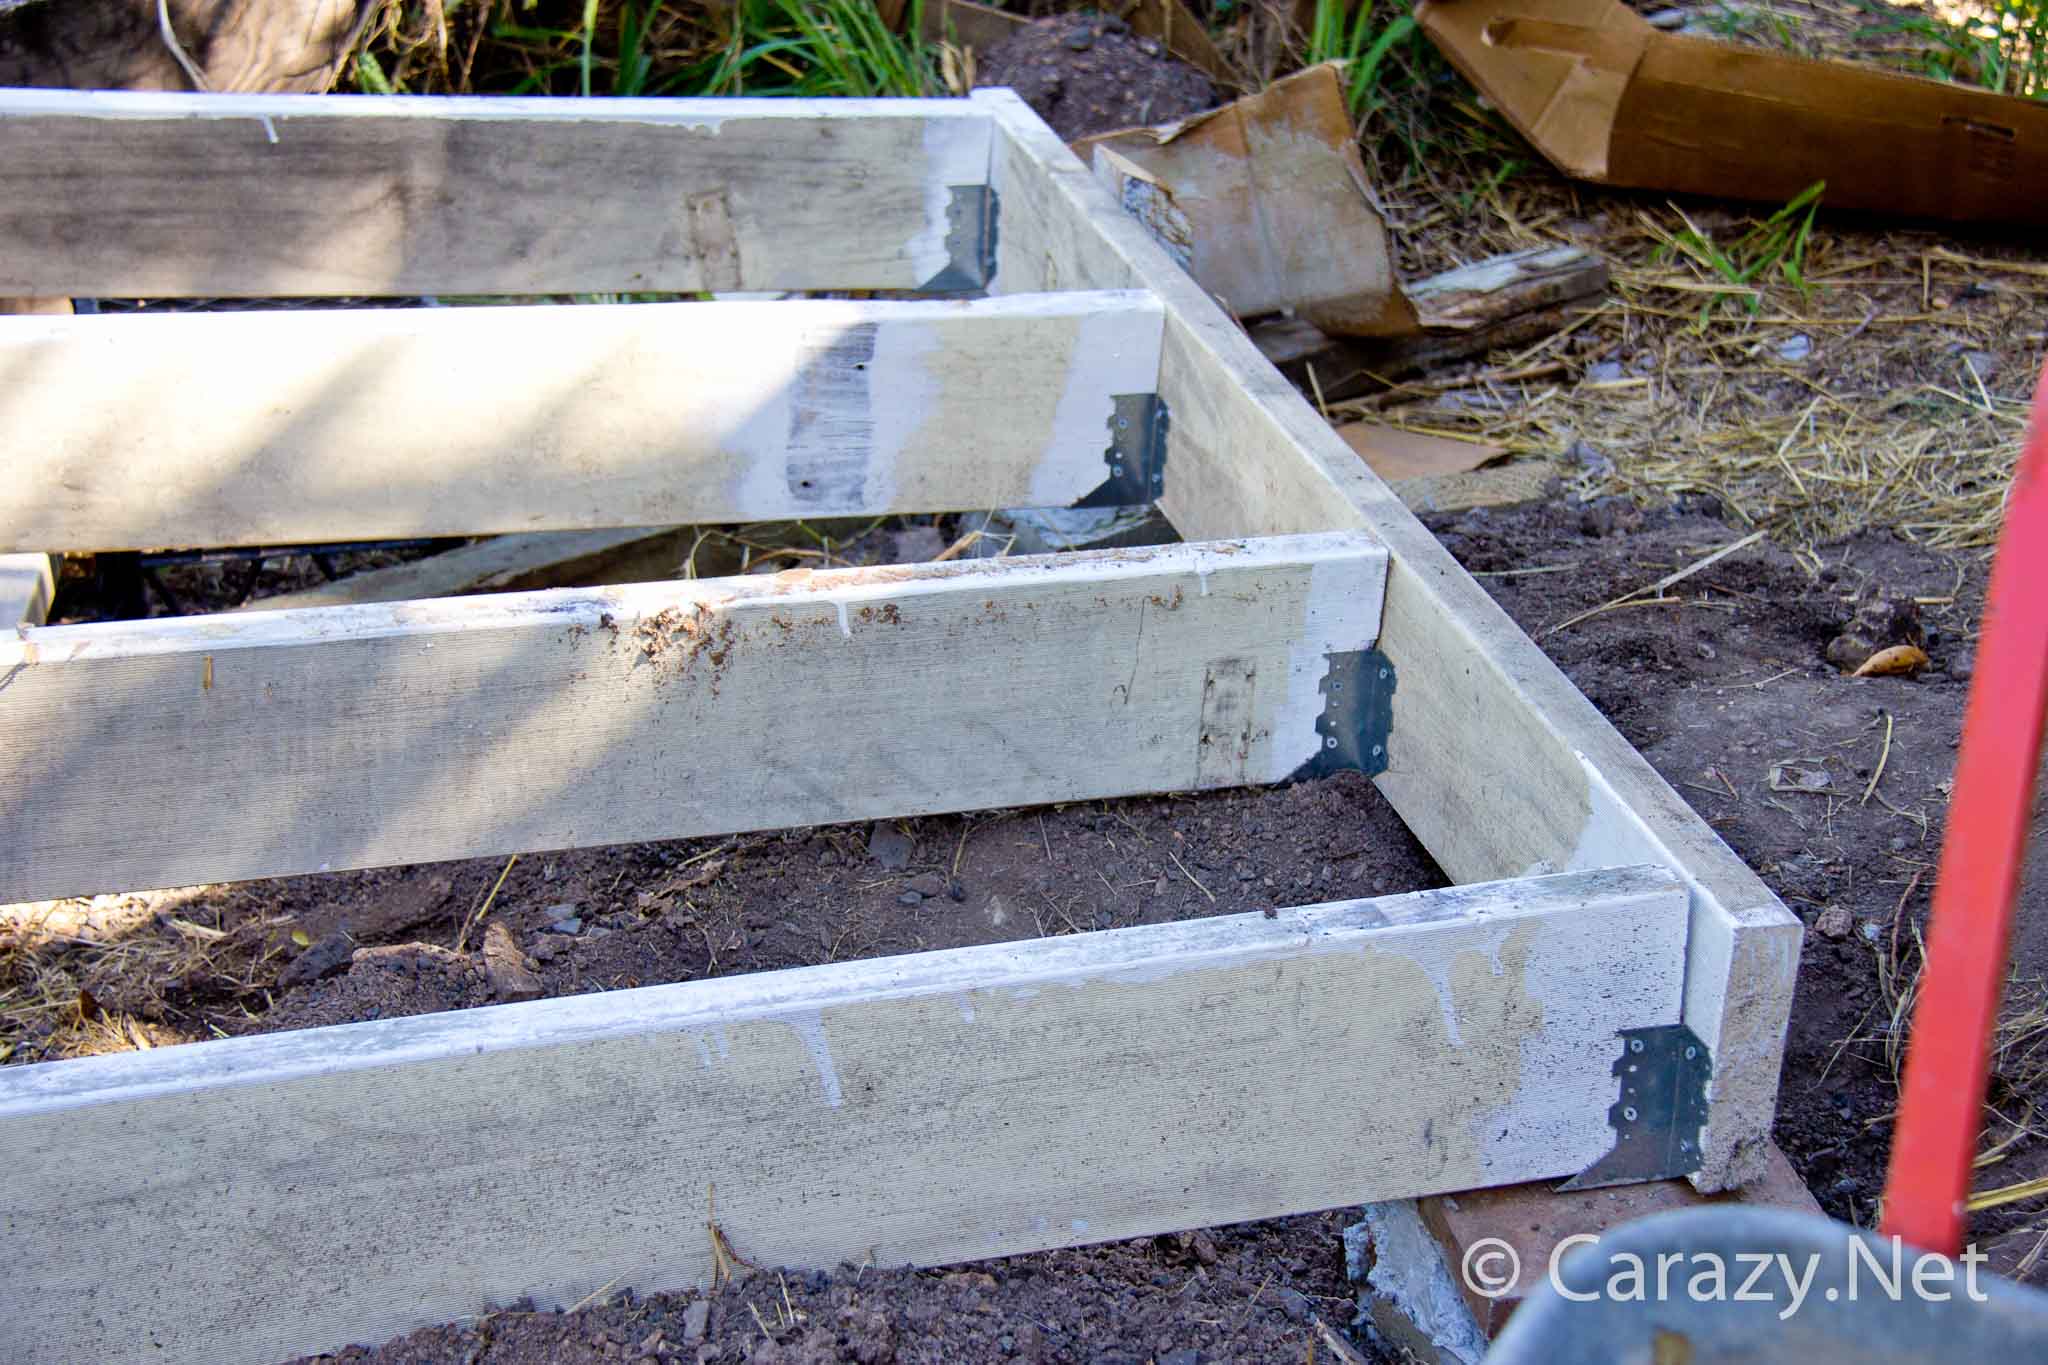
You can see in this photo from the last diary entry the additional step up bar the human built for us along the whole roosting bar as a ramp alternative. He even put an upright piece of wood to simulate a wall half way along the roosting bar thinking one of us would opt to roost up against it. Silly human!


This is what a chicken sitting on another chicken looks like. Now imagine with three chickens at the bottom and two on top them what a third level of chicken would look like and that’s what we almost achieved except one of the stunt chickens at the bottom couldn’t hold it together!

Chicken Sitting on a Chicken


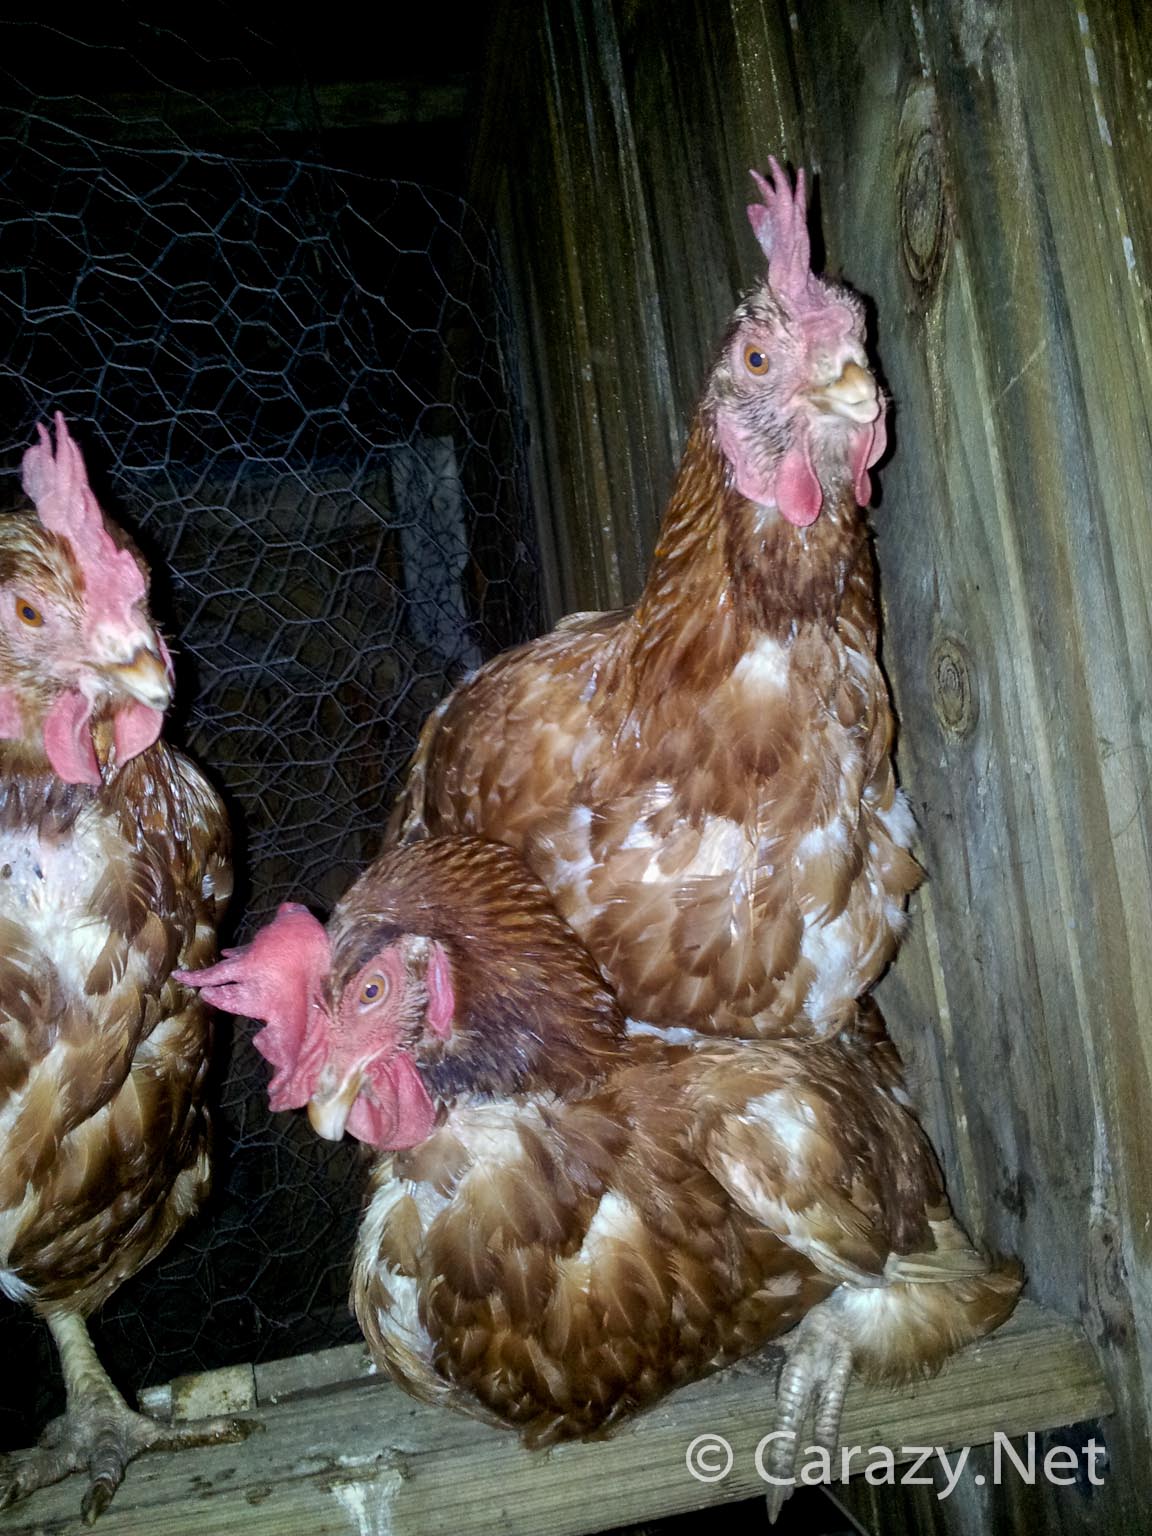
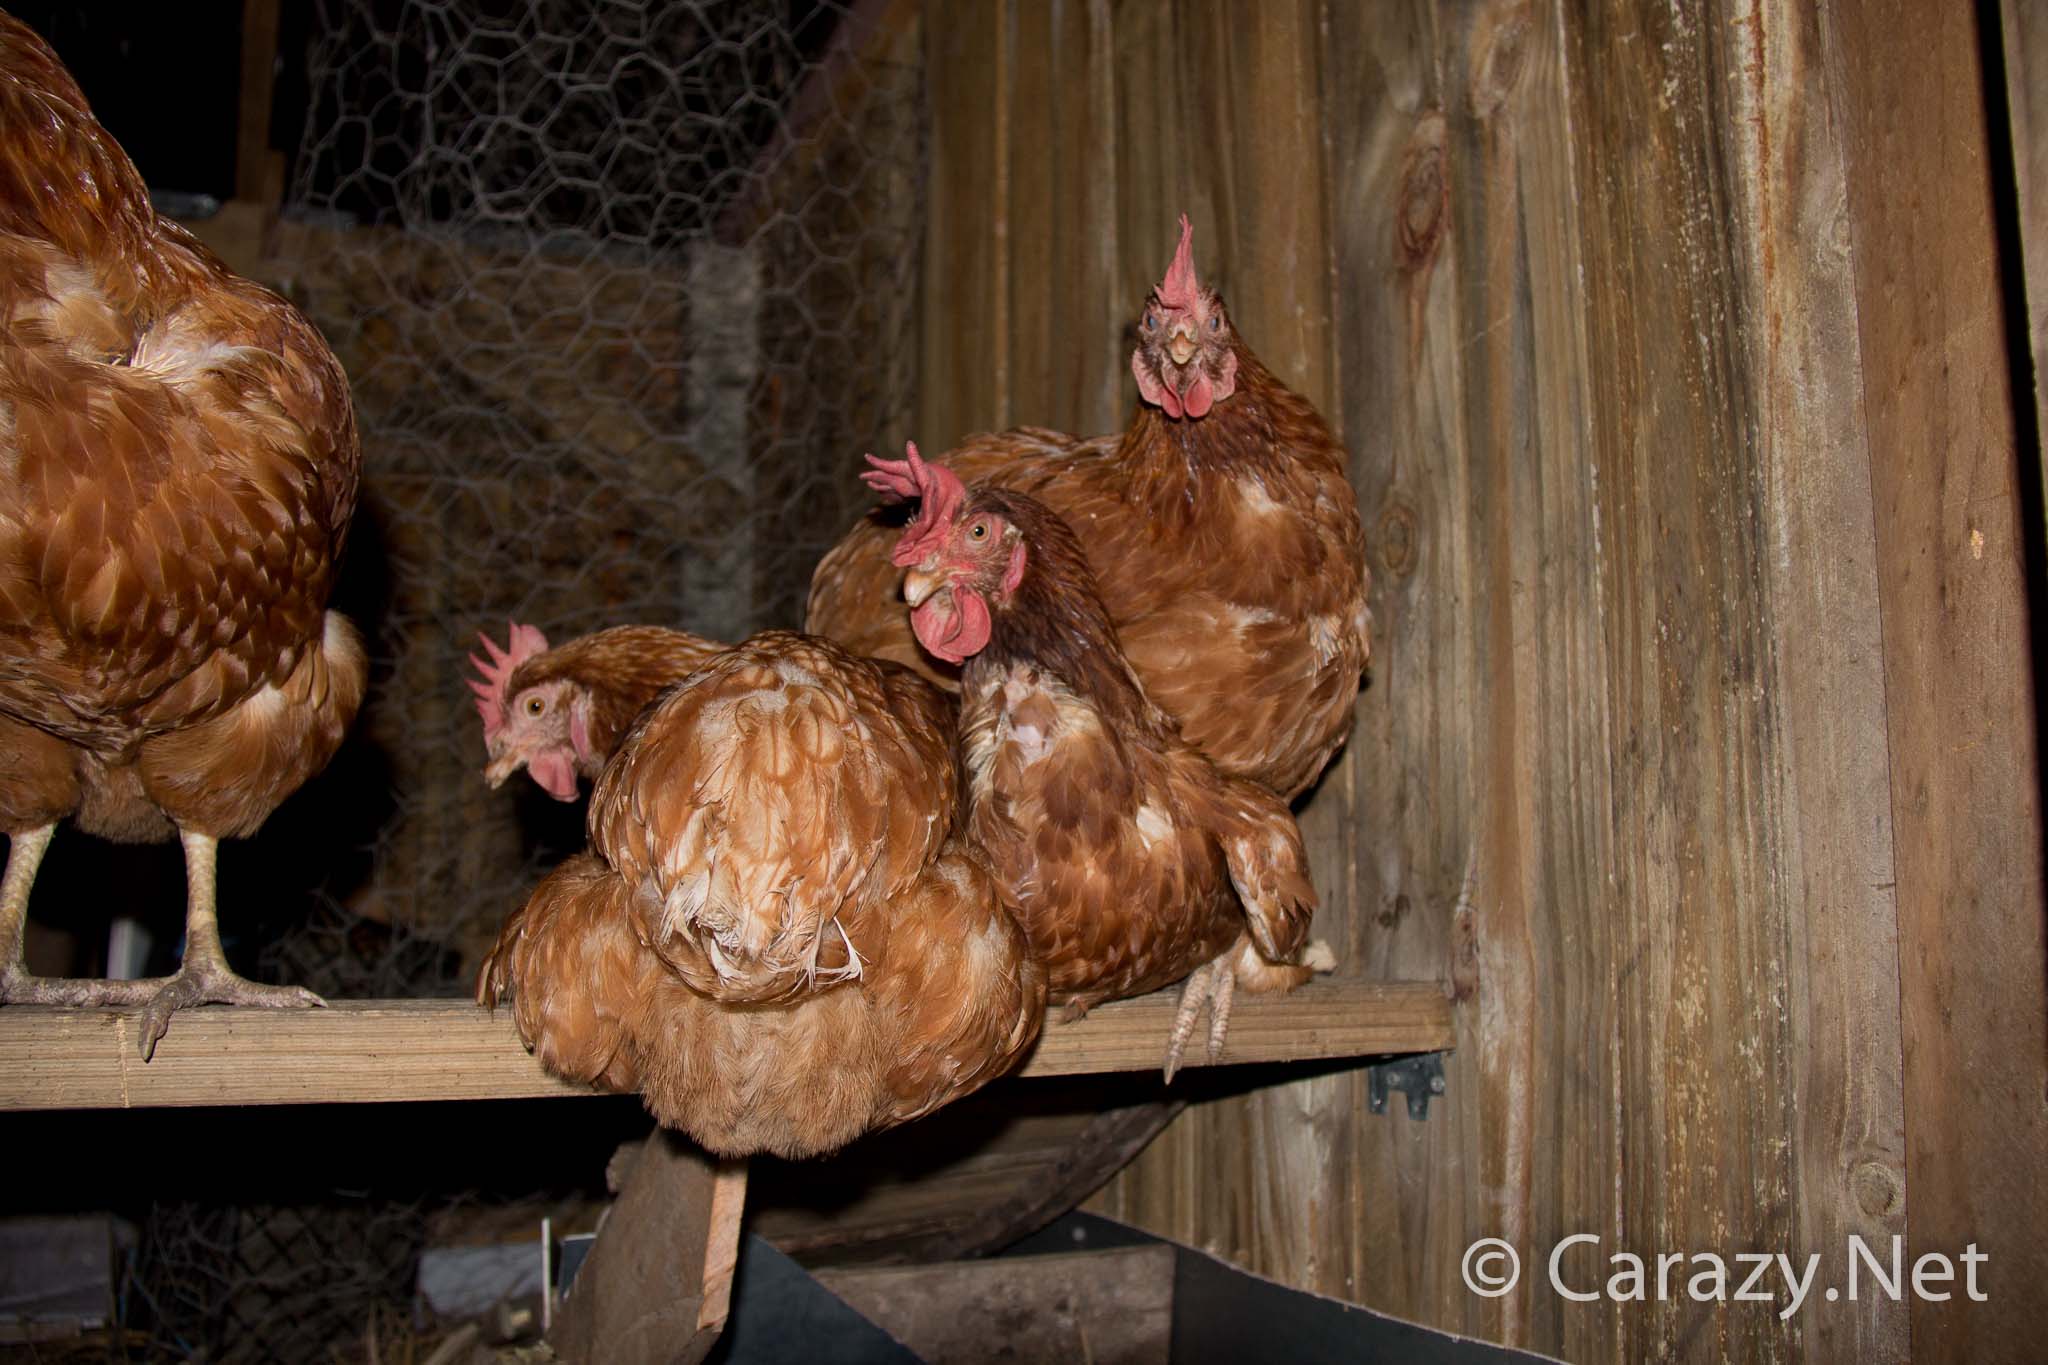
The next photo is the first phase of building the chicken pyramid. The hen resting near the wall has just realised that someoneĀ  has just climbed on her back. She is not amused.

Chicken roosting on another chicken


The climbing hen is checking her foundation chicken is okay and stable.

Chicken Pyramid Formation


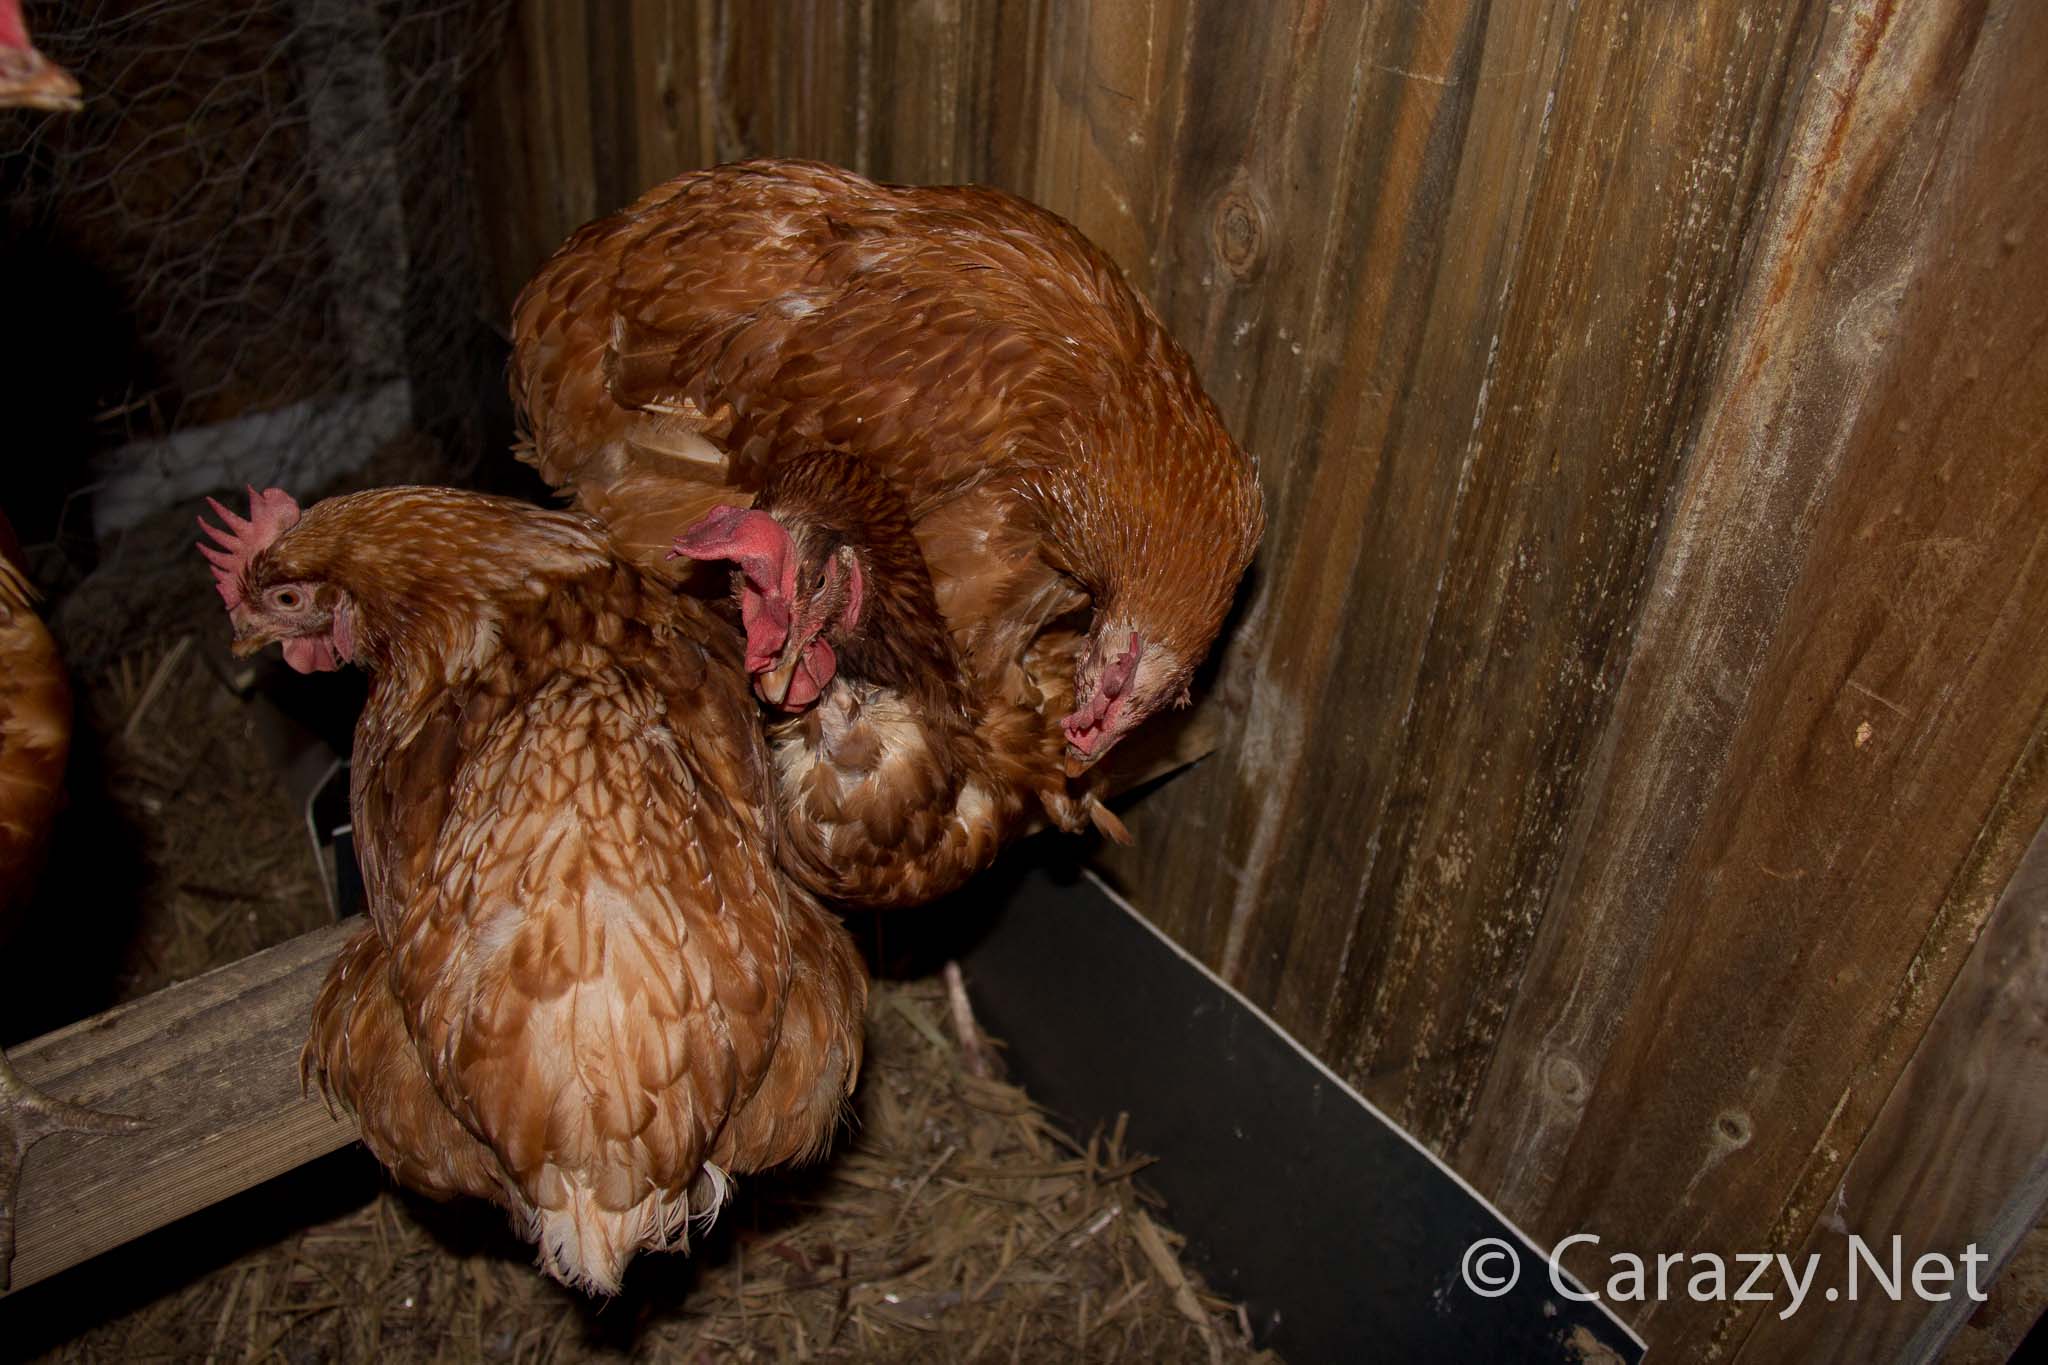
We now have two layers of ladychicken! Bear in mind there are another two hens on the ground making their way to the ramp and will ultimately add themselves to the formation of the chicken pyramid.

Chicken Pyramid aka Stunt Chickens


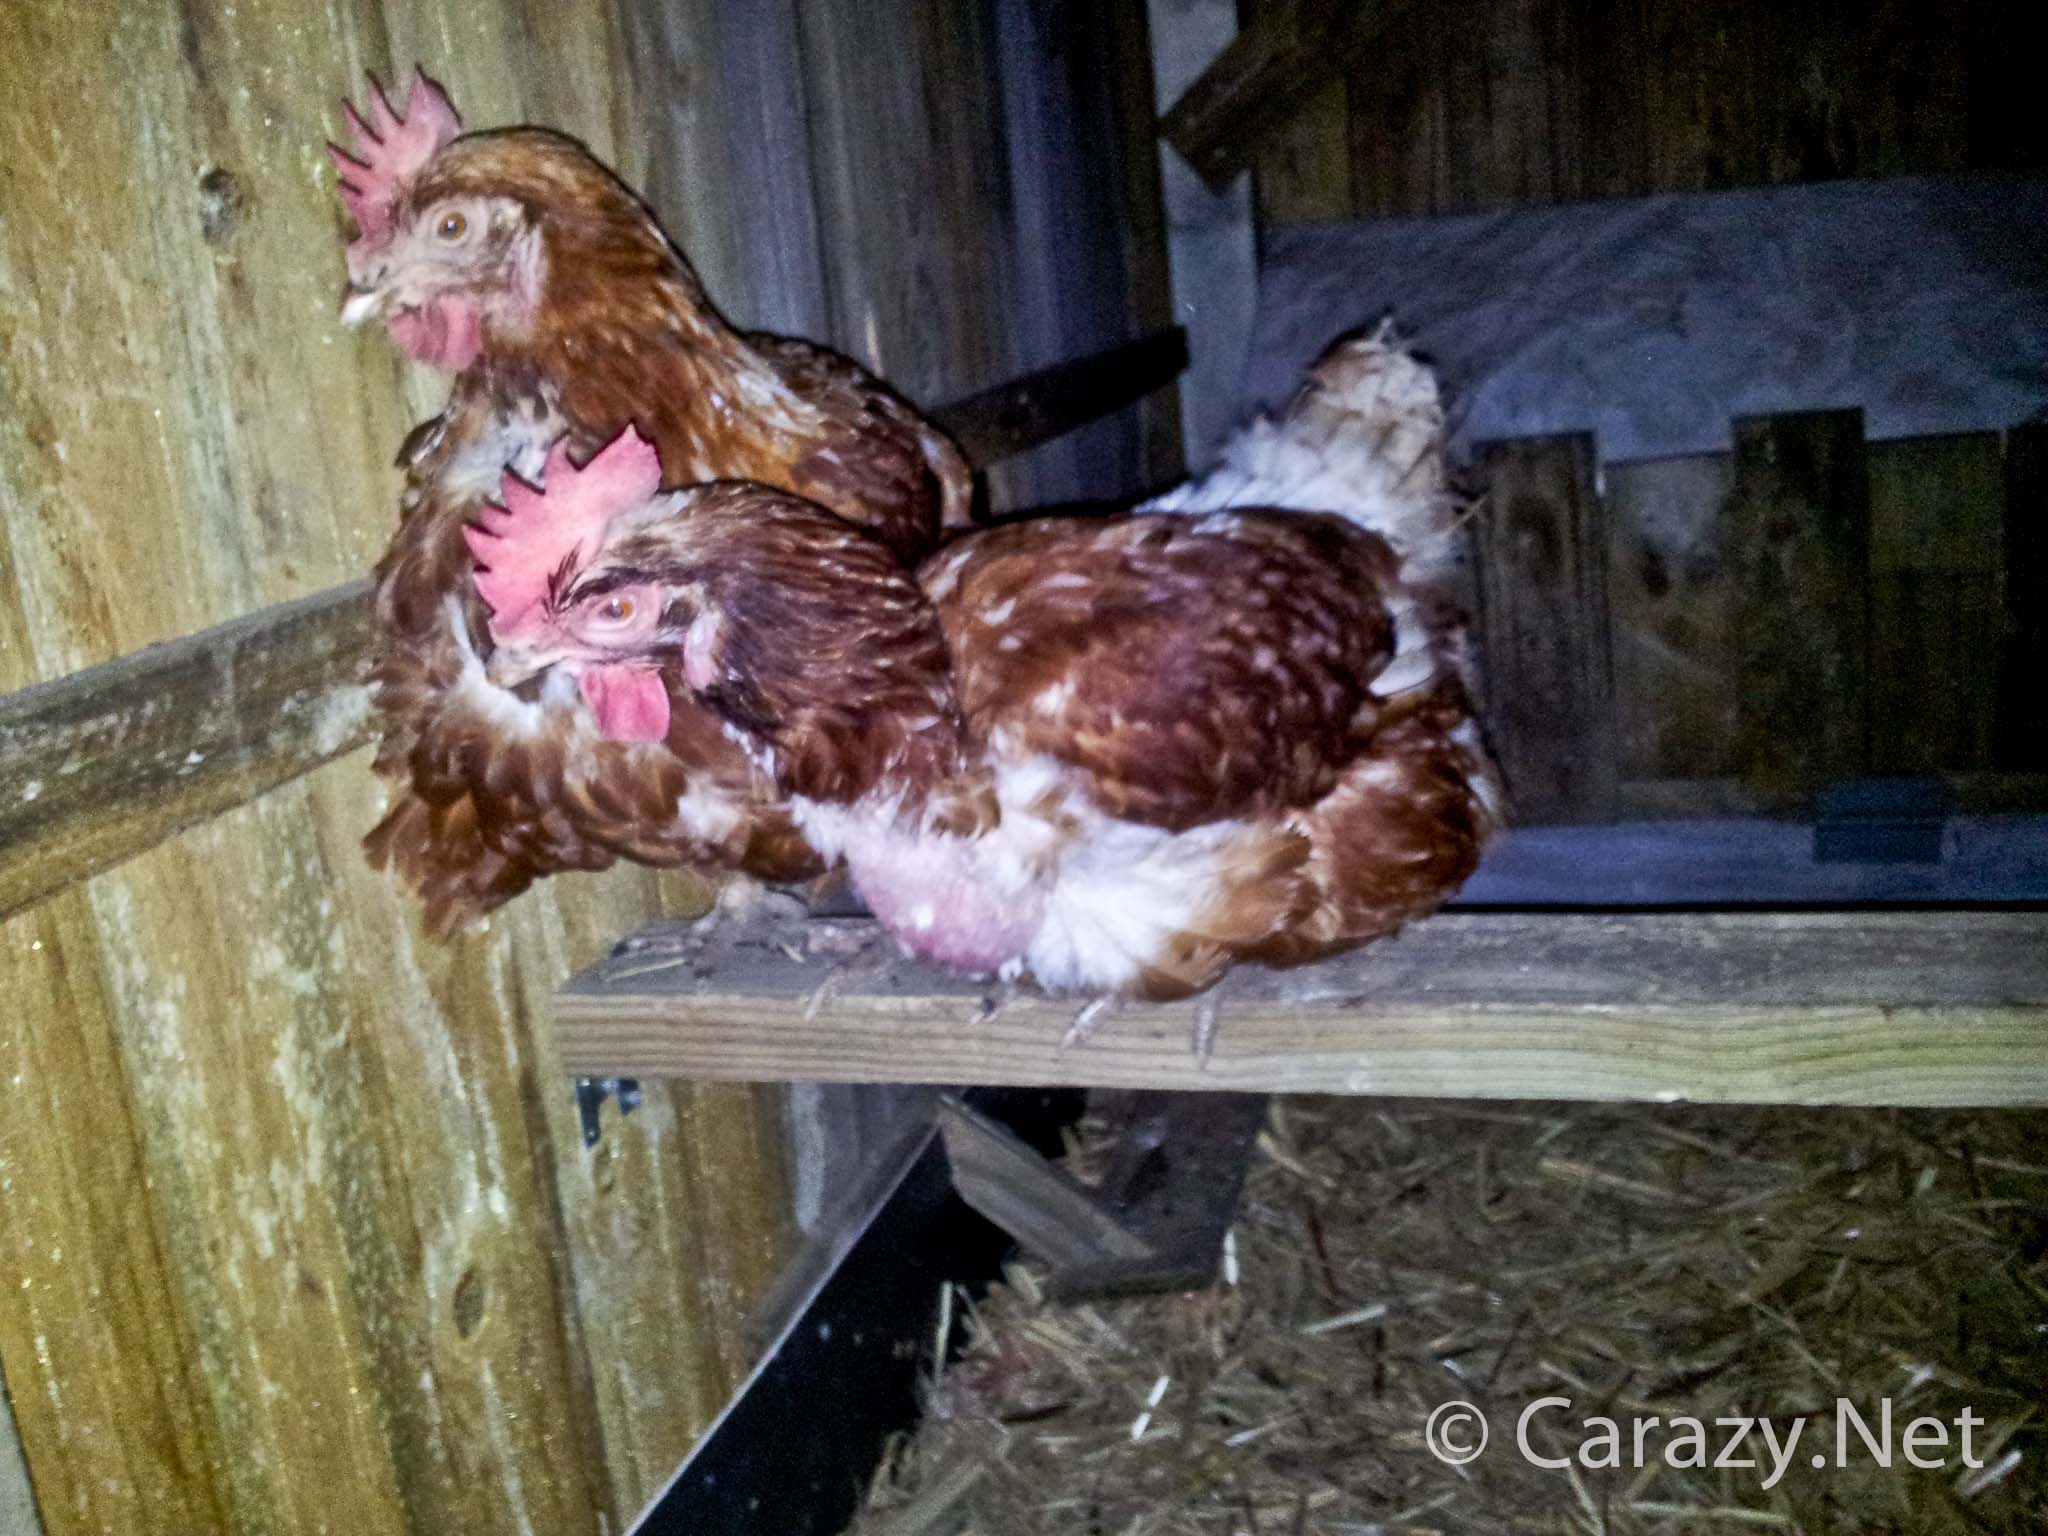
Unfortunately our three layer chicken pyramid was all too brief and our tired human wasn’t quick enough with the camera, so with no photo it will have to remain in the realm of chicken mythology. The human eventually had a little win with two of the smartest chickens realising that there’s another full sized wall at the other end of the roosting bar. That’s me on the right !

Teaching chickens how to roost.
This going to sleep thing is exhausting. Who would have thought bedtime could be so tiring!


The Chicken McMansion Coop Build – Part 1 (Base)

Despite the importance of chickens in a permaculture system, I’ve been putting off getting feathered friends as the responsibility of livestock ownership wasn’t something that appealed to me. However I love building things and have been researching coop design for years, so after I helped a friend build a ‘rustic beach shack’ for her music video and once she was done filming, she offered it to me as thanks for my assistance. So now I basically had four walls and a roof to work with and I probably could have just used it as it was but the friends who had assembled the walls kind of slapped things together for the rustic look and my OCD wasn’t going to put up with that. So I meticulously pulled it completely apart and readied the timber for it’s second life.

The coop design was going to be all about me. As in how could I make it ergonomic for me whether it be for maintenance, accessibility or for cleaning. As usual I lurked in forums and read half the internet, grabbing ideas and recommendations from numerous sources then hybridising it into something that I would be happy with. Another constraint was that I had to keep costs to a minimum given my experiment this year to see if I could live on $100/week (After main utility/mortgage bills.) so it would have to be built using recycled and free materials.

Fortunately I’m a hoarder so there was plenty of timber ready to go. I had a heap of 200mm x50mm x 3m pine bearers that in a former life was the “cage of death” pergola which I hung numerous punching bags from, for my Kung Fu students to hit.

I used an existing retaining wall (left) as it was 800mm high and being level would act as a solid plinth. The reason for the large overhang is that when it came time to clean out the coop floor I would have space to position a wheelbarrow under the lip and push the soiled bedding into the barrow. This way it would be closer to where I’d be using the manure. Having the coop high at that end also meant the nesting boxes would be at chest/head height so easy access to retrieve eggs.

Chicken Coop Foundation

The gap underneath the overhang was to allow any pooled water to dry out. The bearers are treated pine not hardwood so I wanted to maximise their lifespan. I screwed joist brackets, normally used to build decks, along the top of the sleeper and then screwed the bearers in place.

Coop construction - Joist bracket

On the opposite side I did the same except the bearers were attached to another 200×50 beam such that they were all flush on top.

DIY Coop build - foundation

To keep the frame above the soil and level I had to build a footing for the upright. I used a simple carboard formwork technique I’ve utilised before to minimise the amount of concrete needed and still give me strength and shape. You cut thick cardboard into a box shape suitable to your formwork requirements. Duct tape it together when you’re happy with the shape. Throw a shovelful of mixed concrete in the base as this seals the base of your post from touching the soil. Then place your post in the middle of the cardboard formwork.

DIY Concrete Formwork using cardboard

I used some scrap galvanised steel mesh to reinforce the concrete. I’ve used chicken wire on other projects with success so you can use it too. Then it was a matter of carefully filling the cavity with concrete I’d mixed in a wheelbarrow.

DIY concrete formwork & reinforcing - cardboard & chicken wire.

Several days later you can remove the cardboard and your post and concrete footing are ready to be bolted to your floor.

DIY concrete footing - coop build

On the other side I didn’t need the height of a post so I simply concreted together some old bricks and pavers to create a solid footing at the height I needed. There’s a slight tilt on the top paver to allow for water runoff whilst maintaining a level floor framework.

DIY coop build - concrete paver footing

The coop floor is the old floor from my kitchen which I ripped out when I renovated it. It’s 20mm marine ply and perfect for this application. Added block you see halfway along the exposed bearer is there for additional support for the next piece of flooring. The sheet in place has a full bearer in the middle so won’t bow.  I am not a dainty man so I didn’t trust the join to sit on 25mm of bearer with my full weight in the middle. The chock gave it s little extra support from bowing.

DIY Chicken coop build - The floor

The second sheet in place and passed the me jumping on it test with flying colours. The first sheet had a bit missing so I made sure the small infill piece had heaps of support by being directly over a bearer and bearer intersection.

DIY Chicken coop build - The floor

Rain added a few delays to the power tool section of the build but the marine ply held up well in the wet.

DIY Chicken coop build - Finished floor

The Chicken McMansion Coop Build – Part 2 (Walls)


With the base done I decided to cover it with some banner vinyl. This would add another layer of protection for the underlying wood as well as enable me to hose out the coop floor with relative ease should I wish to. I secured the vinyl to the floor with what will become the base of my side walls’ framework.

DIY Chicken coop build - wall framework and vinyl floor covering


The corner uprights were next along with the rafters. I opted for a skillion roof as it was easy to build but more importantly the heat would easily escape during our intense Australian summers.

DIY Chicken coop build - Wall framework and rafters


The side panels are the 100mm x 16mm treated pine fence palings recycled from the rustic beach hut prop in my friend’s music video. I ran them down past the floor so any water would be led to the ground. There are 1-2mm gaps between them as they’re not dressed but it’s secure and allows for additional ventilation. Some mist may get through during our 100+ km/h winds during our summer storms but for the most part it’ll be rain proof.

DIY Chicken coop build - Wall framework and side panels

View from my deck of the side walls being built. I decided on a whim to add in a window on the southern wall as this is the direction from which the wind usually blows. It’s a rectangular section of strong 25mm spacing wire mesh.

DIY Chicken coop build - Building the side walls