One man and a chainsaw can mulch anything.
I highly recommend you utilise the assistance of friends in this project as lifting logs is a killer on the body. Even worse when you’re on a 30°-40° slope.
The premise is you bury logs under soil and plant on top of them. Initially it’s not so great as the bacteria breaking down the logs steal nitrogen from the plants nearby. This effect however is reversed with interest afterwards. You can plant in the dirt covering the logs and they will flourish from the decomposition happening below the surface.
I had two massive trees that were felled in my back yard and I wasn’t keen on lugging them uphill to the street to load them on a truck to take them to the dump. A friend sent me a link to hugelkultur sites and I immersed myself for several days in this whole new world.
Now my setup is by no means as extravagant as one’s you will see in your research but it’s a small scale application used on a hillside inner city suburban block. Bear in mind my soil is extremely dense clay with no access for machinery and being the reluctant gardener that I am I decided to take a different approach.
Instead of doing heaps of digging and burying the logs I was going to place them as garden bed barriers and pile on composting material onto it. Secondly I was going to have to place the ridonkulously large amount of twigs and branches from the crown of the trees somewhere to break down. With space limitations I decided to use a system I came up with when I first purchased my house and had to remove the gigantic pile of Jacaranda and Macadamia Nut trees I removed.
Note: Yes I know Macadamia Nut trees are awesome but not when they drop en mass and become large ball bearings on a steep hill!
What you need is a friend or yourself who is a pruning and weeding machine. My friend Aaron is such a person. He loves it. Personally I don’t understand it but it’s another reason why we’re good mates.
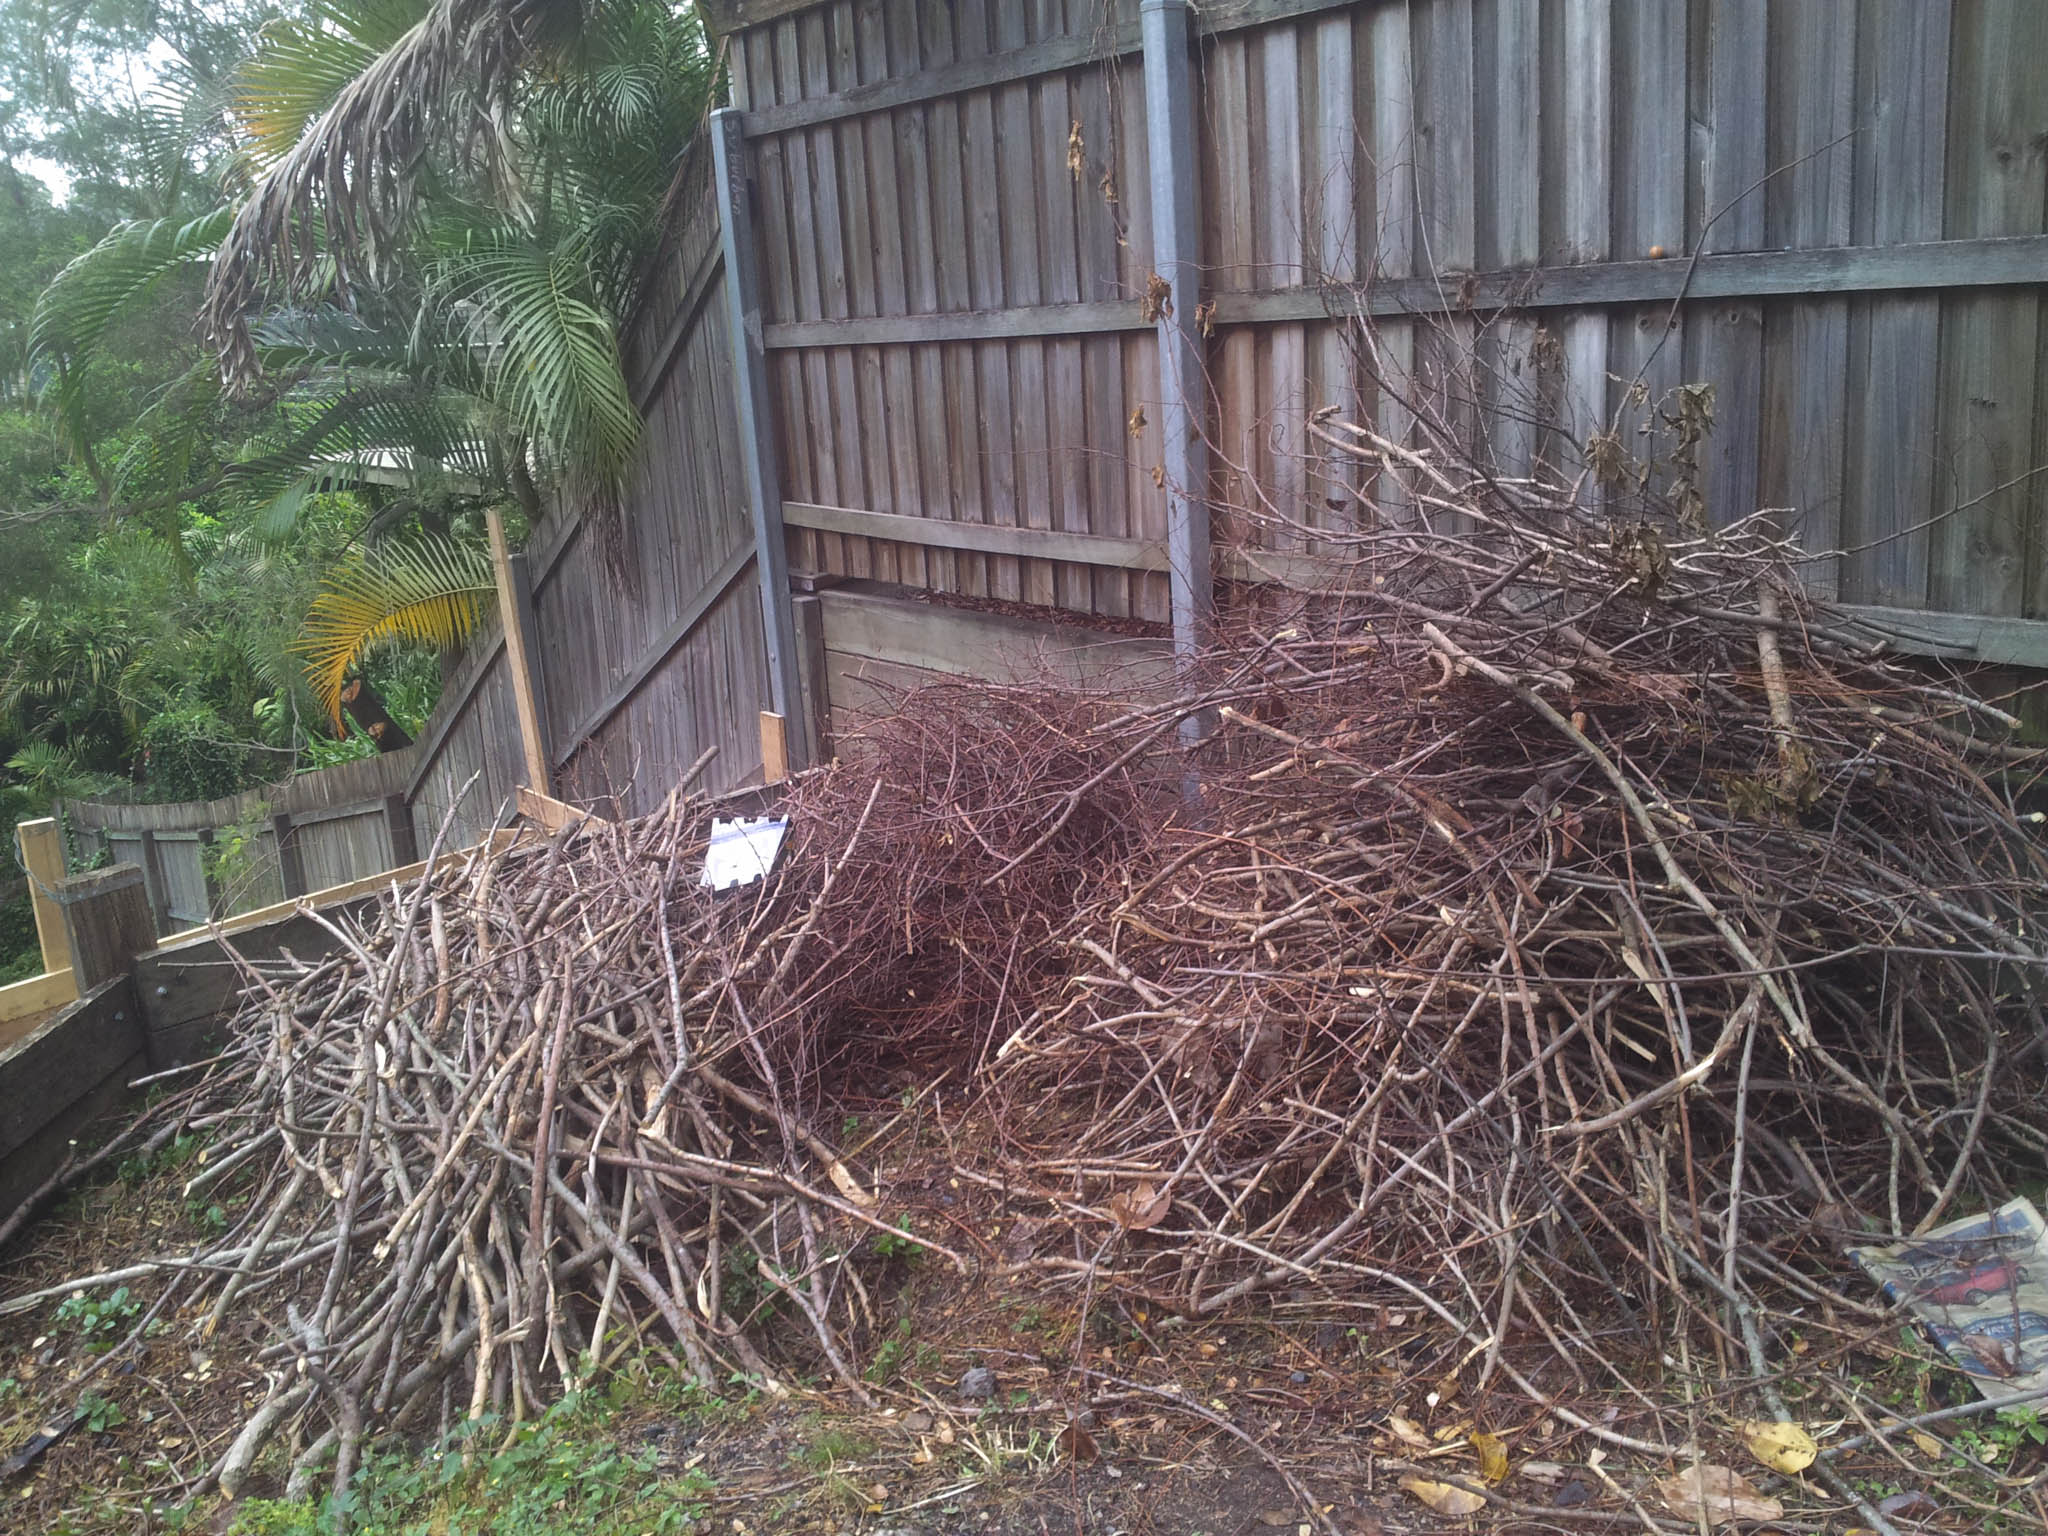
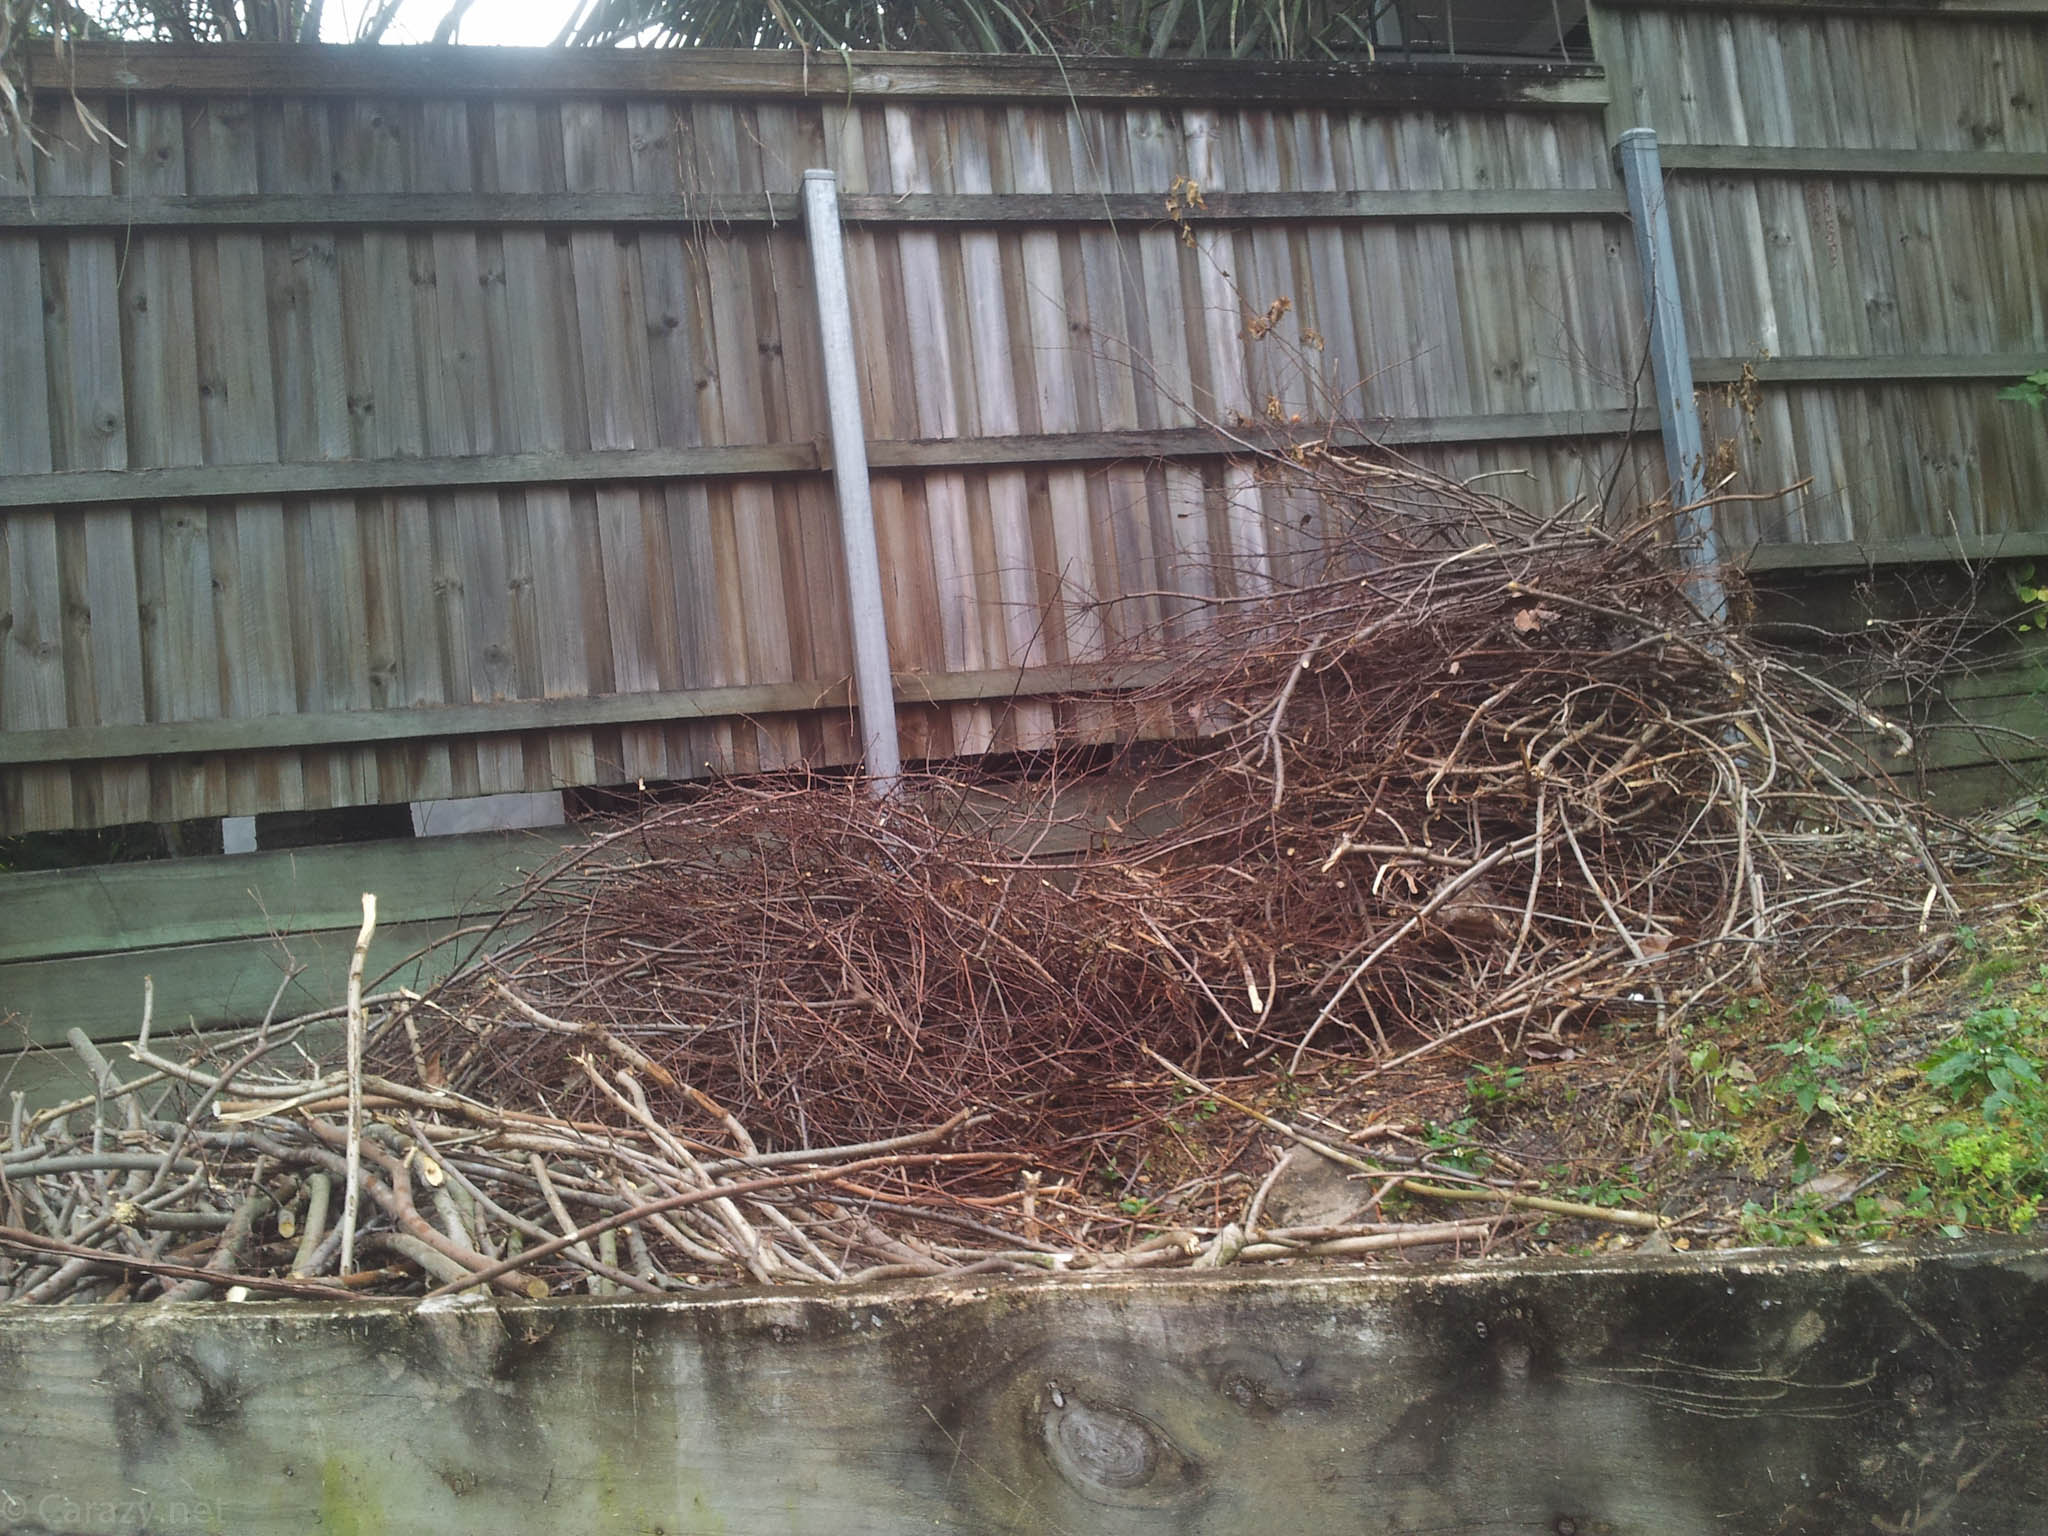
Here you can see some of Aaron’s handiwork. Note the consistency of his sizing of pruned branches in each pile. This sorting becomes super important for my system to work as well as it does. If you don’t wish to sort you can still use my ‘Carazy method’!
A close up of the sized prunings.

Yes there were more sorted piles below the swale.

THE METHOD
Place your largest logs or branches at the bottom like so keeping them all parallel.

Take your chainsaw and start ‘shaving off the ends of the branches at one end. I chose the high side so that it would all drop down and not move around too much.

The smaller the pieces the quicker your hugelkultur pile will decompose (surface area). My bottom pieces aren’t as small as they could be but I’ll get to that.

The bottom layer / first round of branch shaving.

So then you stack on more branches of similar size and start doing the same. Now when you are cutting downwards you will end up cutting through some of the first batch too. Don’t worry too much about it for now.

As you can see the larger branches have reduced their volume by a fair bit and if you want you can run your chainsaw a few time through this to break it up a bit more. Still I wouldn’t worry about it too much. The small logs catch on your chain and fly everywhere and can hit your shin or begin moving out from the pile.

Now it gets interesting. Pile on the next size down of branches. As you can see it looks massive. Spend a little bit of time while stacking to make them
line them up as parallel as you can before chainsaw shaving once again.

Each time you add on branches you run the chainsaw down as far as you can towards the bottom of the pile. The smaller branches shred up and actually help hold the pile together preventing a lot of the lower big logs from moving around and possibly hurting you. Not to mention each pass through creates a massive amount of sawdust and tiny clippings that drop into the gaps and are great starting points for woody material breakdown deep in the pile.

We had our first bit of rain in months in Brisbane the day I was doing the top section of smaller branches, which was awesome for the garden however it also happened to be a torrential thunderstorm which prevented me from taking any pics during the process while I was wielding a chainsaw on a muddy slope.
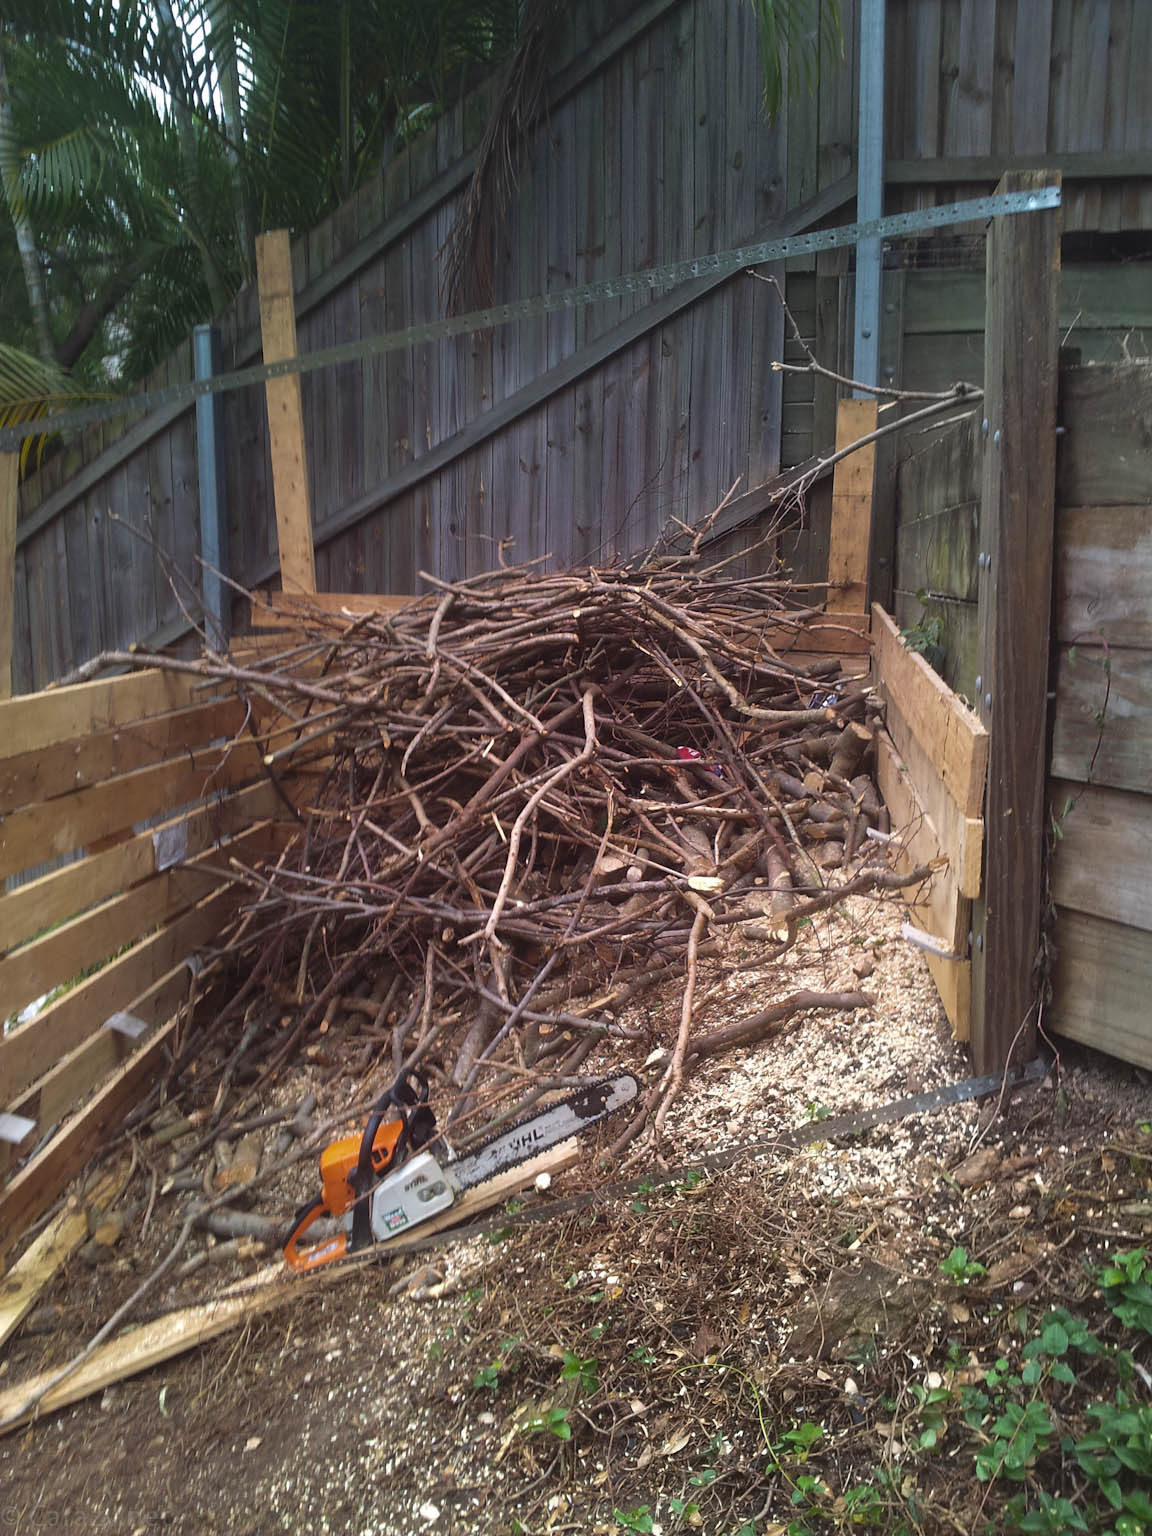
I do have the aftermath photos however.
View from above.

Side view. You can see there are a few largish type pieces still in there but they were mostly from pieces that had been spat out by the chainsaw and collected later and thrown back into the pile.

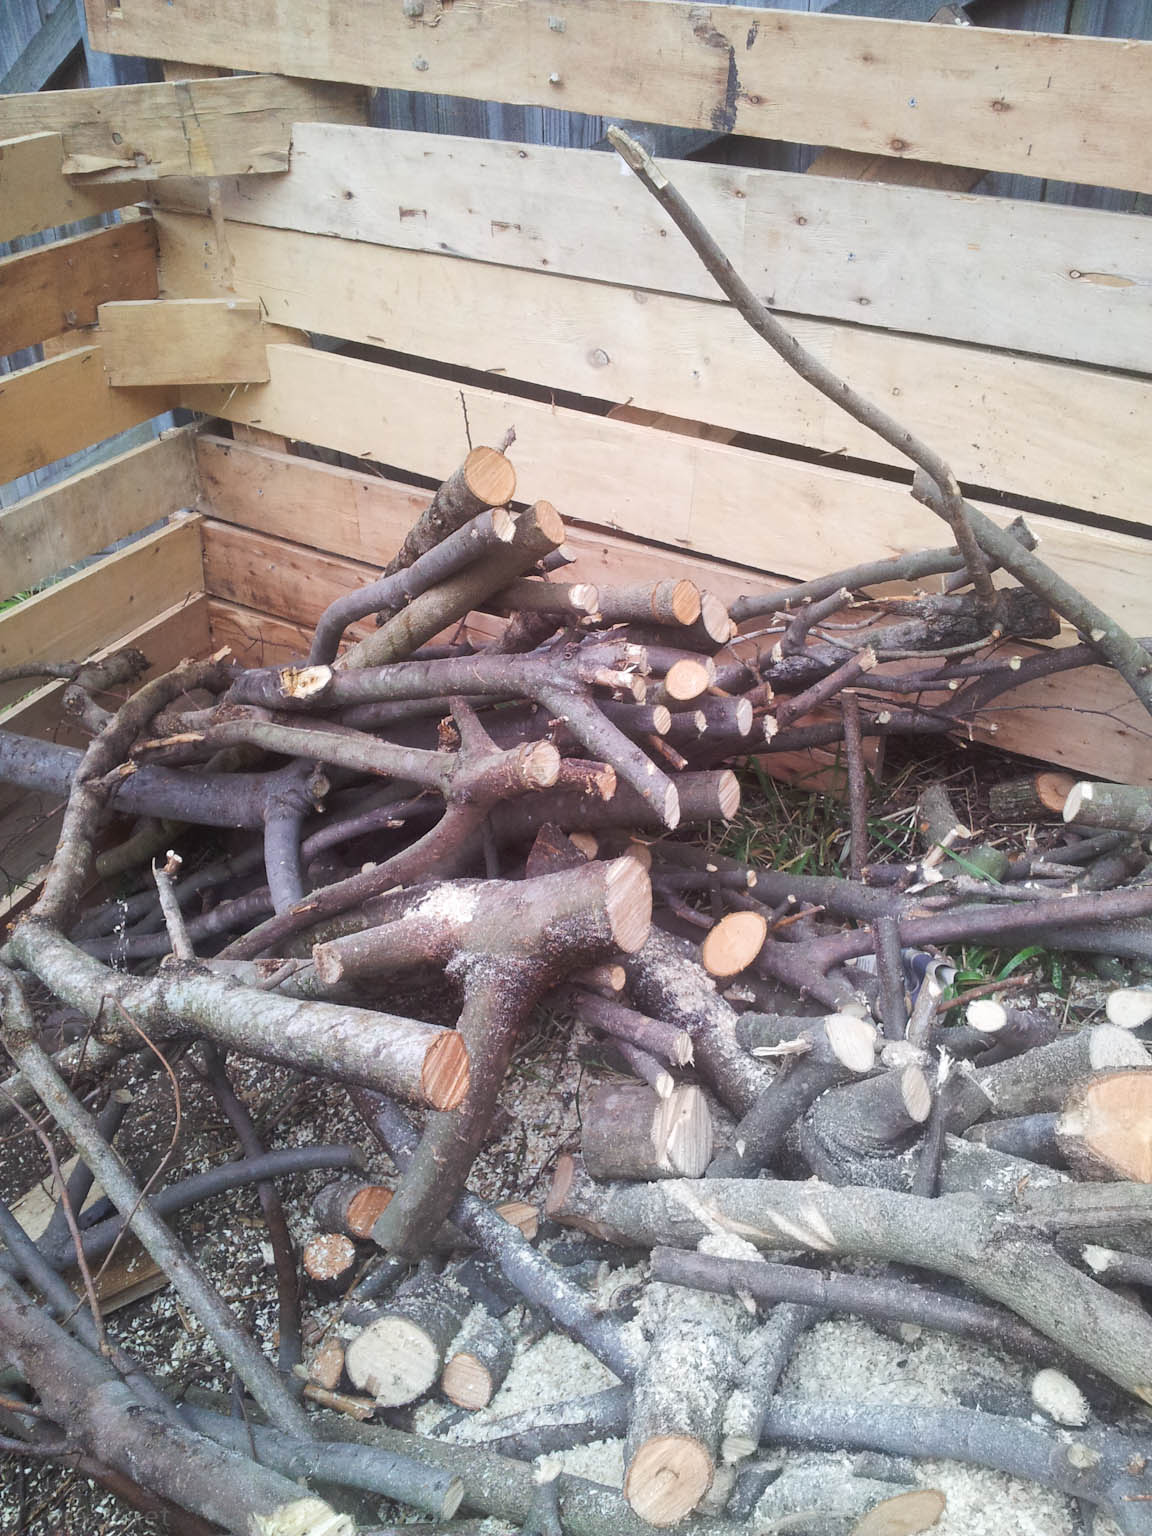
Closeup of the centre of the pile. As you can see there are various sizes of chopped up pieces of branch. It is extremely dense and quite difficult to dig through. I’m hoping this will allow for a good anaerobic environment for the bacteria to do their magic.

There are some late additions to the top of the pile. I decided to let them break down once I find some dirt to put on top. Also I had to get a Cortesone injection in my elbow to relieve the pain from the tearing I did to it lugging logs uphill in the first tree slashing episode.

That pile is composed of the crowns of two very large trees and all broken down into a dense 2m3 pile. The hard part now will be finding enough dirt to pile up over the woody compost. If I get in dirt it’ll cost be around $60m3 and I’d need 2m3 at least which would mean bucketing down 2 tonne of dirt by hand which I can tell you now will NEVER be happening. I’ve moved a tonne and t half o gravel by bucket and my reward was severe back spasms and pain for days. I will find a way but in the meantime the hugelkultur project will be more of a wood composting project for now.


1 thought on “Hugelkultur – A backyard suburban rotting log, garden bed.”
Comments are closed.