
Note: I did this comparison in March 2014 but with illness(see below) and slackness along with the photos and video getting lost in the hard drive archive, it’s taken a while to get this posted.
If you just want to check out the grow medium comparison video jump to the bottom of the page where I compare two tomato plants, one in the Mels Mix recipe in my top wicking bed and the second in this experimental bed.
After building my first wicking beds at the front of the house and seeing how well they performed I realised that it was definitely the way to go for water and nutrient containment. My raised garden beds in the back yard were doing okay but I wasn’t having much success in between the local fauna smashing my seedlings to the giant tree near the fenceline sending up roots into the bed trying to take advantage of all that lovely fertiliser and water that I was putting towards the vege patch. With a raised garden bed any water that gets fed into it simply seeps downwards. Now on a flat bit of land it would stay in the subsoil and seep back up via osmosis. My beds were on a steep slope so once the water got to the bottom it simply ran downhill meaning I had to constantly add water to the grow medium as veges are fairly water intensive. If it were a wicking bed then I could completely negate all these problems.
So I spent a lovely, arduous day digging out the dirt I in the bed, hacking away at the dense thick invading tree roots that were growing fat in the bottom and set about preparing the bed for it’s conversion. Now I wanted to make this as cheap as possible ideally using only materials I had on hand. Also I have no access to getting soil conveniently delivered to my steep sloping back yard is impossibility which partly how my hybrid wicking/ lasagne bed came about.
Pond liner is extremely expensive here in Australia. An alternative is to use builders plastic but the best value on that is 200um Black Builders Film @ 2m x 50m which still runs around $85. I checked it out and it was fairly thick and would provide a lot of spare plastic for further beds but I opted instead to give banner vinyl a go. I help a friend out doing signage and we often remove large format advertising banners that get changed out on a regular basis. These are designed for outdoors so they’re fully laminated and UV stabilised and infinitely tougher than the builders plastic. They’re also destined for landfill because the world of advertising is super wasteful, hence the name junk mail, so if it got a second life, bonus! Plus FREE!
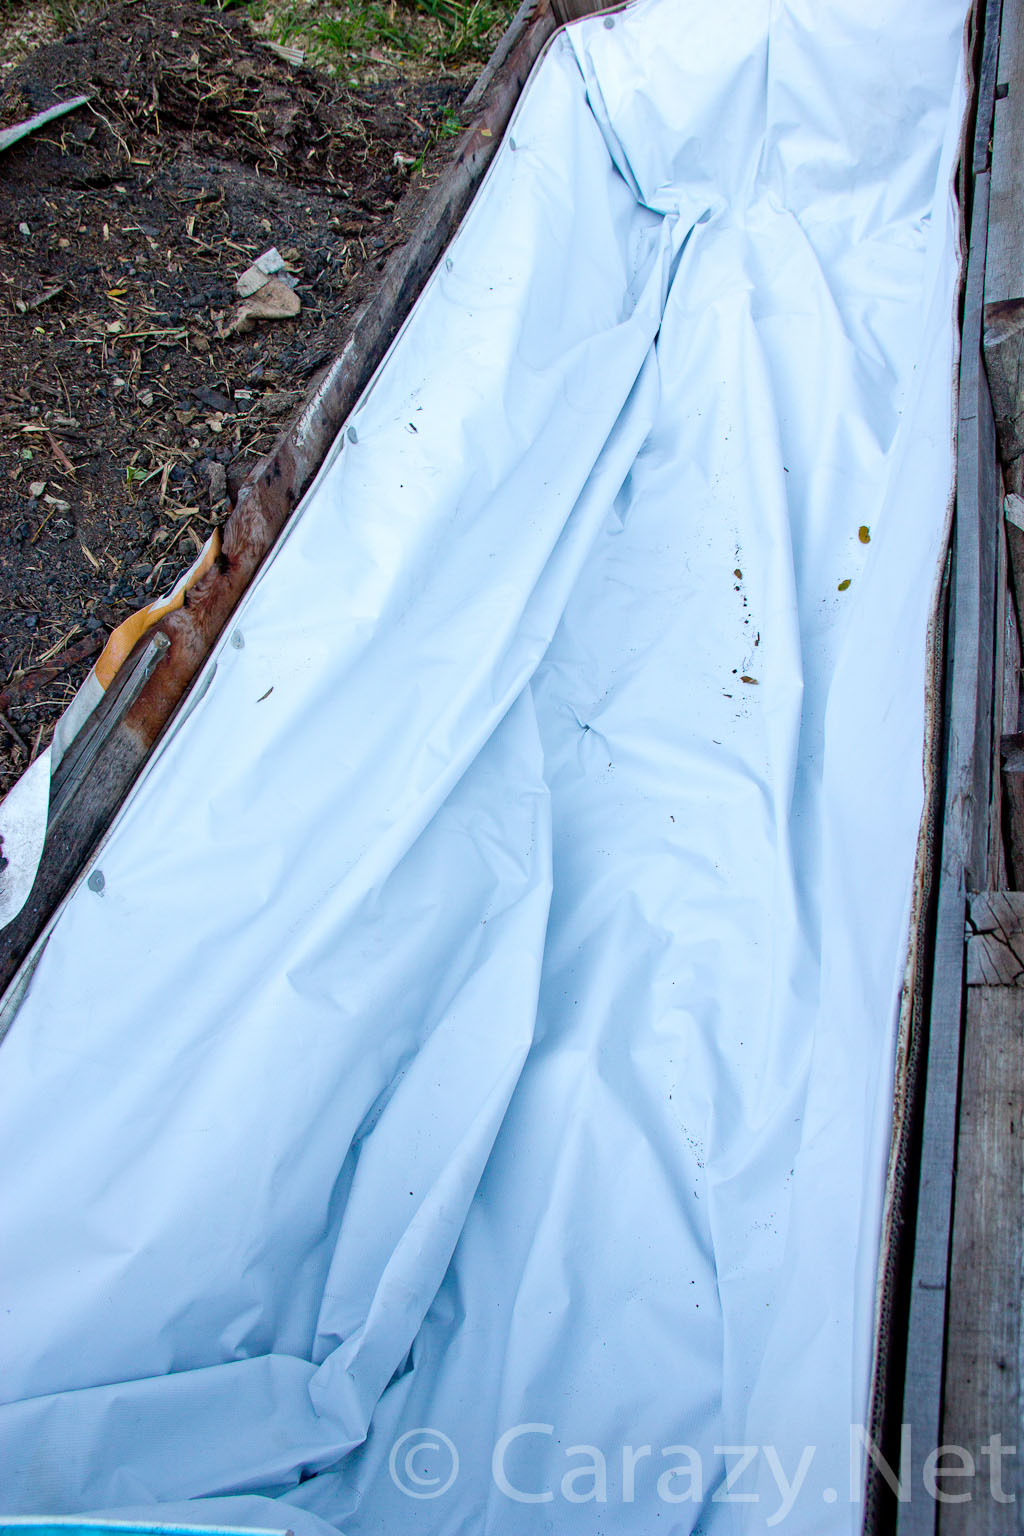
The bit I had lying around was filled with holes so wouldn’t be able to hold water which is what the wicking bed is supposed to do. But I figured it would be a nice layer of protection from any sharp/rough protrusions of the raised garden bed which was made from pallets and offcuts.
No it’s not movie night! I hung the banner up to check for holes. There were many. Note the big pile of dirt was dug out and placed UPHILL so when filling time came it would be much easier.

Once cleared I need to ensure the roots and rocks under the bed would not push up and tear a hole in the banner vinyl I’d be using to create my reservoir. I placed 5mm thick acrylic board along the base so the sharp stones wouldn’t push up and several layers of thick upright cardboard to protect the sides.

The damaged banner would make a good base liner for added protection. It’s super fiddly trying to get any large material shaped to your garden bed especially if you’re doing this alone. You pull one end and the other drops. I highly recommend using quick release clamp like I have or something similar.

It’s best to leave a lot of loose liner in the cavity because once you start adding the heavy infill you want to allow for a lot of stretch. I had a heap of waste bits of round plastic the remnants of what you get from drilling plastic pipe out with a hole saw. Basically the holes of hole saw use. Instead of throwing these away they made perfect washers to hold down the top edge of the banner vinyl.
I miscalculated the end and trimmed a bit too much too early resulting in a very stretch endpiece but it was still workable. The main reservoir’s water holding capability was what mattered.

I can’t find my photos of the reservoirs but they’re the same as my original wicking beds. They’re just milk crates cable tied together and wrapped in geofabric. There’s a 40mm PVC vertical fill tube at one end and 40mm PVC horizontal overflow going sideways at the other end. The hole for the overflow pokes out the end of the garden bed frame.
I then covered the milk crate reservoirs with dirt. No fancy perlite or coir or woodchip or even sand in the base. Just dirt and clay chunks I’d dug out of the garden bed. At first I tried removing rocks but that got tedious real quick so there’s plenty in there. Once the dirt covered the milk crates I lay a sheet of geofabric down to act as a root separator. I didn’t want any plants to send down roots and clog up the reservoir. Then I put another thin layer of dirt on top of that. I decided to experiment and see if I could incorporate the ‘no-dig lasagne’ system of layering manure, sugar cane mulch and newspaper into my bed. In my case though there was a ludicrous amount of digging in this project!
A visiting friend wanted a gym work out, I told him I’d sort that out for him. by getting him to helped me lug 300+kg of bagged fresh horse manure from the up on the roadside down to the wicking bed. He lugged, I emptied. It sounds like I had the better deal until I got sick with Q-Fever two weeks later from the manure. It started with fevers and ended with six months of fatigue, all the way through the gardeners delightful season of Spring. Thankfully I’m good now and apparently now should have an inbuilt immunity.
Just before I got Q-fever I shoveled a heap of worm filled compost from my hugelkulture pile into the wicking bed so while I was sick they spent those months feasting away and converting that manure into an amazing growing medium. By the time I got around to planting in there it was a worm haven filled with fat poo eating wrigglers.
So was this basic no frills, dirt and manure filled wicking bed any good? Check out the comparison I did by planting two similar tomato plants at the same time. One in my fancypants wicking bed up top where I used something similar to Mel’s Mix from square foot gardening, the other in my poo filled experiment.
PS: Both plants are still alive today and producing two years on!
Have an awesome day!