
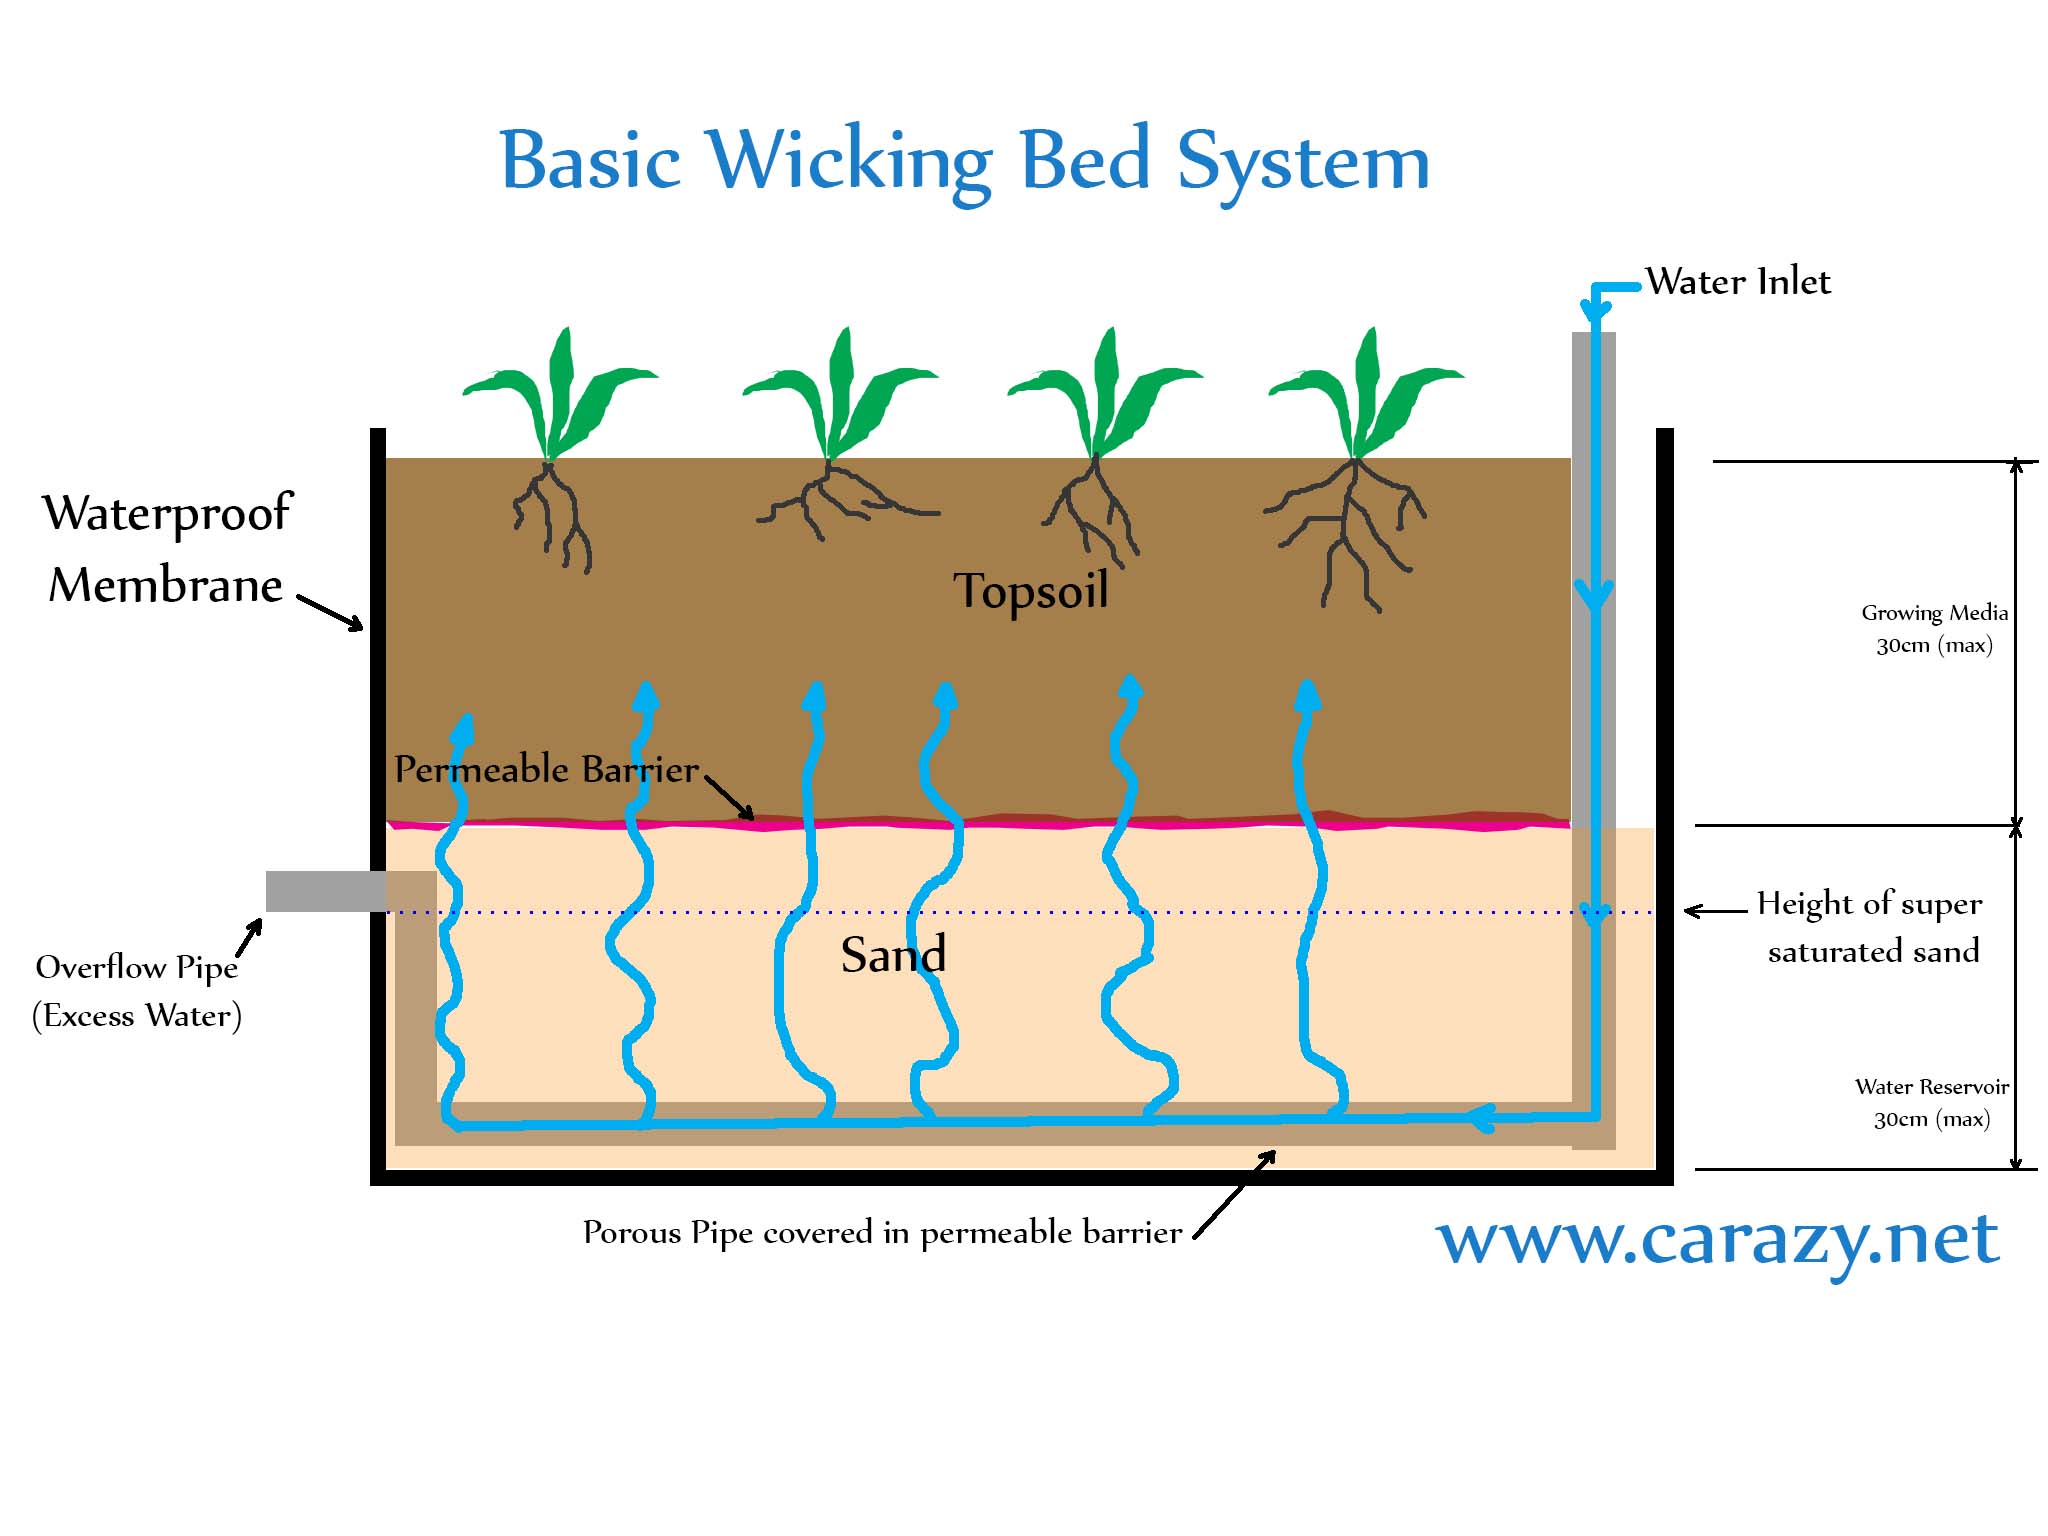
Wicking beds work on the wonderful ability of water to defy gravity via osmosis, moving moisture upwards from the bottom of the bed to the plants at the top. Think of them as a giant version of the little tray that sits under pot plant pots and holds water. Over the days the plant slowly draws it up as required.
A basic wicking bed has a porous, water filled tube running from the top surface to the base. This is covered with a permeable barrier like shadecloth or geotextile to prevent sediment from entering while still allowing water to pass through. The bottom half of the wicking bed is then filled with sand.
An overflow pipe sits just below the upper surface of the sand and limits the amount of water that will sit in the bottom of the bed.
A sheet of permeable geofabric is then placed over the sand to prevent the fine silt from the topsoil layer seeping into the spaces between the sand and clogging it’s wicking ability.
The upper layer is the growing media in which the plants put down roots and soak up the water on demand. It is recommended that each layer not exceed 30cm (1′) as distances above that have decreased water wicking ability.
I opted to build my bed using an IBC (See the build here) I pimped mine out with some modifications that I believe are vastly superior to the basic design above. I added a large void to increase water holding capacity and chose different media to increase wicking potential, reduce weed contamination and greatly improve ease of handling of materials.
I’ve done a separate post on the different materials I’ve used and why, as there’s a fair bit of info on each of the components. You can check it out here.
Comparison of wicking bed media.
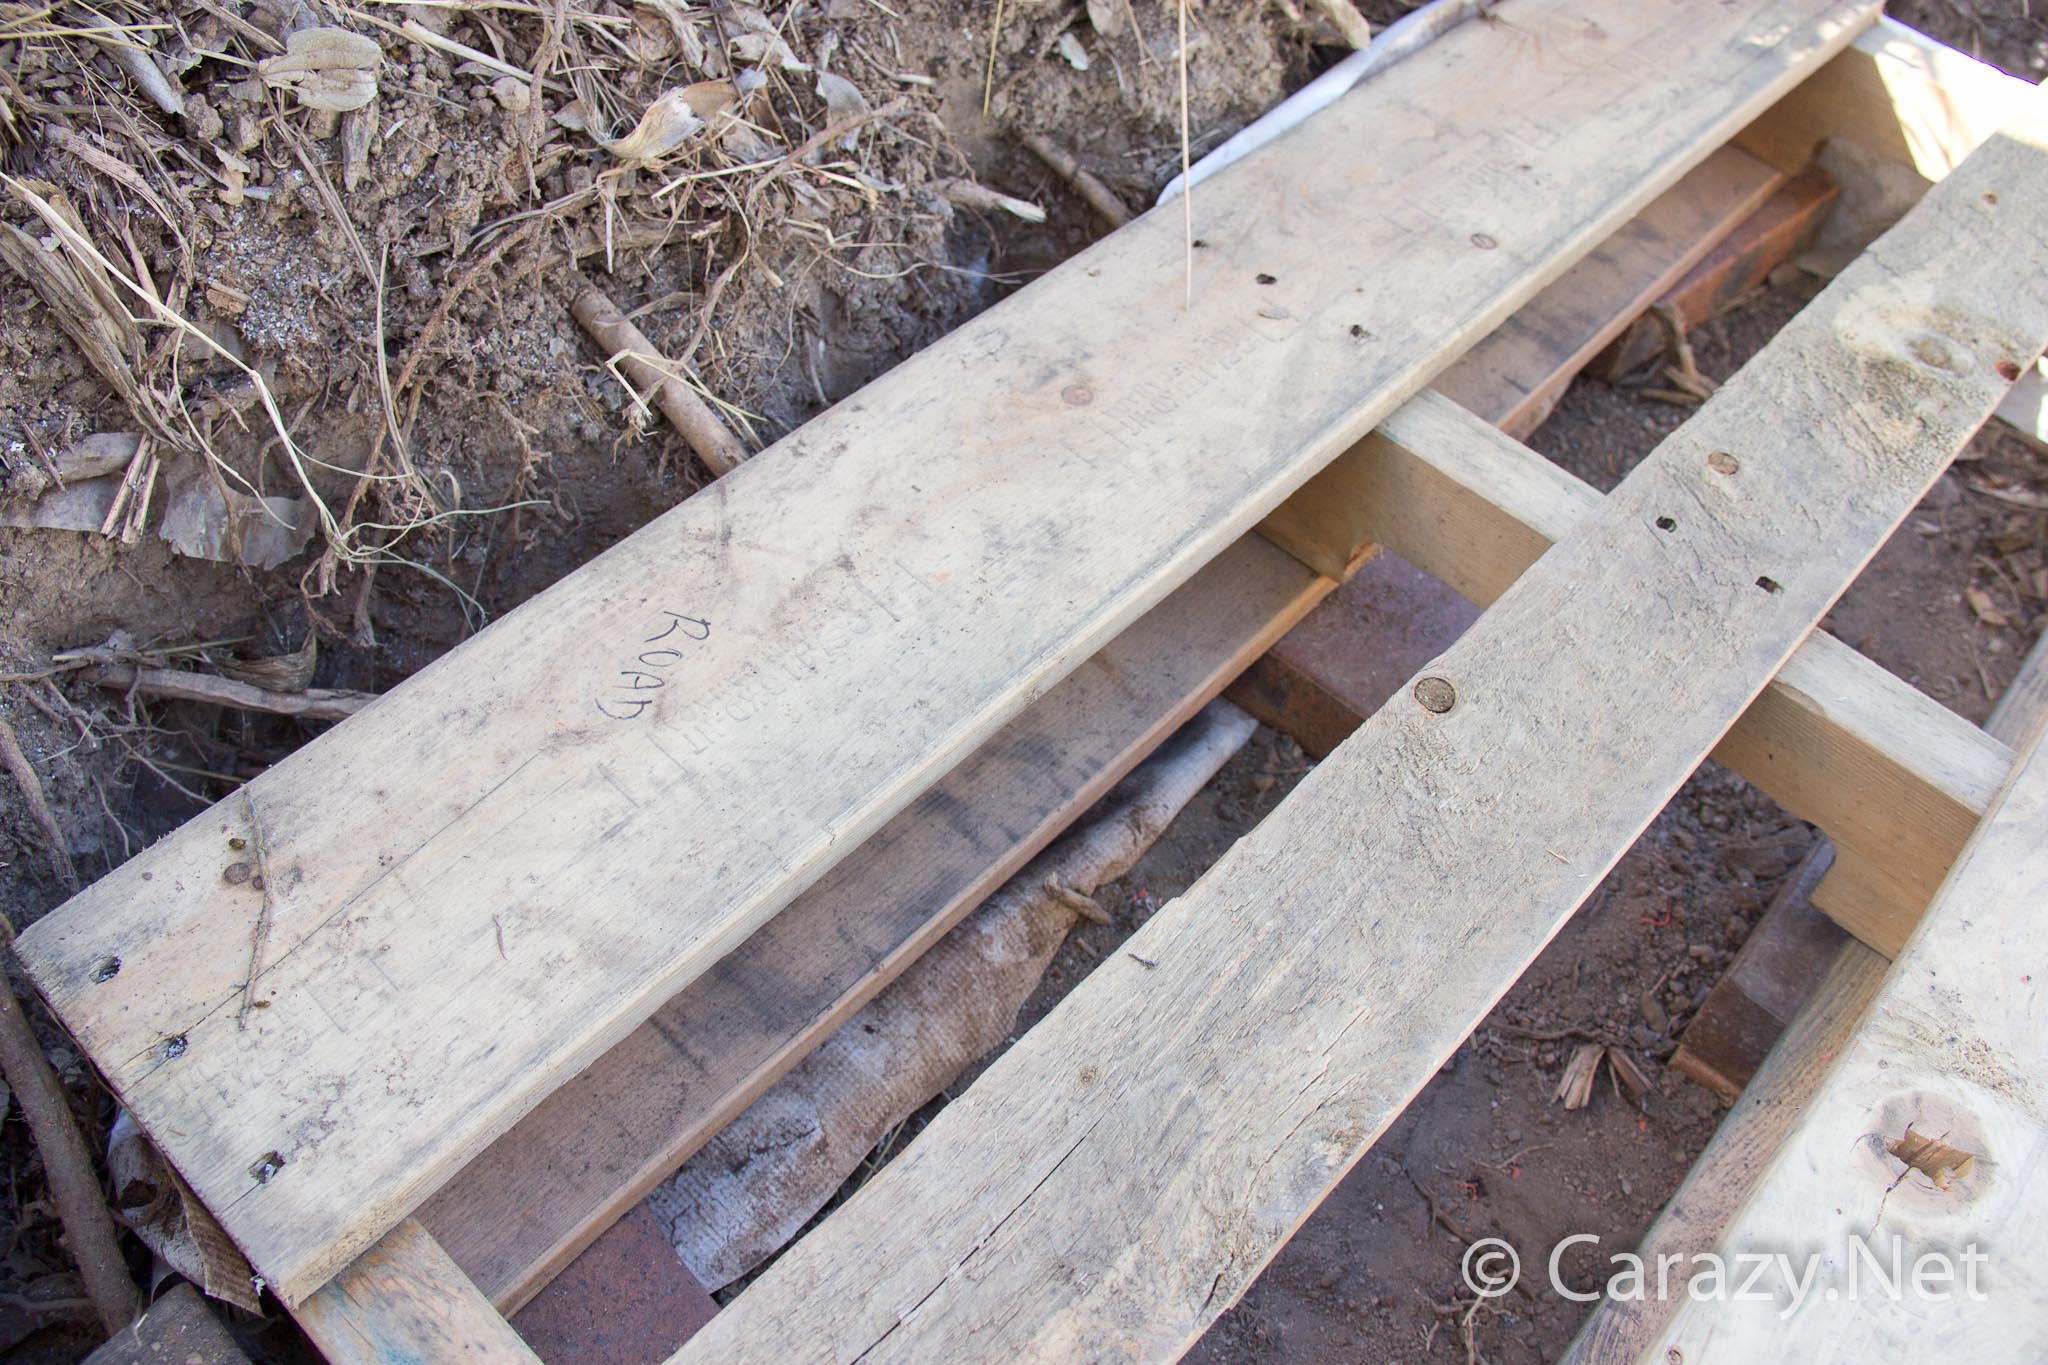
Wicking beds need to be on level ground. Living on a steep hill meant I had to create the level areas. I recycled the old deck I previously stored my now crashed motorbike on and used the bearers and joists to create a level framework for the IBC’s to sit on. I chose an L shape so my design still involved getting six different ends all perfectly level. This was extremely time consuming but if your yard is flat just plonk the IBC down on the ground you lucky thing!

I decided to use a recycled pallet for the third bed and being untreated pine I knew it would be susceptible to the wet. To prolong the lifespan of the framework, all the feet are sitting on pavers above the dirt. I also placed a strip of banner vinyl on the side and wrapped it so that it passed under the paver. This means any dirt and water coming down the hill will hit the vinyl and move under the level of the feet. I’m hoping there’s enough airflow in the cavity below the beds to keep the pallet and bearers relatively dry.

I wanted to increase the total amount of water available to my vegetables as well as decrease my wicking media costs. To do this I installed some voids in the form of old plastic crates, cable tied them together and wrapped it all in geofabric. These were interconnected with 40mm pipe and sealed with PVC tape (I used bathroom silicon on the tape to increase it’s adhesive properties).
The water flow image below shows how the reservoirs are filled (dark blue) from the vertical inlet until it comes out the overflow pipe on the side. The light blue is the path the water takes as it seeps through the geofabric into the wicking media, then up towards the topsoil.

Quick video on the reservoir system.
The crates were cracked and required some structural reinforcement so I did this with upright sections of recycled PVC stormwater pipe.

All the interconnecting pipes on the reservoir had additional holes cut using a hole saw. This would minimise any possible blockages over time. This is the riser pipe that comes out of the second ‘tank’ and goes 90º to the overflow.

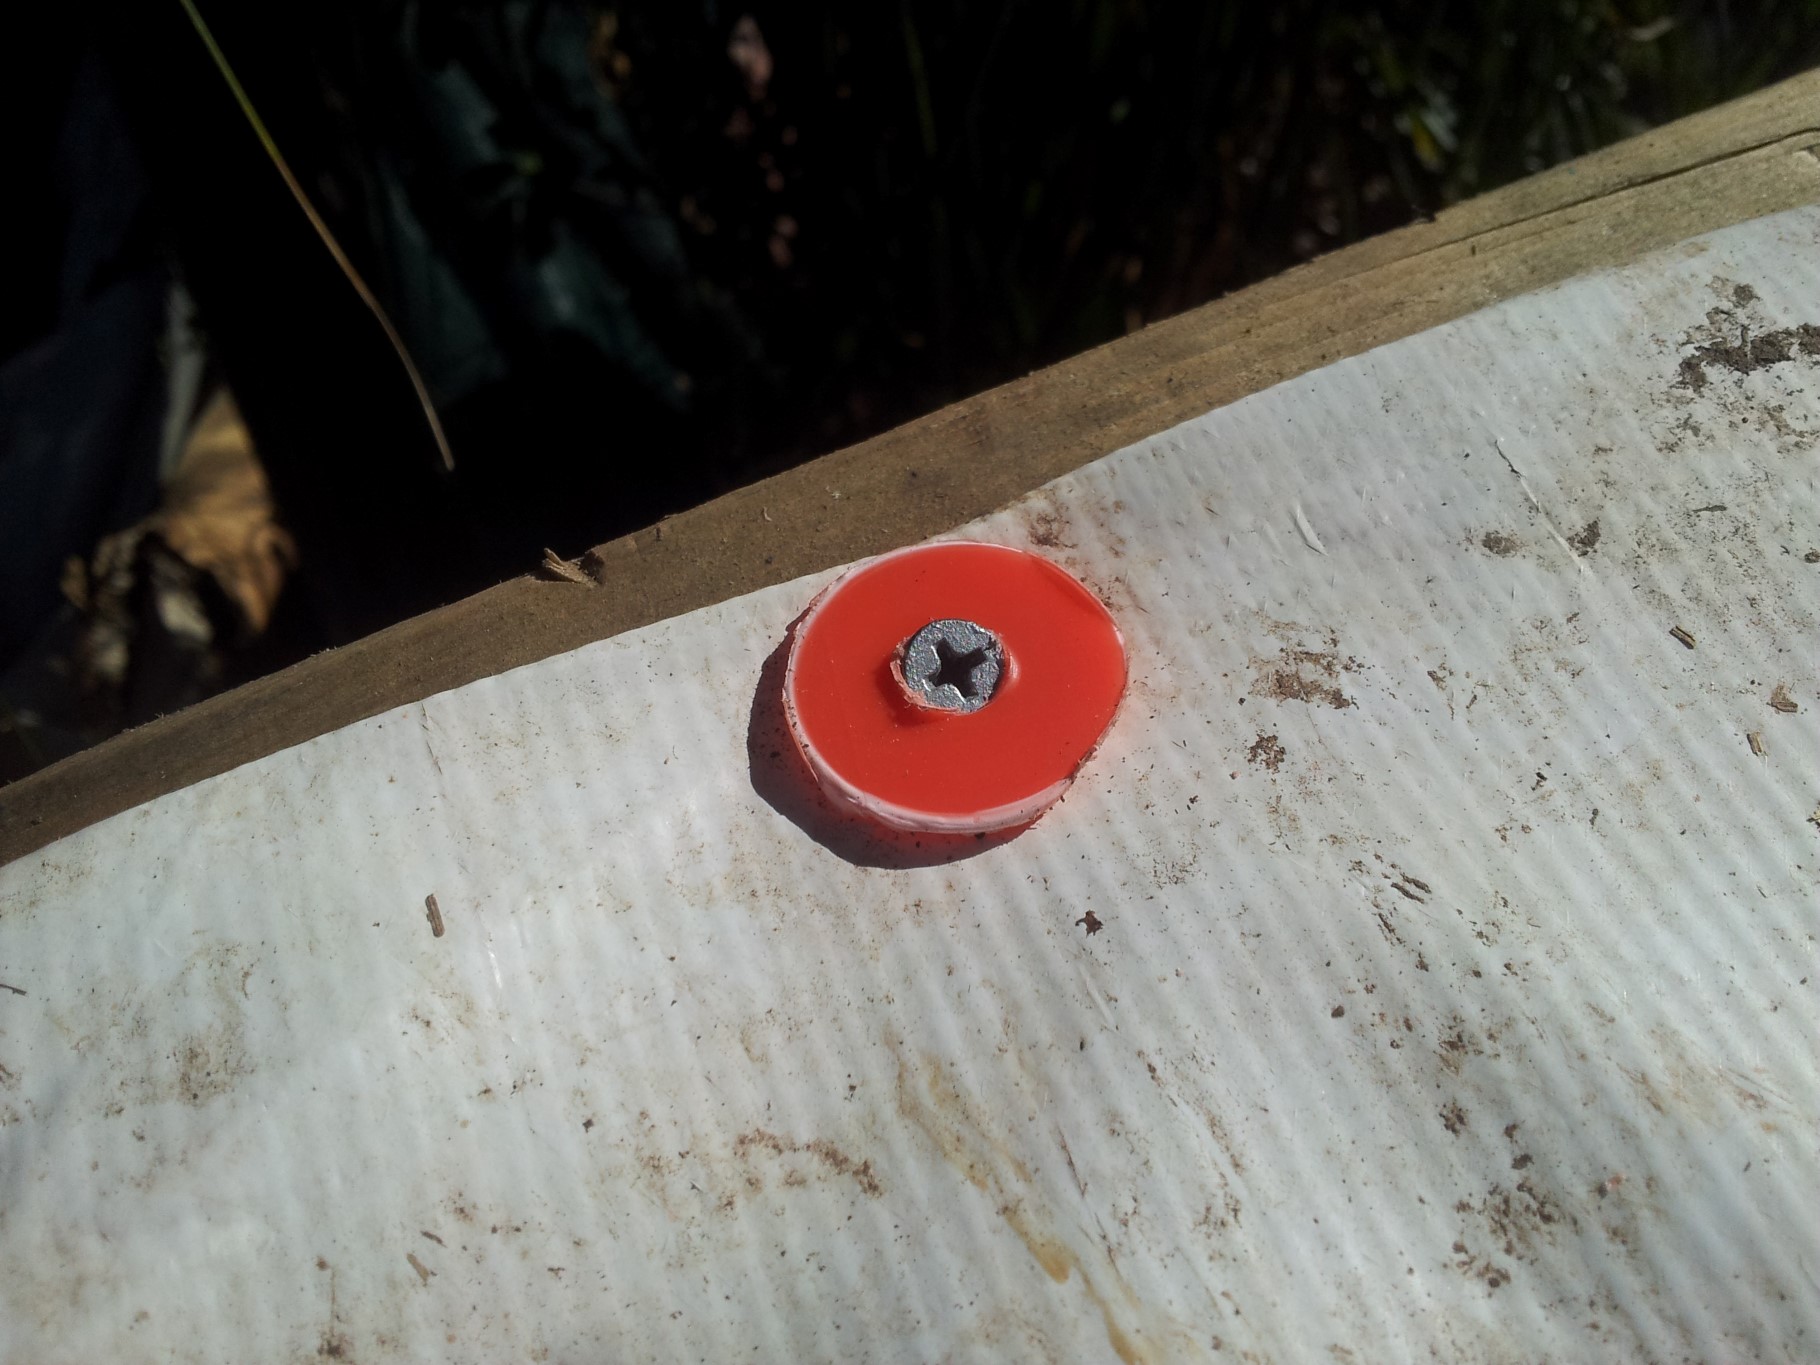
I even recycled the plastic cutouts from the hole saw. They made great washers to hold the banner vinyl. Now that’s some level 5 upcycling!
I put all the reservoirs in place, marked the outlet position and used a hole saw to drill through the side of the tub. A liberal application of outdoor silicon was then smeared around the exit pipe internally and externally to seal off the gaps in the hole.

I recommend you consider where you put the vertical fill pipe. I wanted to ensure I had easy access to it, especially once the bed was filled with vegetation.

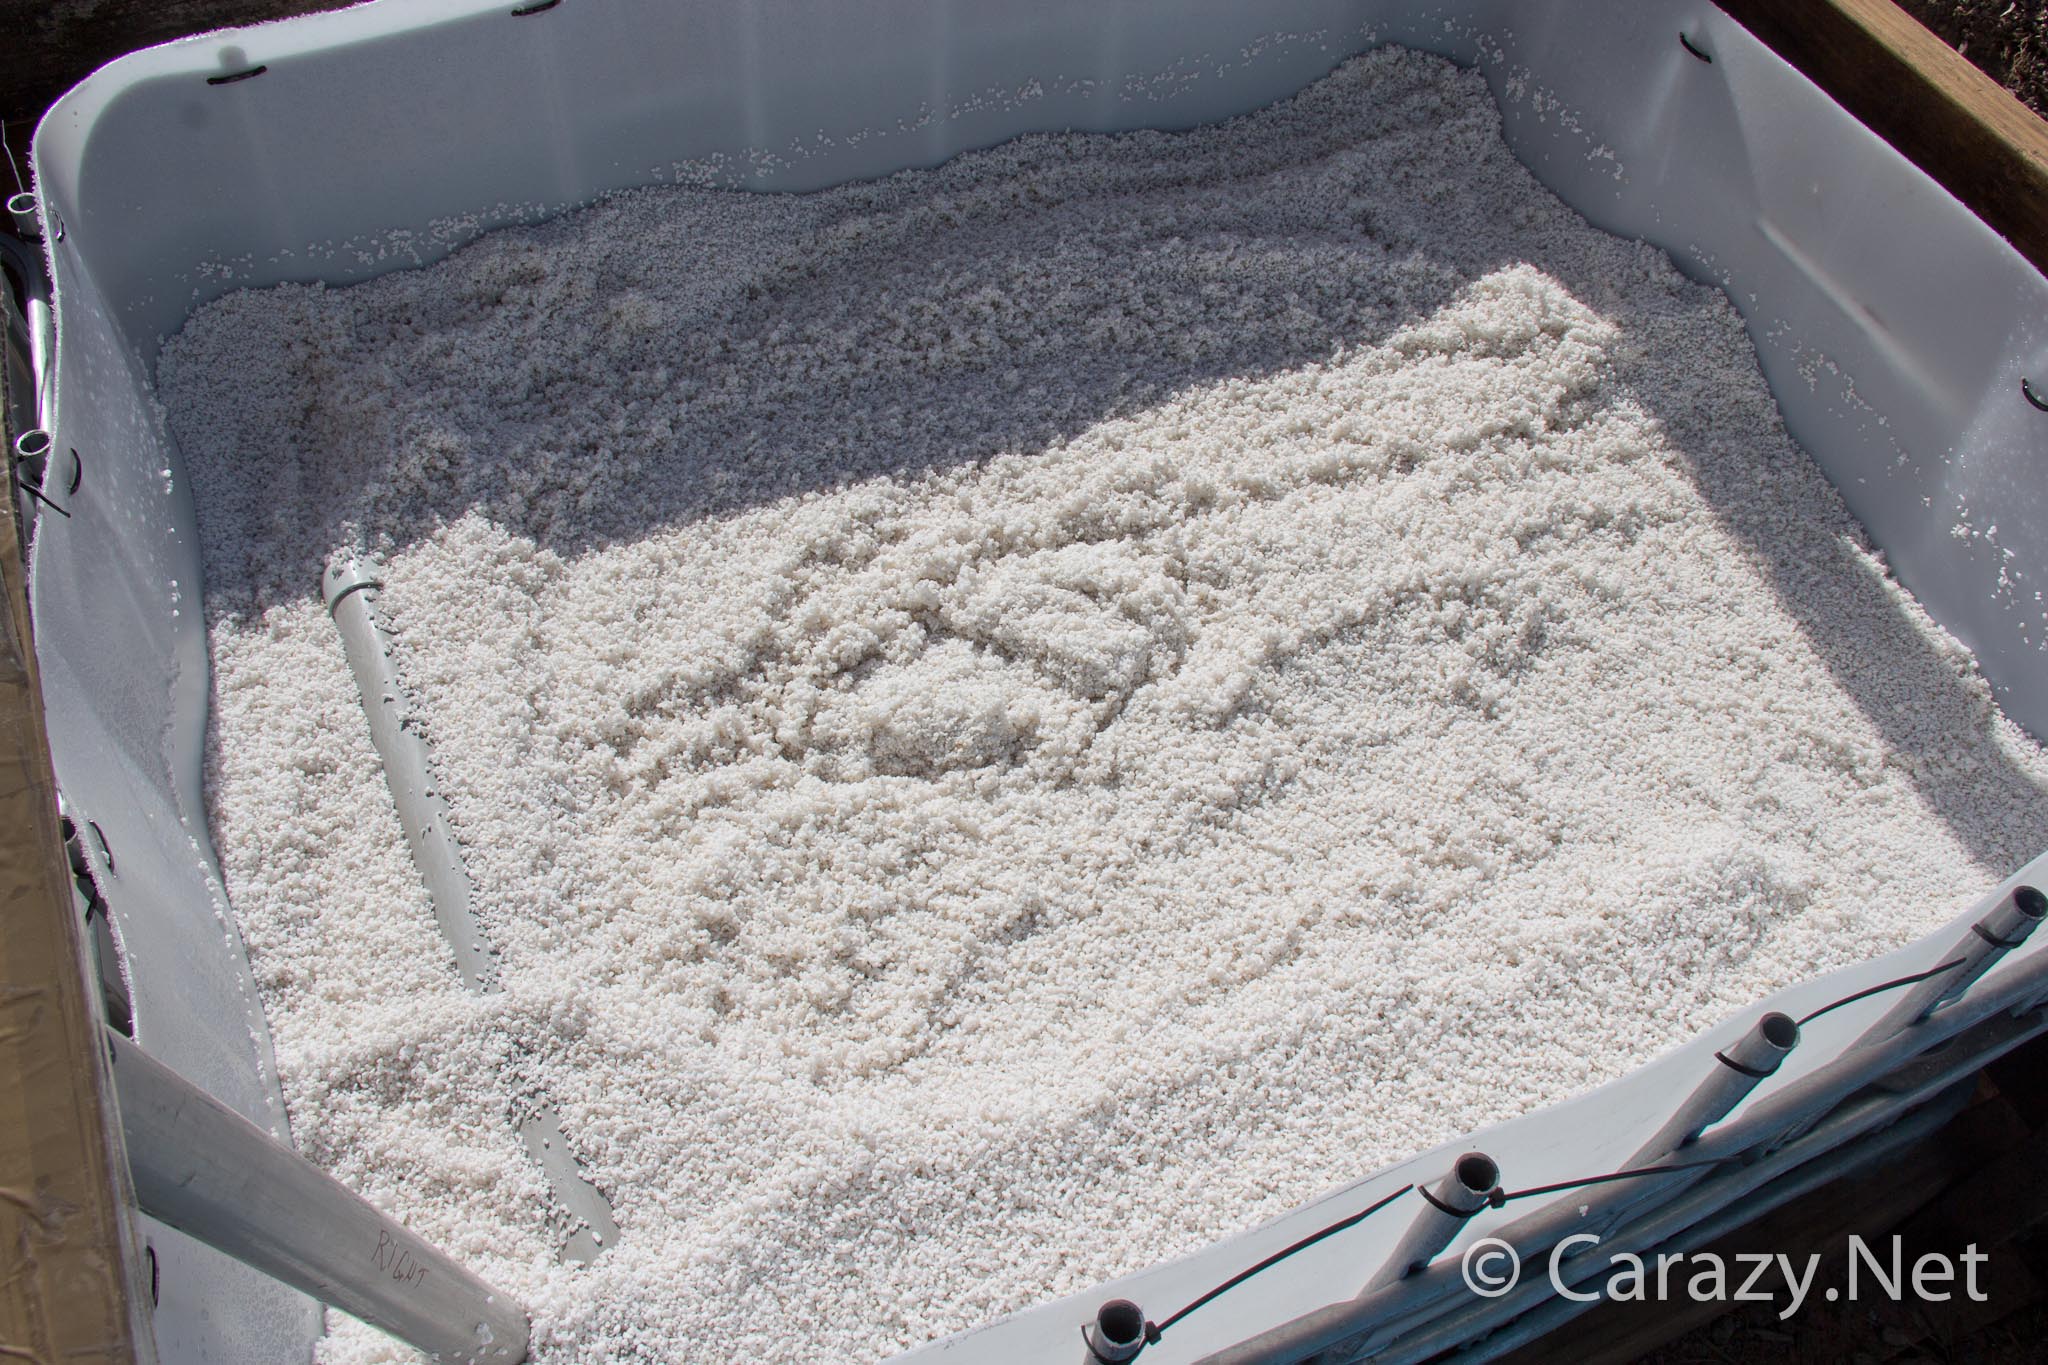
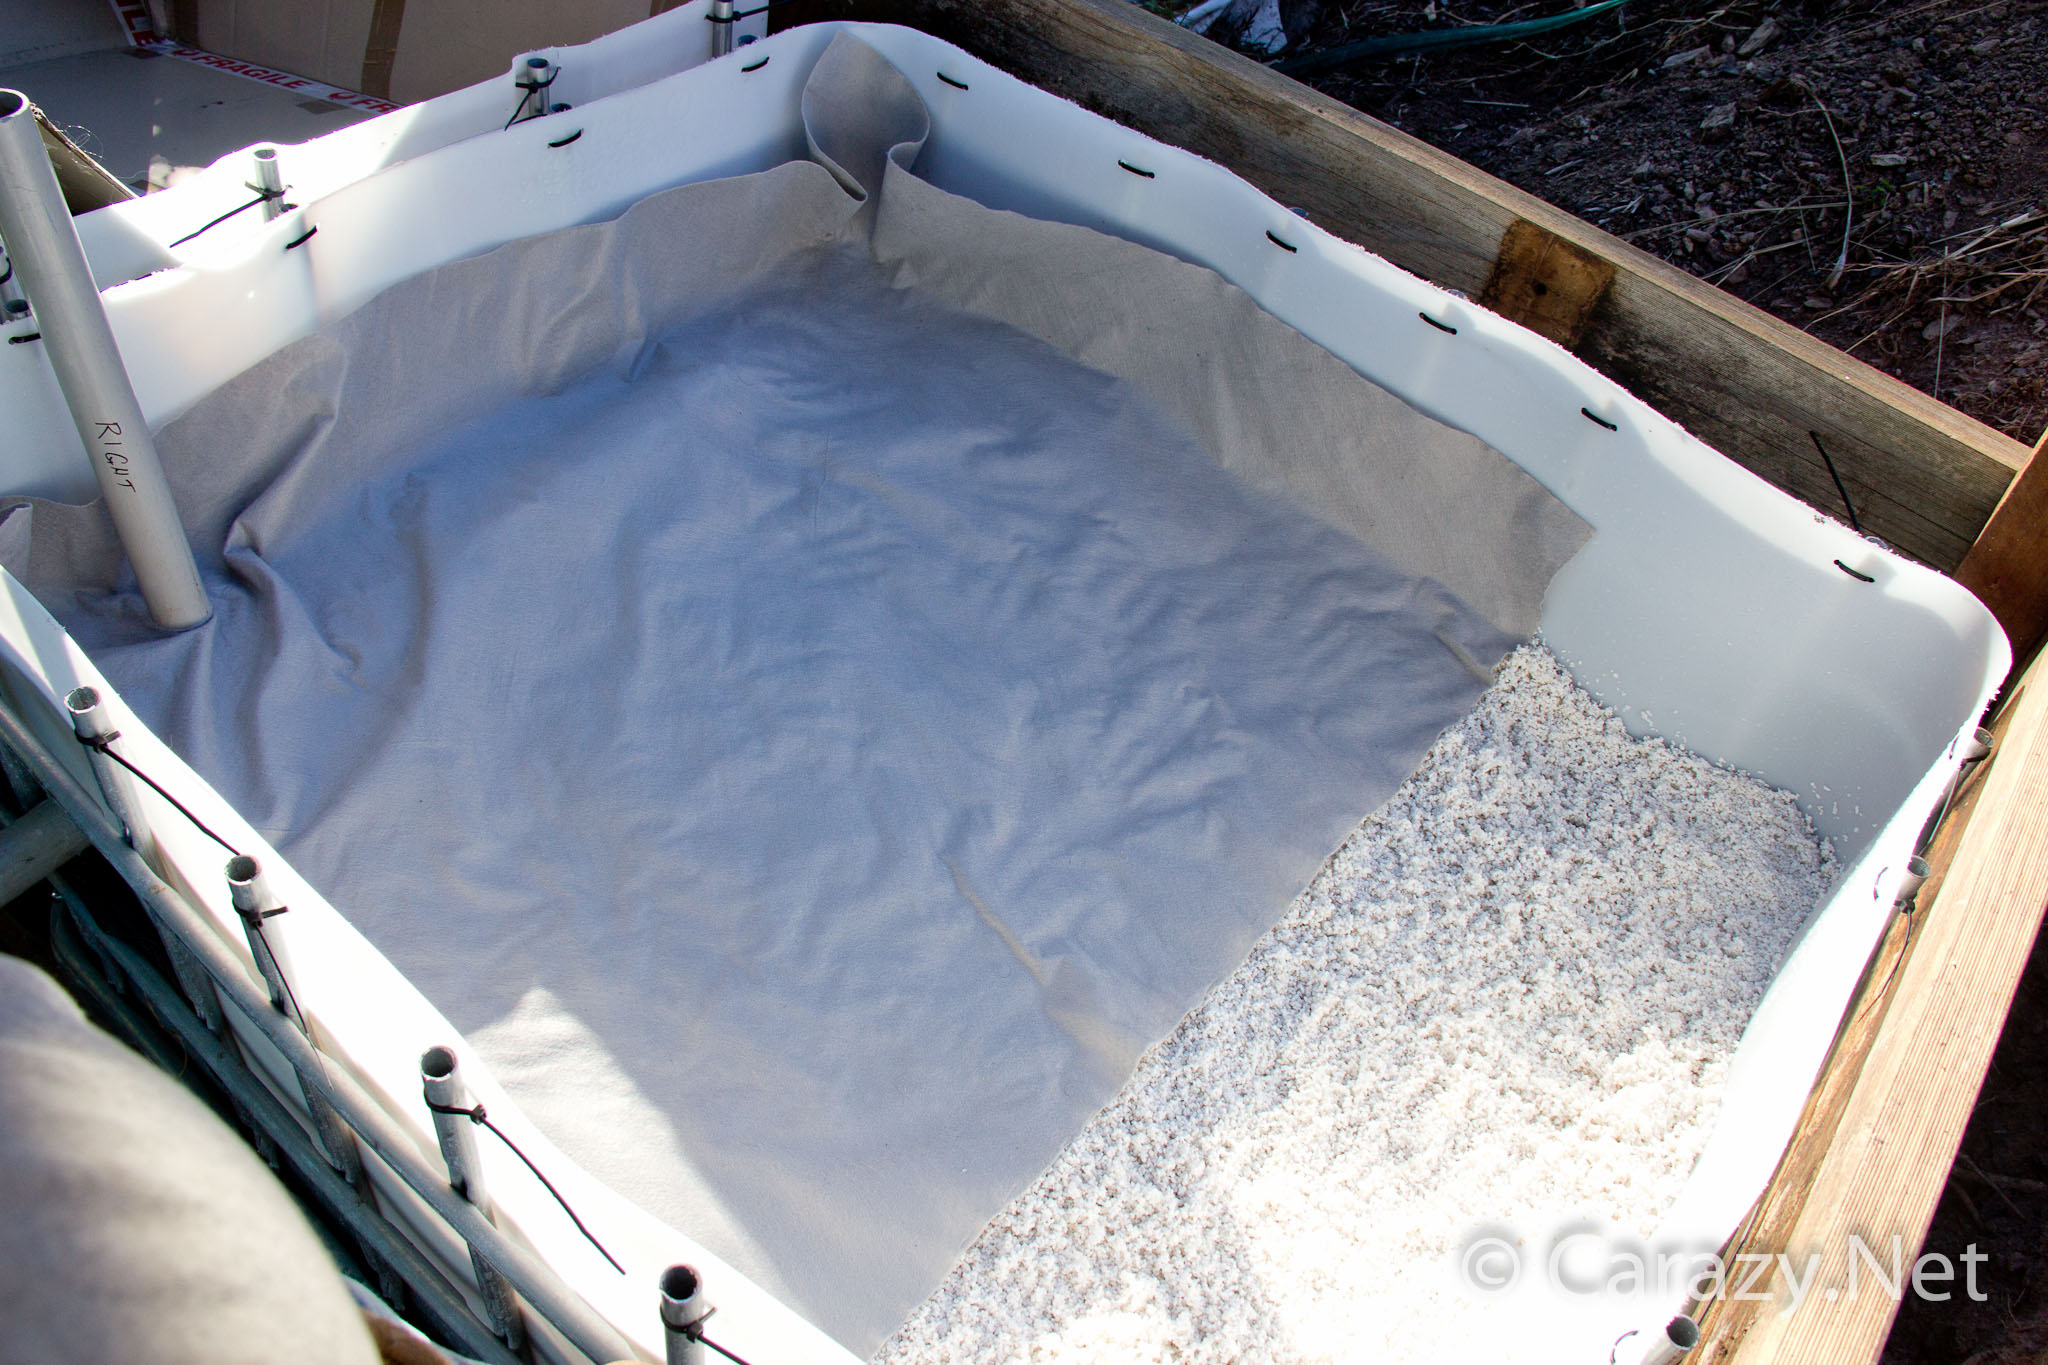
Once the silicone was cured I then wet down the perlite in the bag to minimise dust and poured it in until it covered the reservoir by about 50mm (2″). You might want to have a pair of sunglasses handy as the glare of the sun reflecting off the pure white gives you temporary snow blindness. Being my first experience handling perlite I made the mistake of filling the tub too early and it ended up floating everywhere. It’s basically like trying to submerge styrofoam beads. I had to syphon out the water using a hose with shadecloth on the end.
Once the floating issue was resolved I could then use my hands to push the granules down between the two reservoirs and slightly compact it to minimise any large air gaps between the particles. This would reduce the whole bed from settling and sinking by a large amount as well as increasing the wicking capability of the perlite.
To prevent any fine sediment in the topsoil from dropping into the bottom layer and clogging up the perlite, I then added a layer of geofabric. I cut a hole to slide it down the inlet pipe and allowed extra length of at least 100mm (4″) to go up the four sides to ensure a better separation of layers.
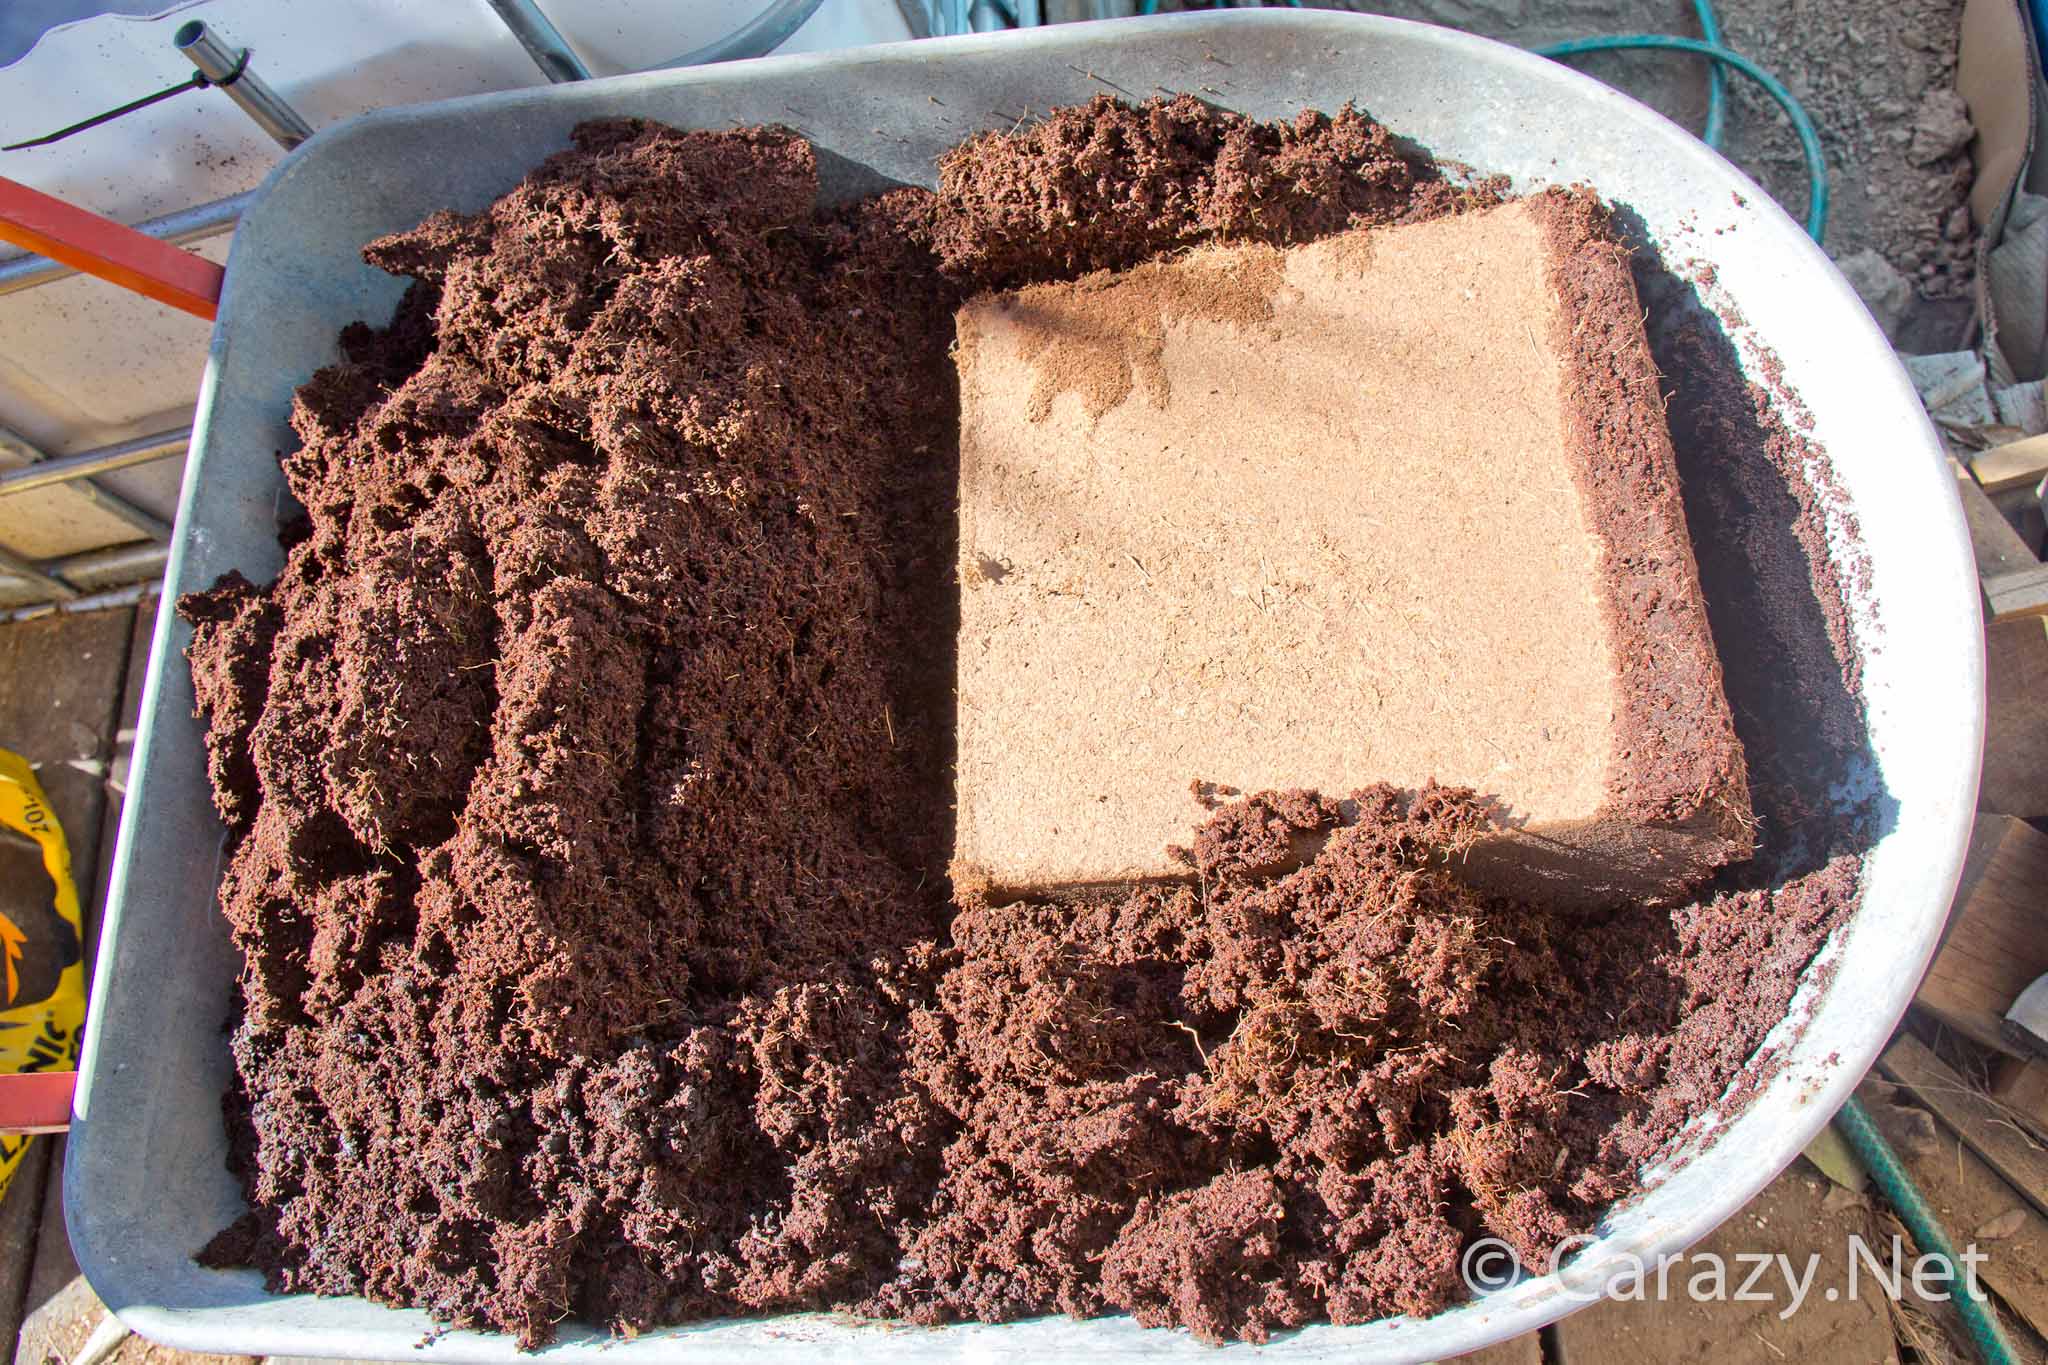
The final layer is my growing media which is composed of 3 blocks of coir (180L) half a bag of vermiculite (50L) and pelleted chicken manure I bought for my fruit trees. I was planning on using horse manure but what I had was fresh and not being composted meant there was a good chance I’d corrupt my topsoil with weed seeds that may be in it. I added sparse layers of sugar cane mulch as I intend on adding earthworms into the bed and they’ll want something to feed on. After seeing the magic they did when I mulched my bedrock like clay soil with a thick layer of sugar cane, their addition to the bed can only be a good thing.
I put the manure pellets into my wheelbarrow with water and put in a coir brick to soak till it fluffed up.
Photo taken at 10:48am with wheelbarrow almost full of water.

Photo taken at 11:05am(17 minutes later) with all water soaked up, but only about ⅓ of the block has crumbled away.
I then added the vermiculite and mixed it all by hand. If you have the space then you could do this easily by putting everything on a tarp and mix it by lifting and pulling each of the corners one by one. Then I transferred the mixture to the centre of the bed and used my hands to carefully push the topsoil outwards towards the sides. This ensured that I could build up the edges and corners gradually and keep the geofabric pushed nice and cleanly against the sidewall ensuring a good seal and thus separation of topsoil and perlite layers.

Done. Now all I need is for my seeds to magically sprout overnight and turn into seedlings in two days!

Here’s a video on the process.