
I was pretty stoked to see some of the vegetable seeds I had planted come up. They were struggling a bit being winter and me not giving them as much water as they’d probably like. I’d also neglected to do any weeding and so the infestation of Wandering jew had crept into my designated garden bed area as well as the usual scattering of cobblers pegs, the bane of socks and pants everywhere. I had just restarted using my Bokashi bin and there was a heap of juice ready to be used so I diluted it and watered the few vegetables that were poking their heads up.

When I went to check the plants four days later, quite a few had grown three time their size! Bokashi magic! A few days later, almost all off them had pretty much been decimated by possums. Not happy. The idea behind the netting below is that possums don’t like unstable surfaces and so won’t climb the netting. I had used tent pegs to keep it to the ground but I’m guessing they were probably jumping into the patch from nearby trees or getting under.

My friend Aaron and I had located some pallets with 20mm plywood backing so I started dismantling them to use as the sides of the first raised garden bed.

They were then cut down to a height of 300mm.

I used a thin piece of wood to act as a joining pillar. Long 80mm nails and some 75mm screws secured the sides together.


The assembled sides to the raised garden bed.
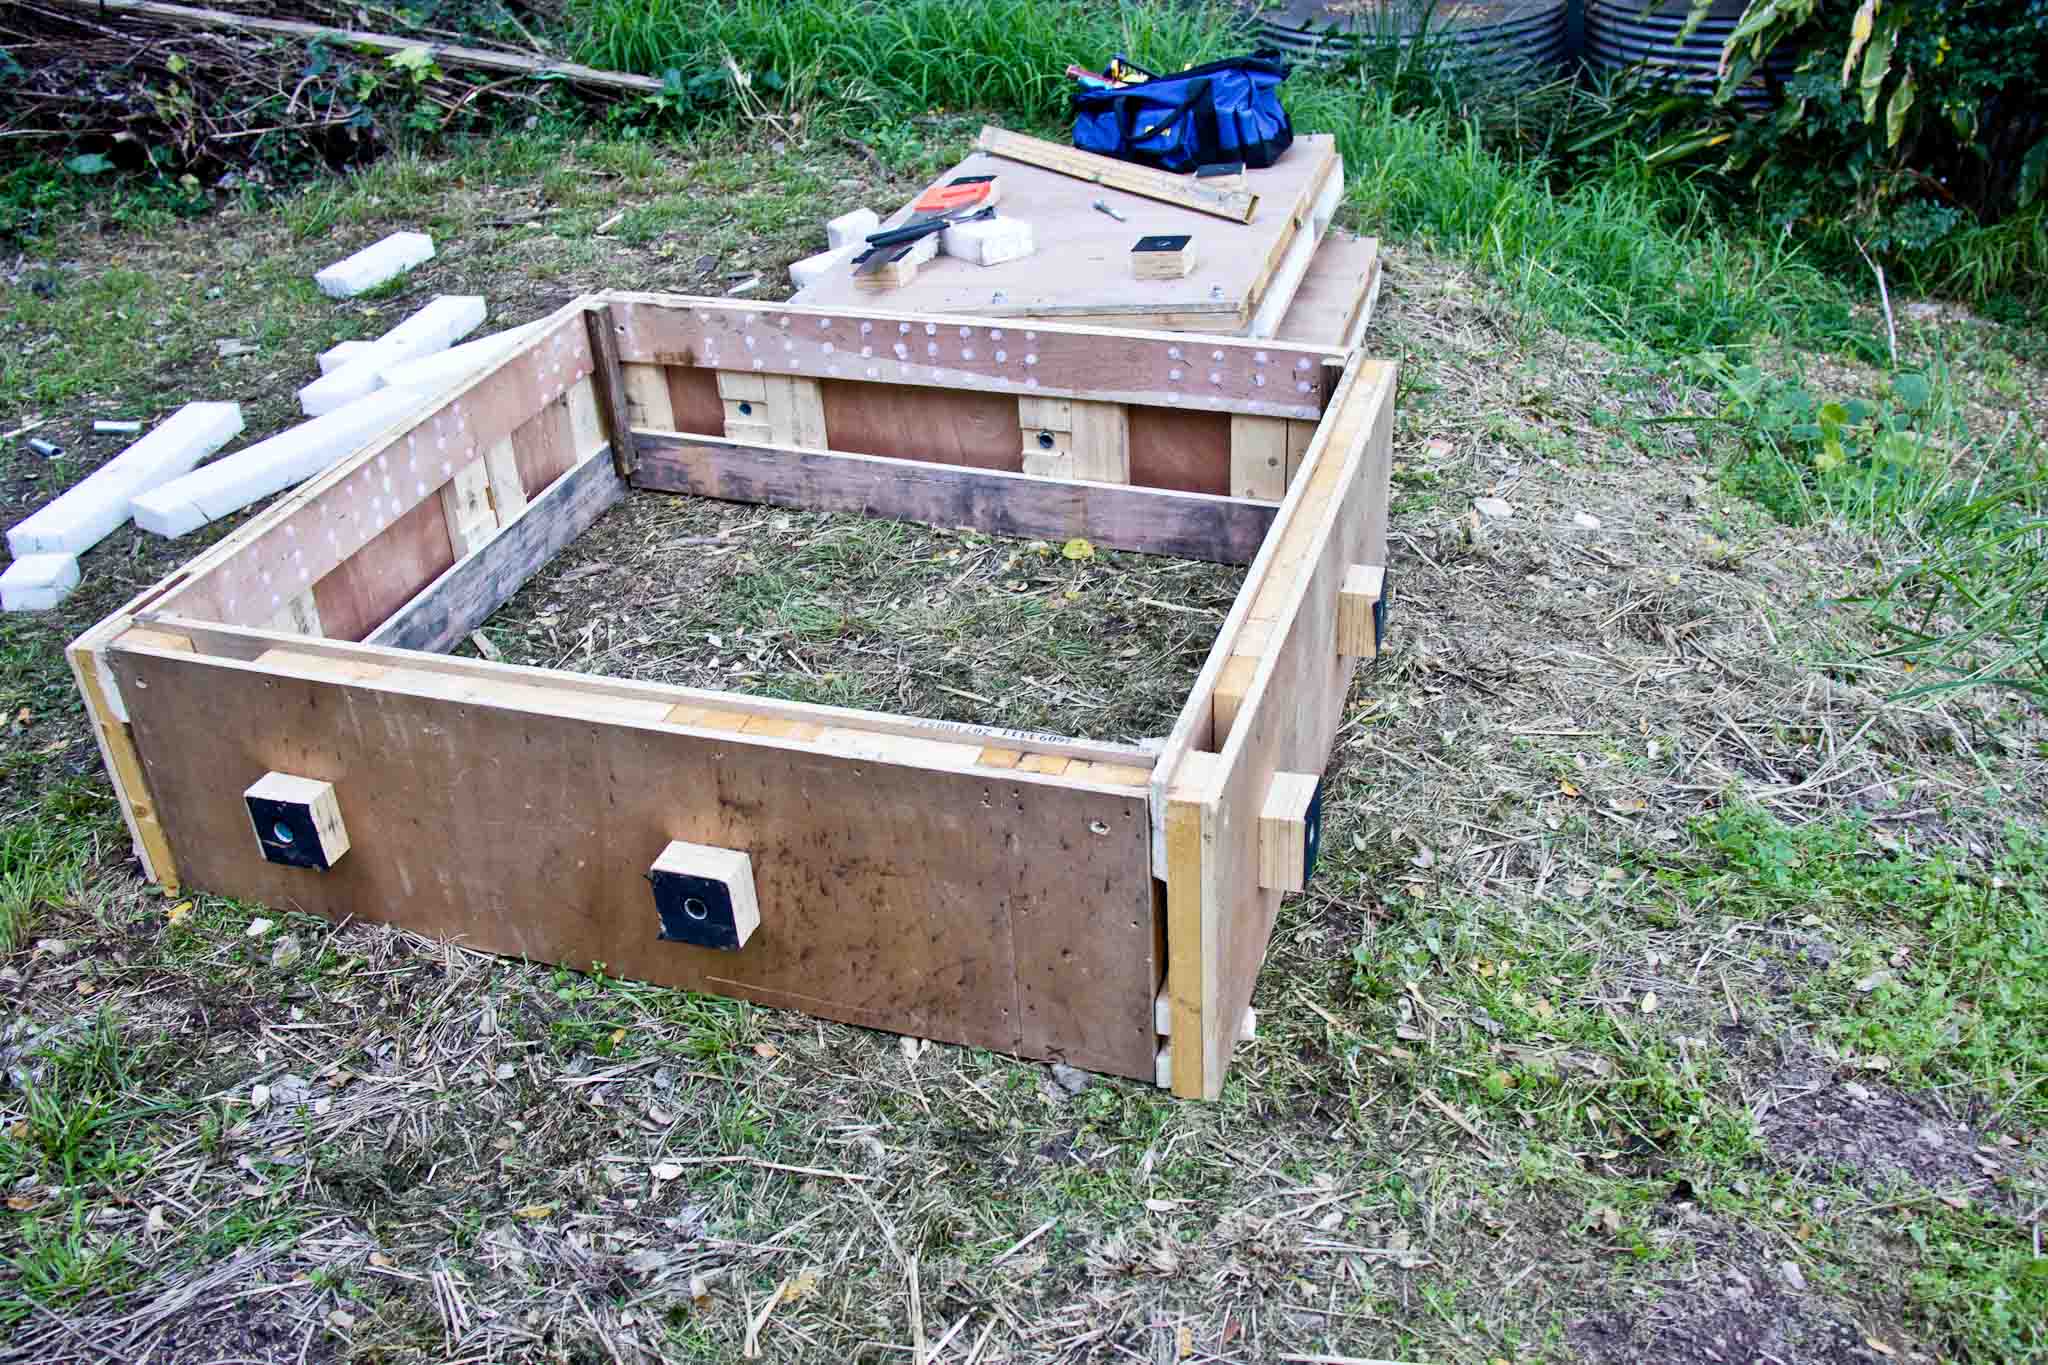
I cleared a spot where I wanted the new bed to be and used a spirit level to get an idea of how much slope there was. As with any project on my property, the steep slope always plays a part in design outcomes.

By the time I’d propped up the downhill end of the bed to get it level it was around 1 metre above the ground!

Offcuts from the pallets and other small pieces of timber were used as infill for the gaps.

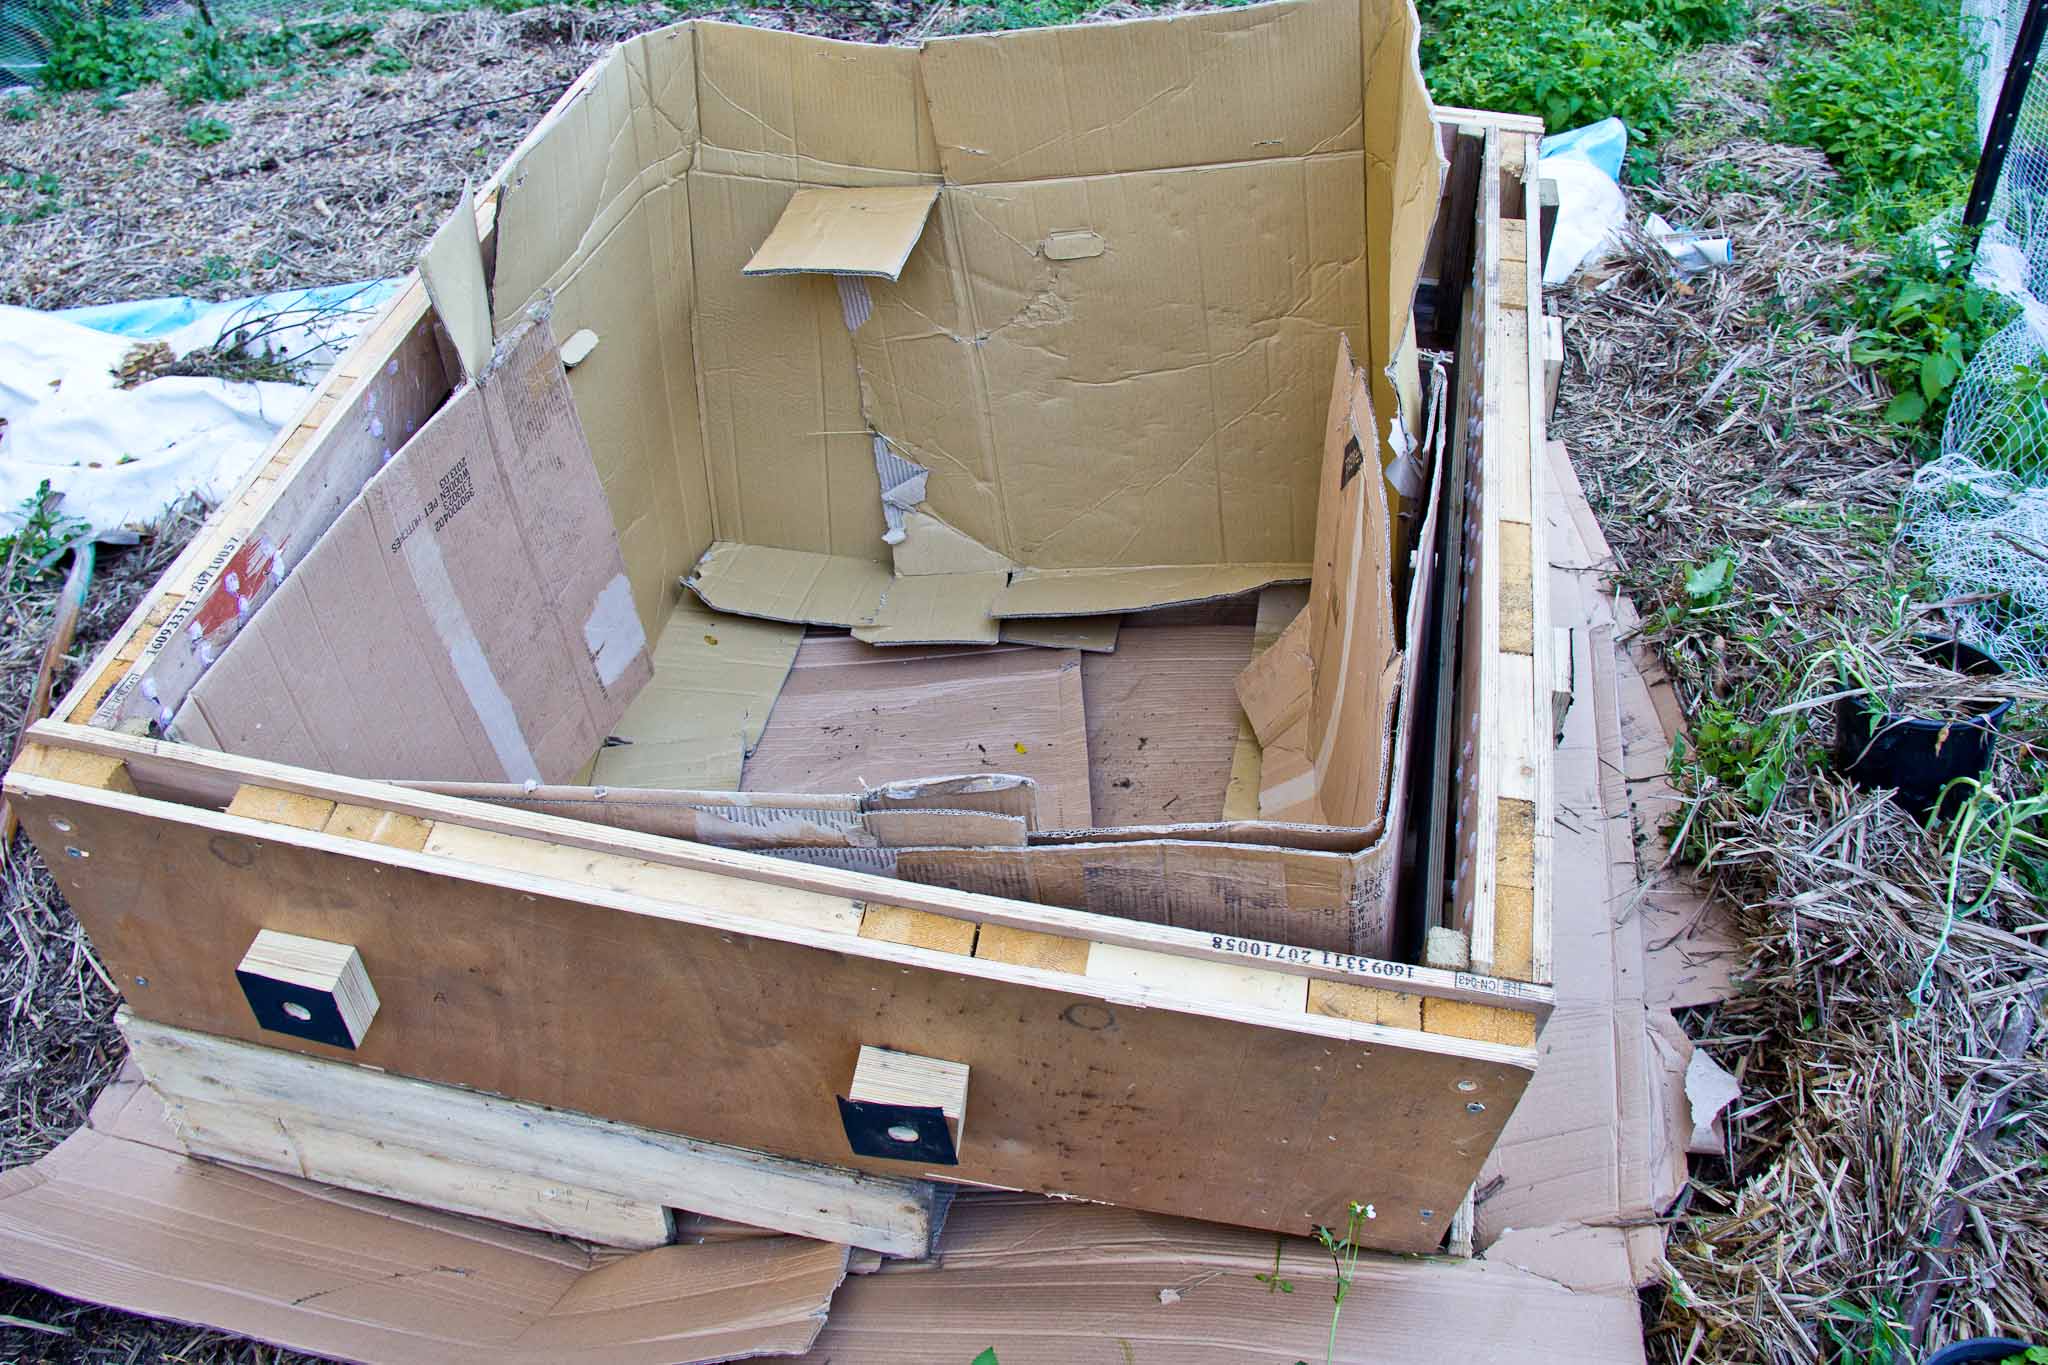
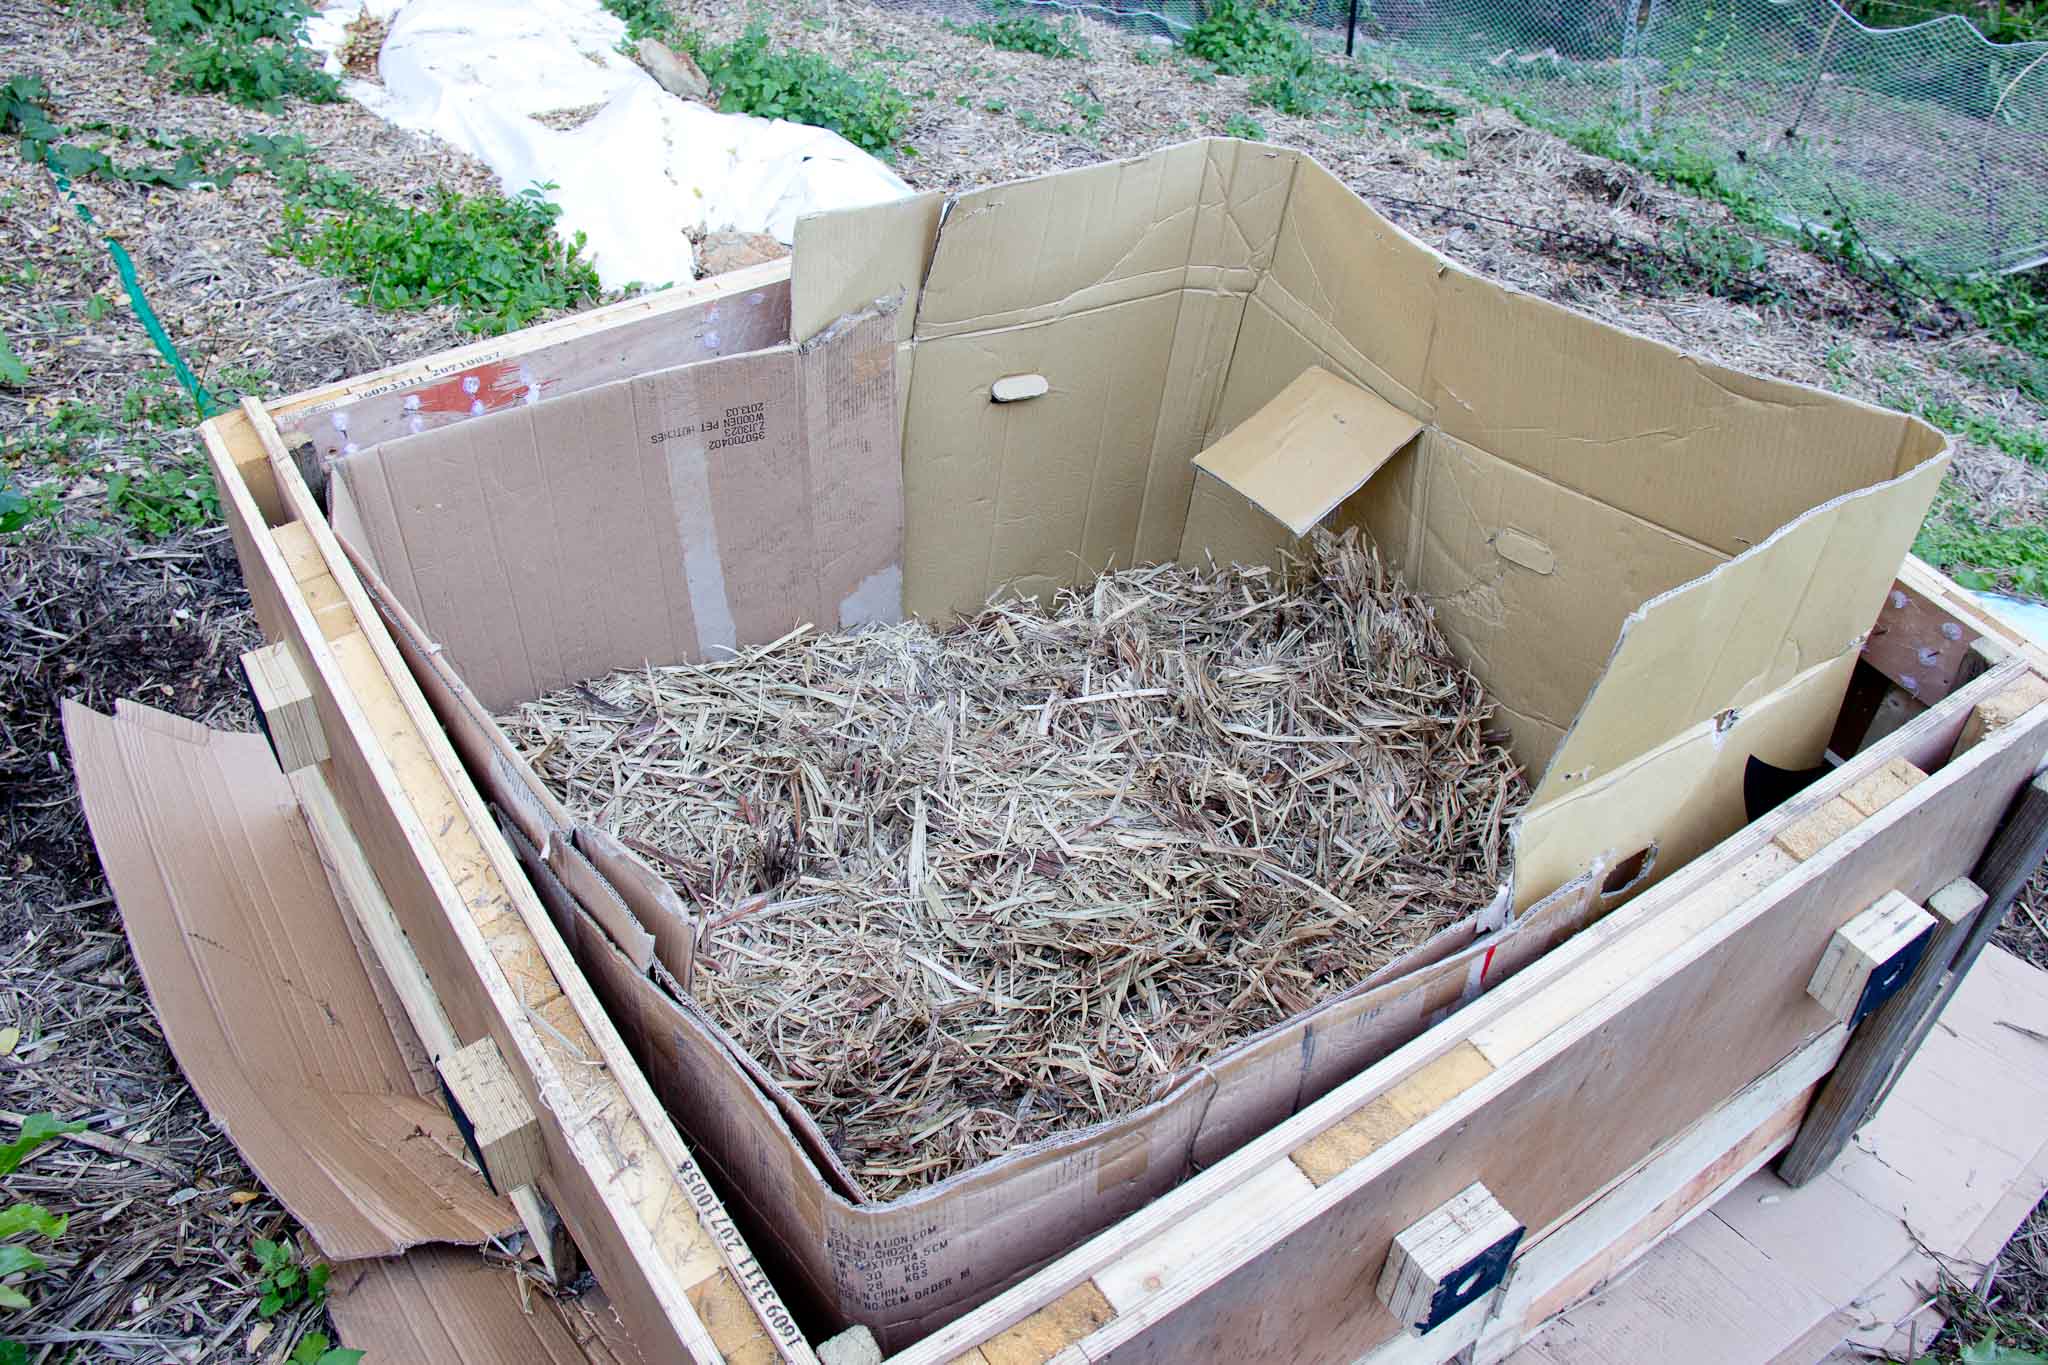
Given that the timber used wasn’t treated I knew it would deteriorate fairly quickly so to elongate it’s lifespan I lined the insides with thick cardboard. The idea being that wet soil wouldn’t be directly touching the timber and that the small air layer between the cardboard and frame would allow it to dry.
To get sealed corners, cut/tear a 300mm cut.
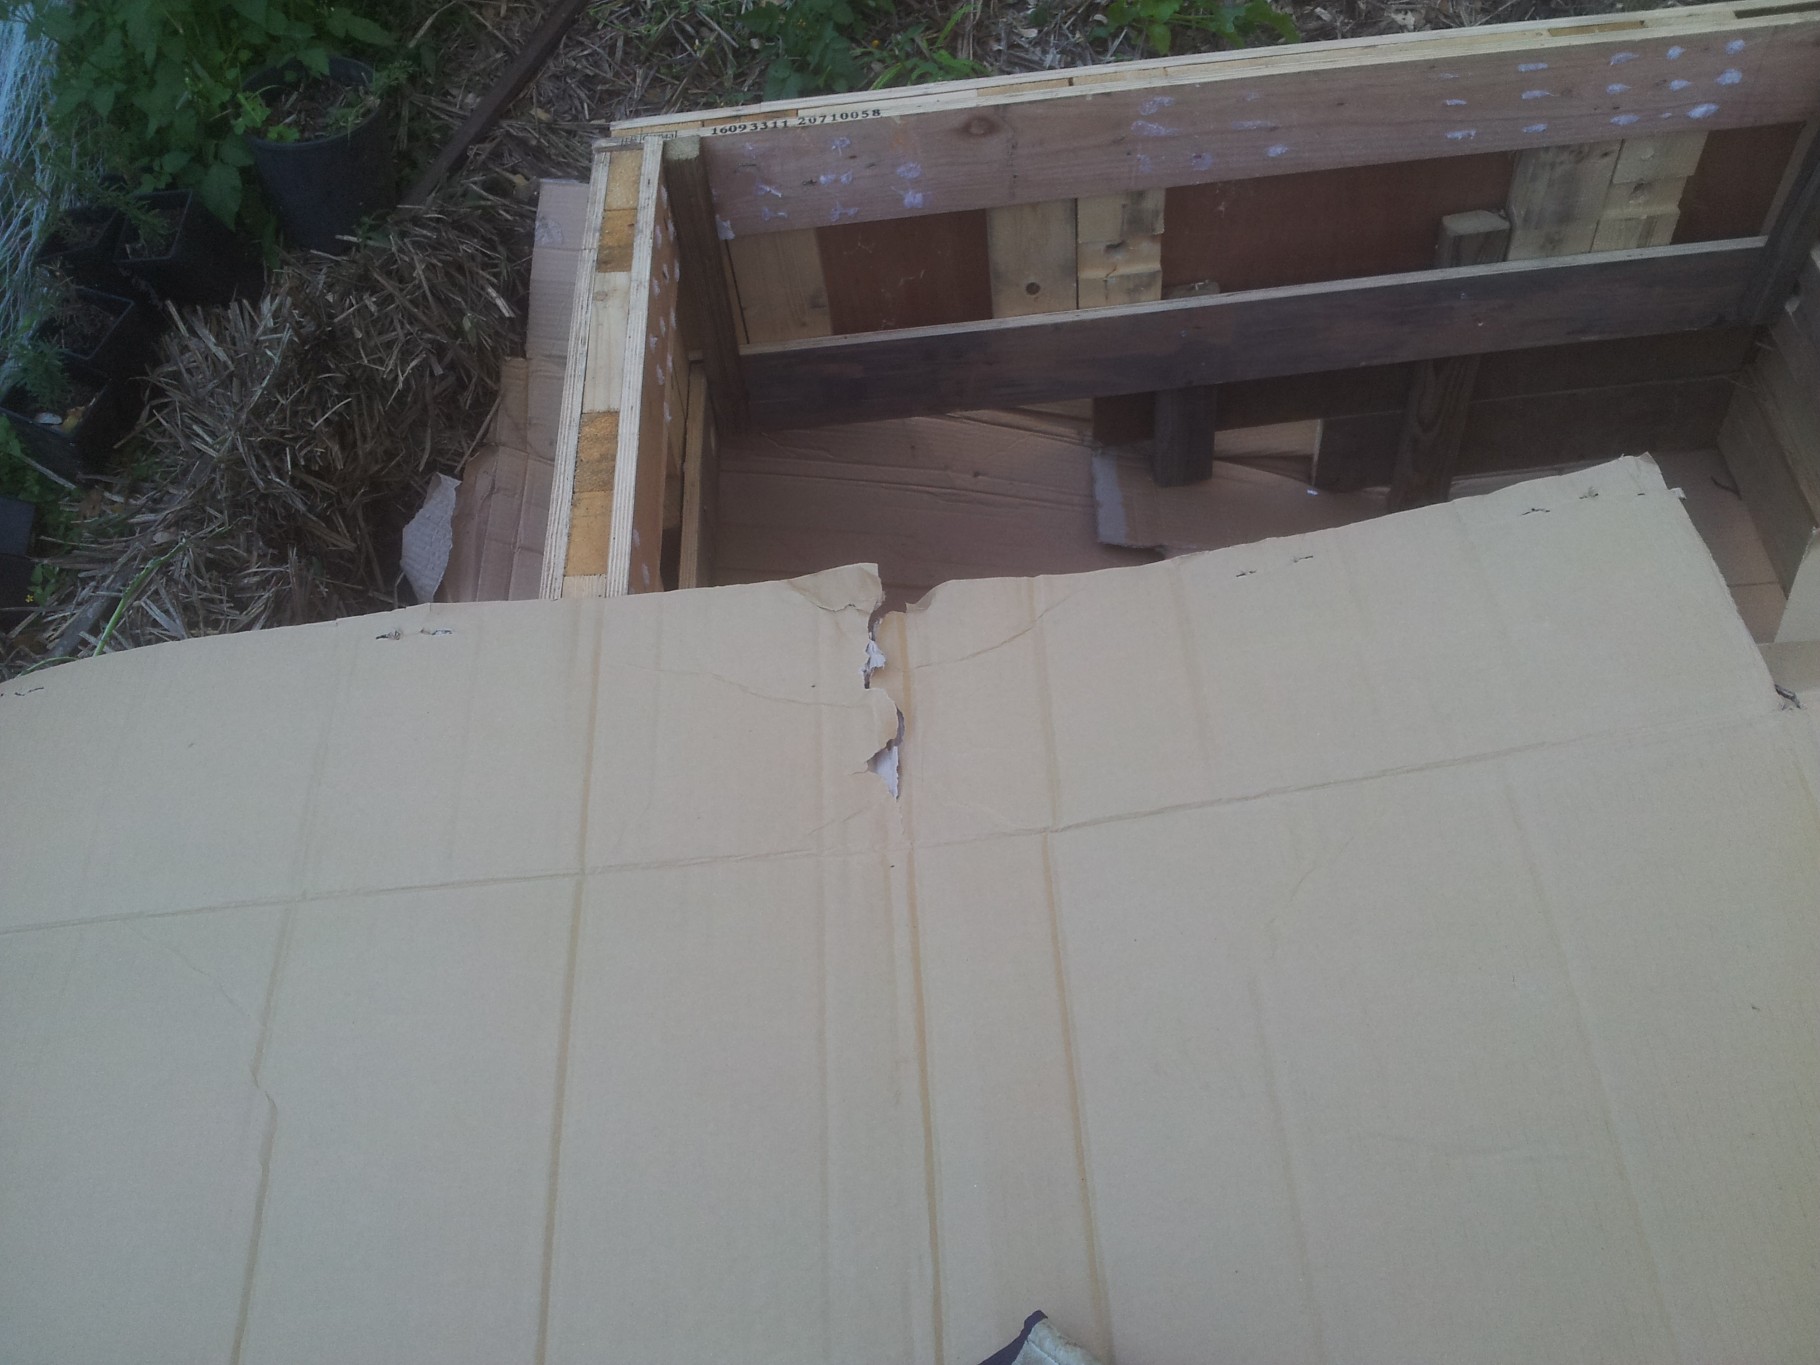
Fold like so.
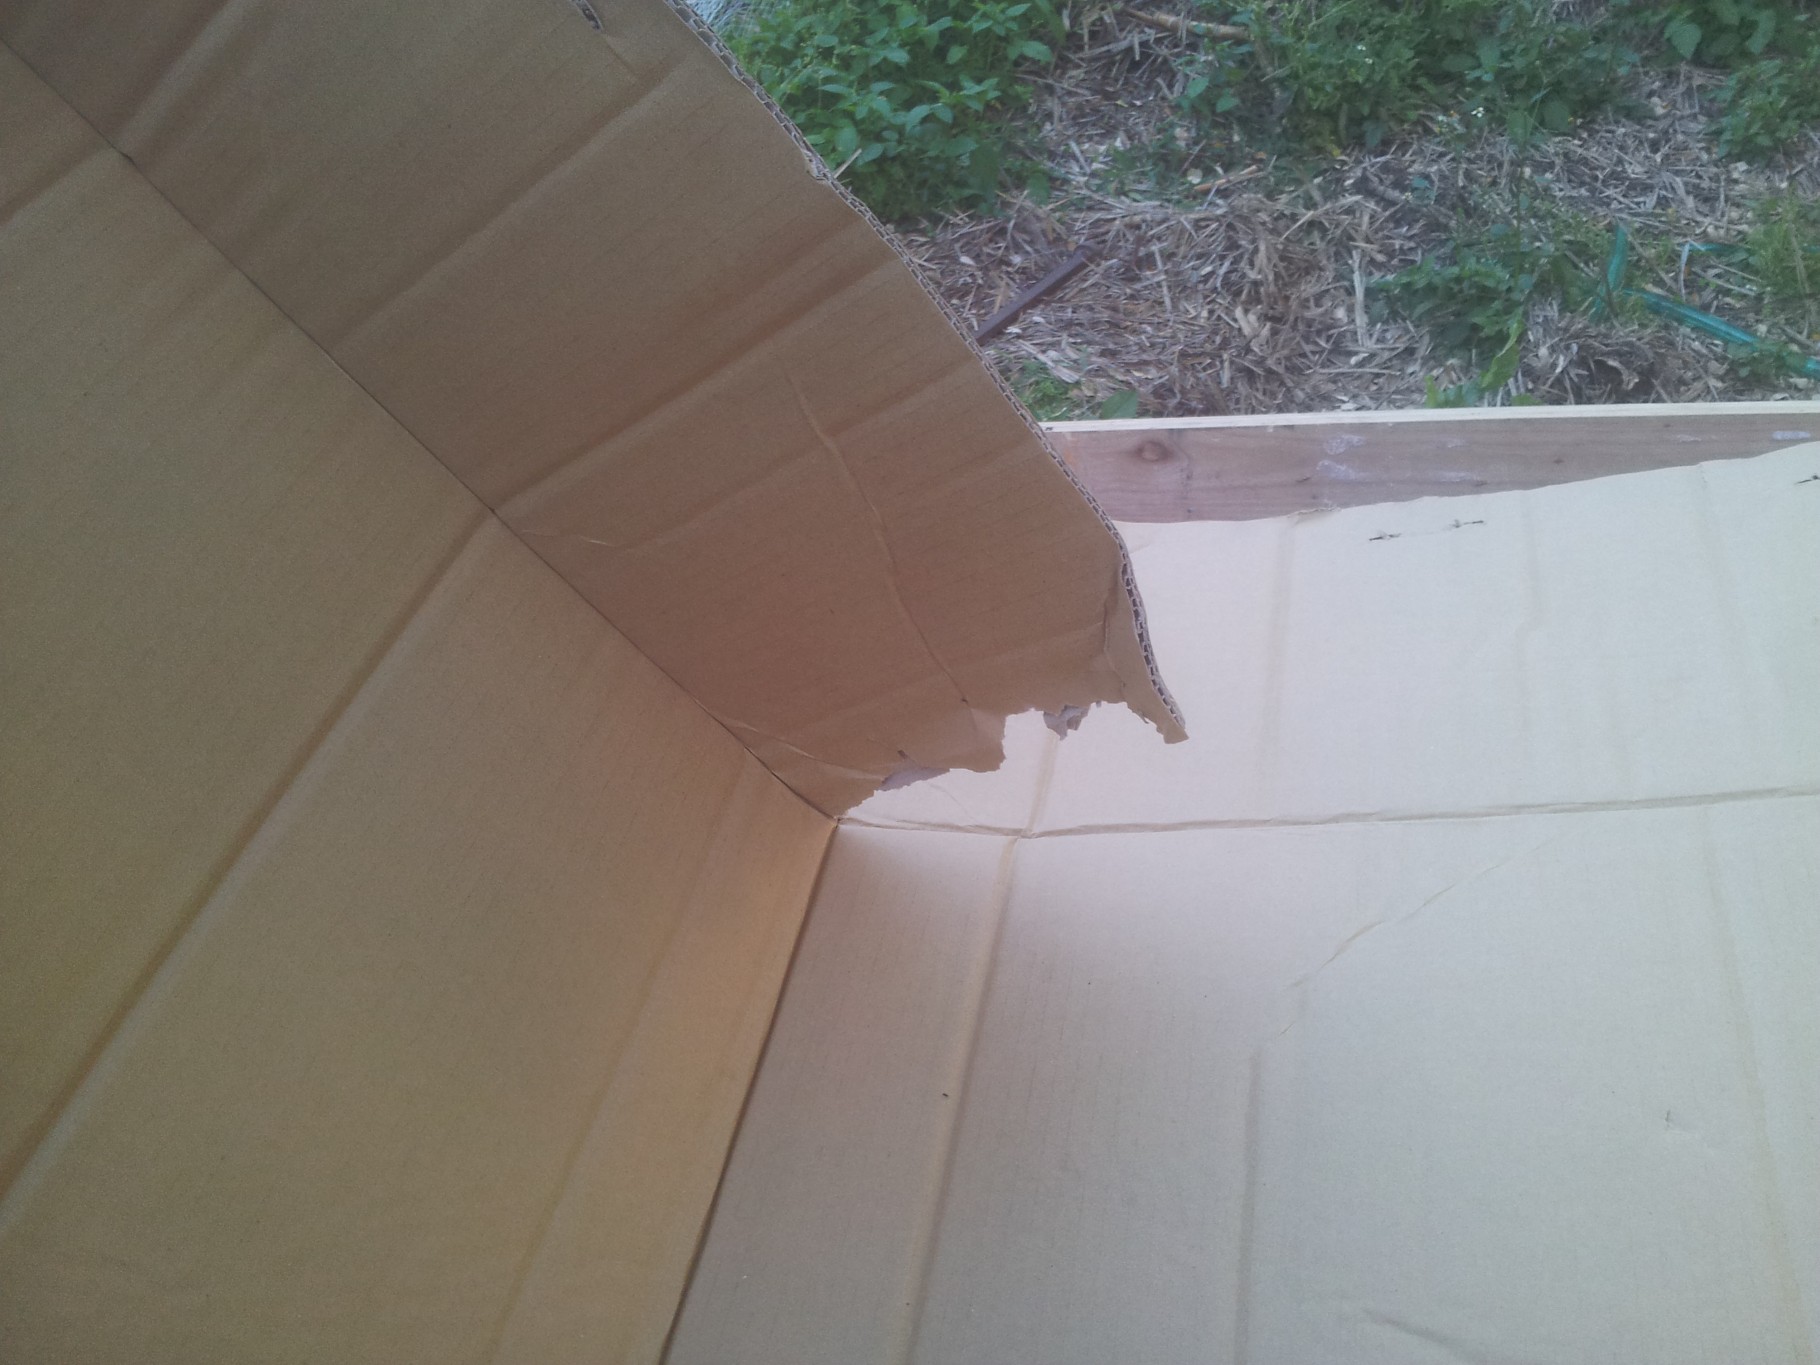
Insert into corner of box.

The cardboard also helps contain the growing medium in the bed. I started with a thick layer of sugar cane mulch. About one pad thick. (The bales come apart in thick pads)
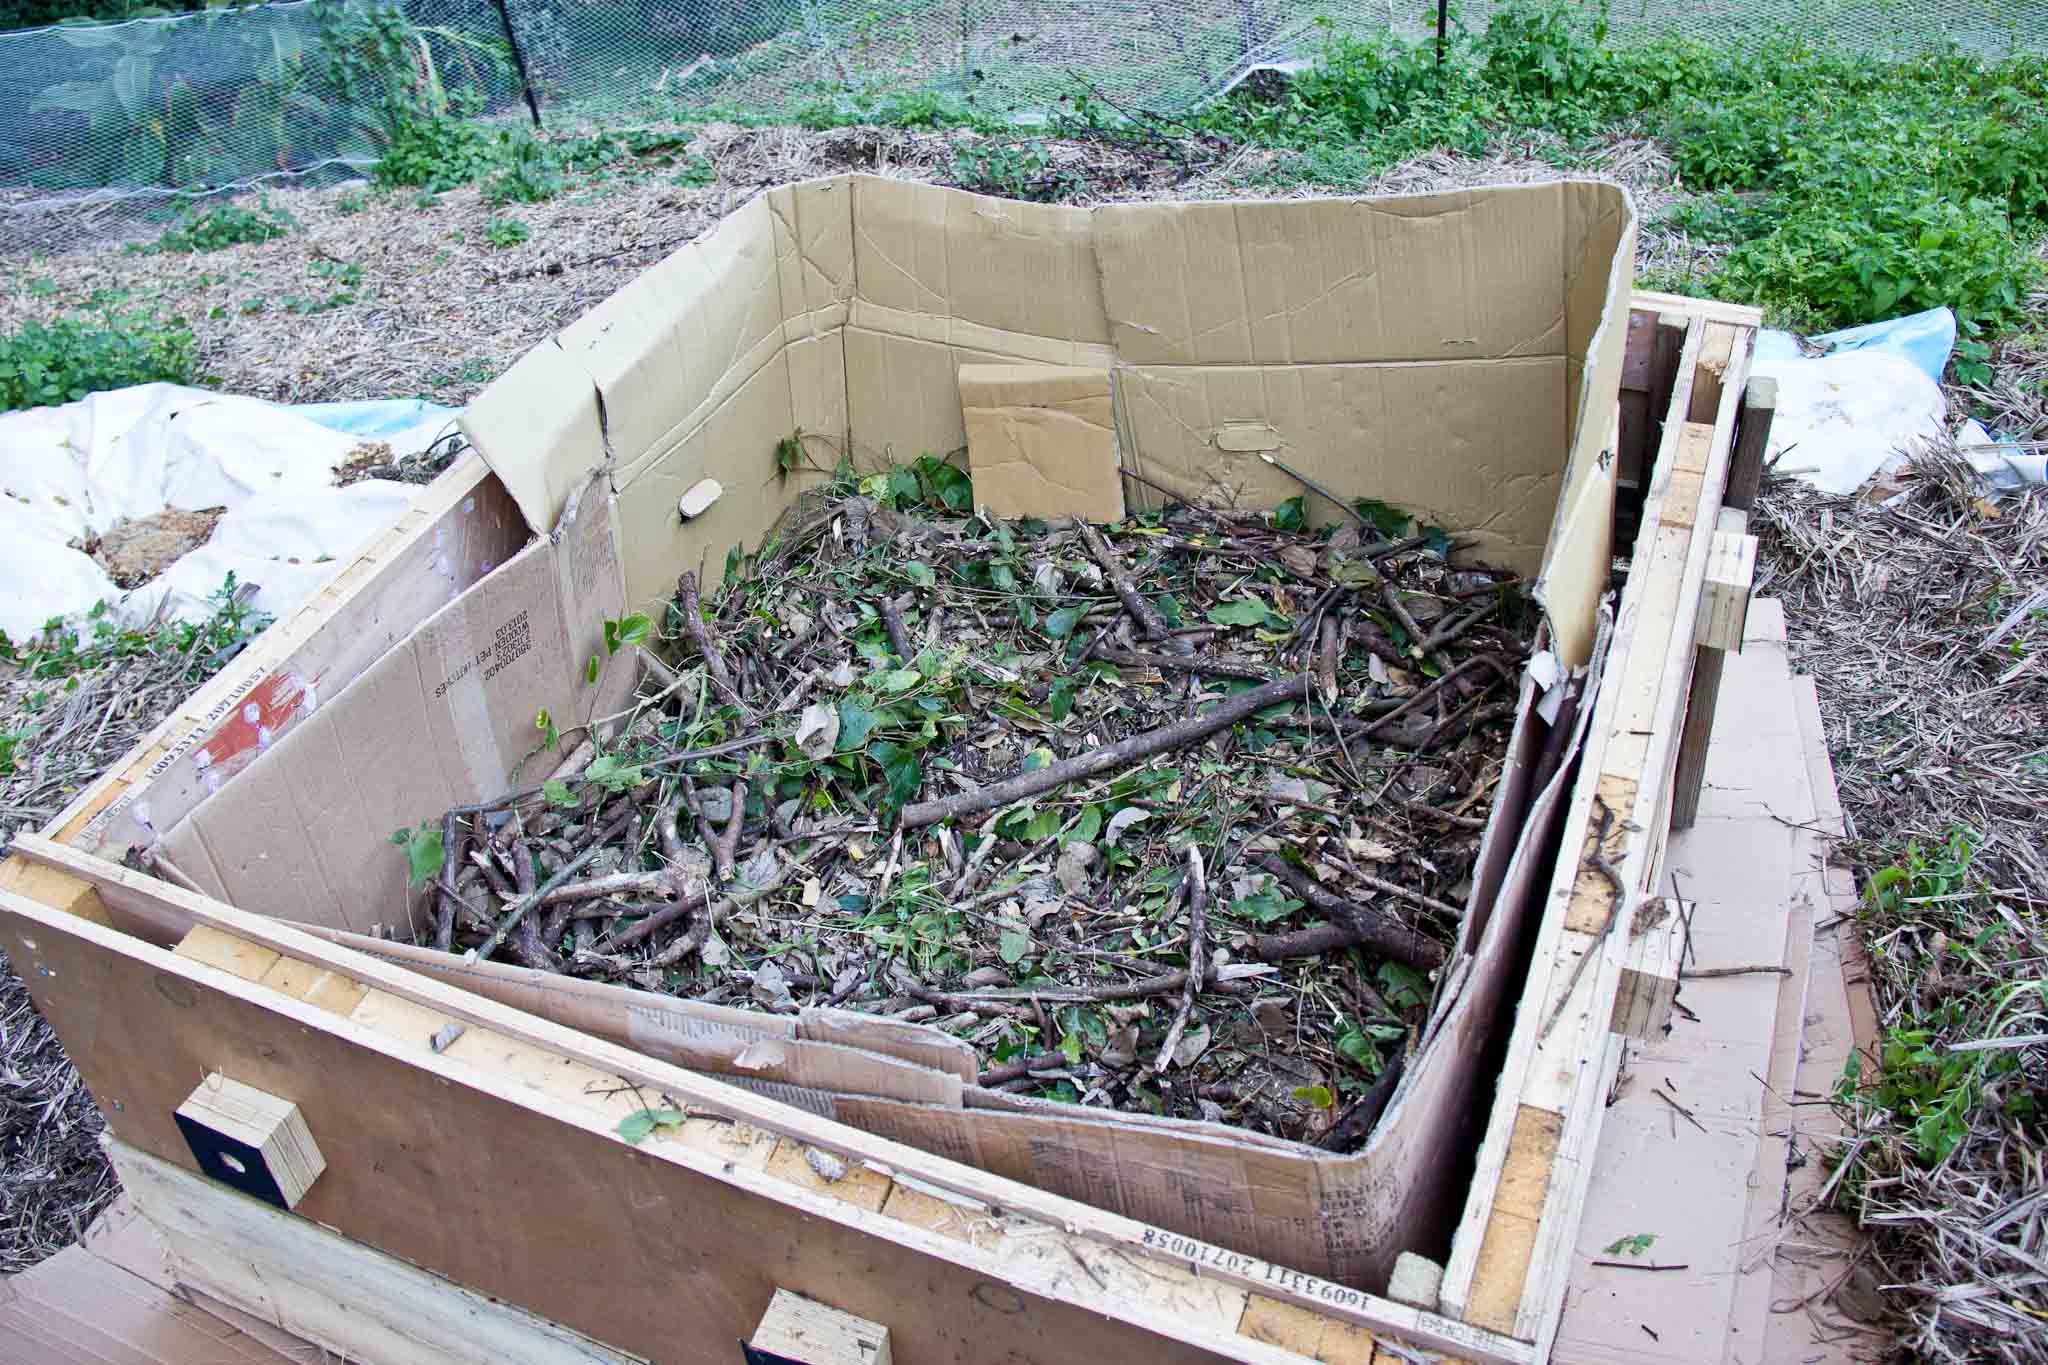
I didn’t anticipate the downhill side being a metre high which meant that the bed would require a ridiculous amount of material to fill it. Fortunately for me I needed to get rid of a substantial number of small tree branches that were left over from the hugelkulture pile. So using a chainsaw I chopped them up into small pieces and filled a deep layer of woody material stomping it firmly down such that only 300mm was left to the top.
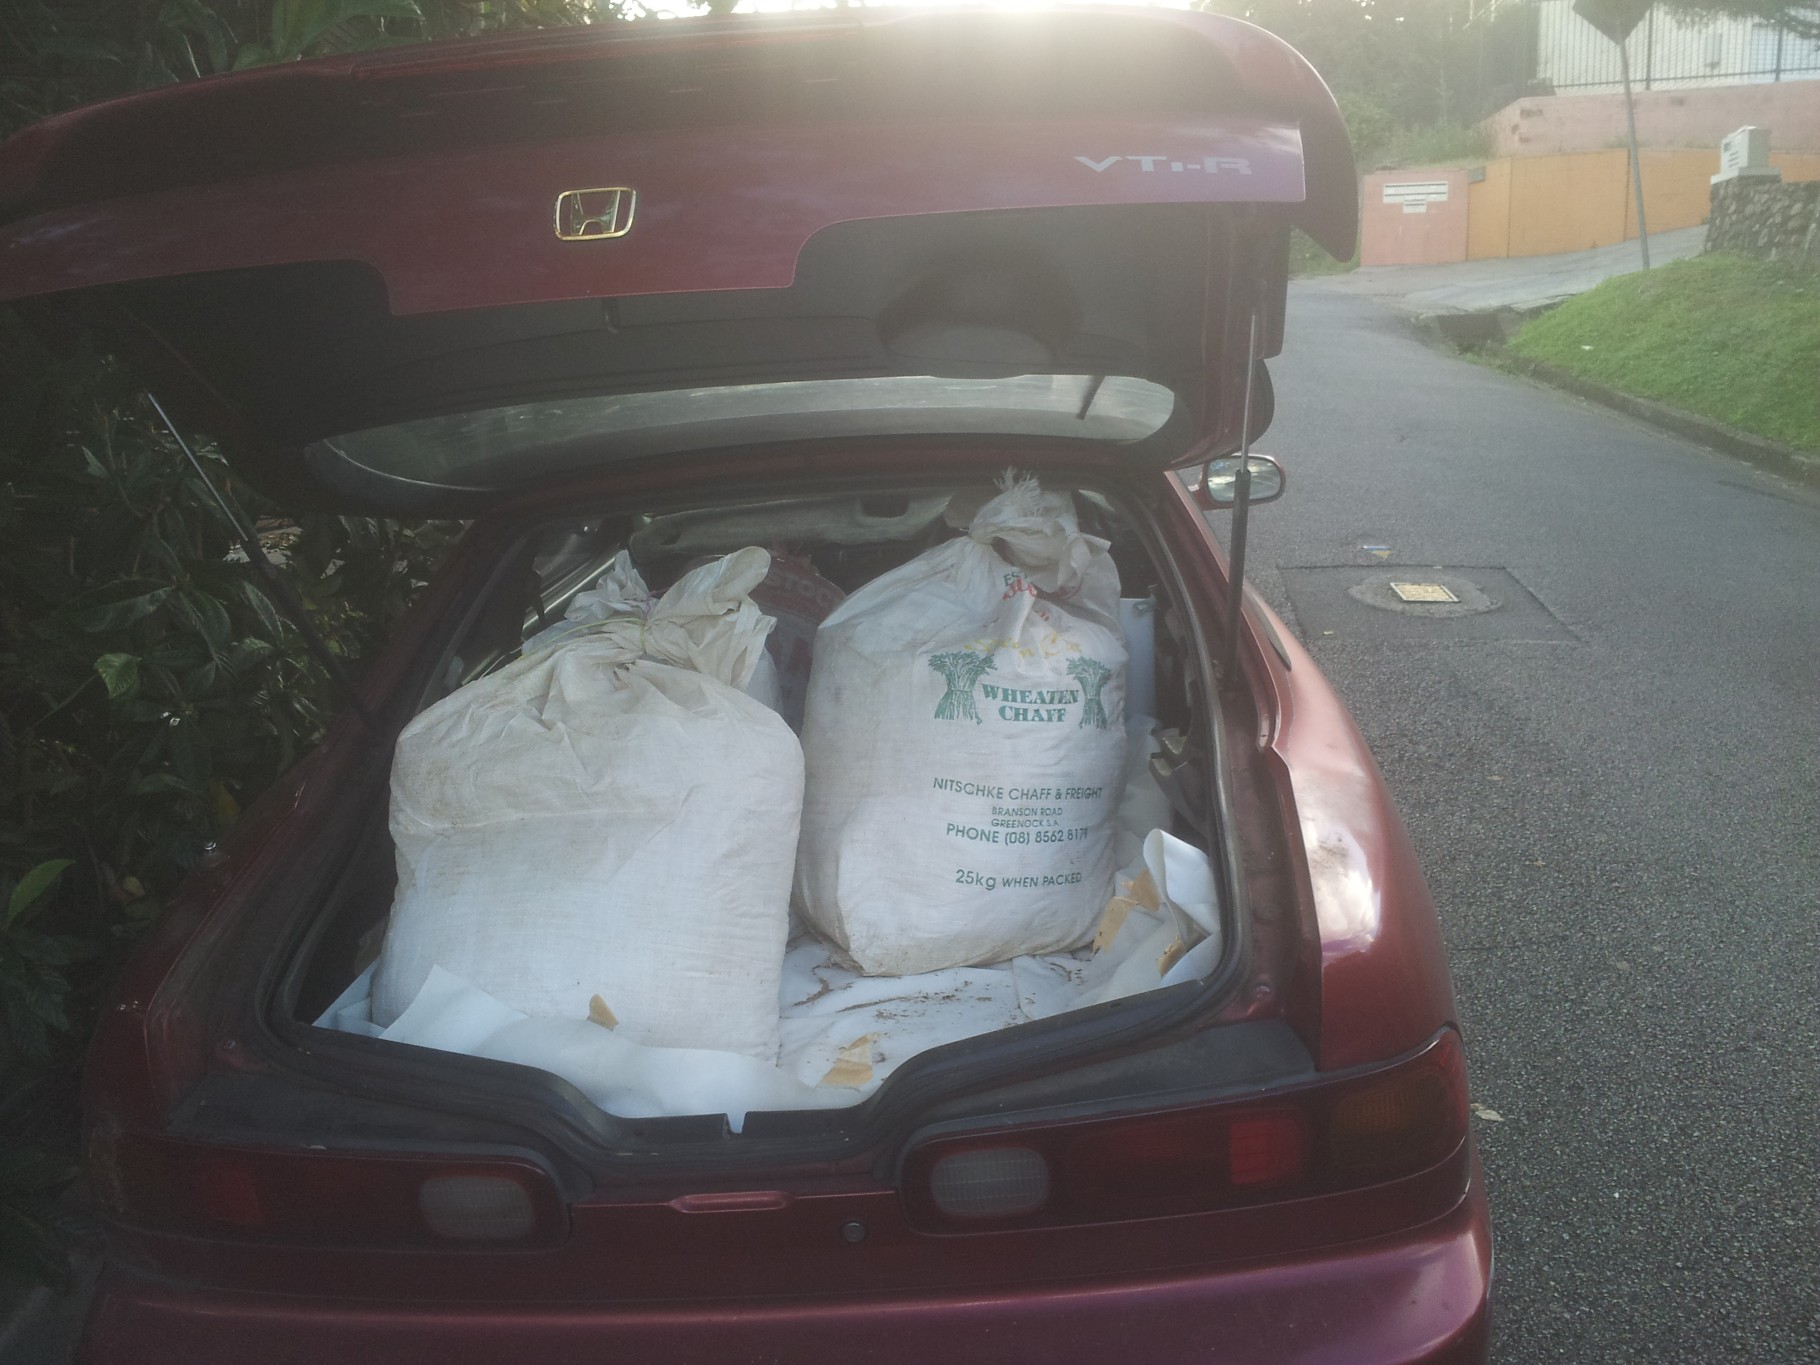
I had found an agistment place that was giving away free horse poo all bagged up and ready to collect. So I lined the Integra ute with 4 layers of vinyl and cardboard and went and collected 6 bags of what was really the least smelly horse poop ever. I imagined it was going to be the longest sickening drive home ever and had both front windows open as well as the sunroof, however the smell was barely noticeable. I still kept a shirt as a bandana over my nose in case of dust blowing around.
The last few layers were just horse manure, newspaper and sugar cane mulch with each layer watered in.


Next was the possum proofing top. Starting with a base frame to hold it all. The base frame dimensions allow it to sit directly on the top edge of the raised bed.

Using recycled fence palings the vertical sides and top of the cage were screwed together and then the whole unit attached to the raised bed using two galvanised gate hinges.

Here’s video of how it all works! I’m pretty pleased with it so far and it’s working well. No possum attacks on the transplanted veges just insects but that’s another problem.