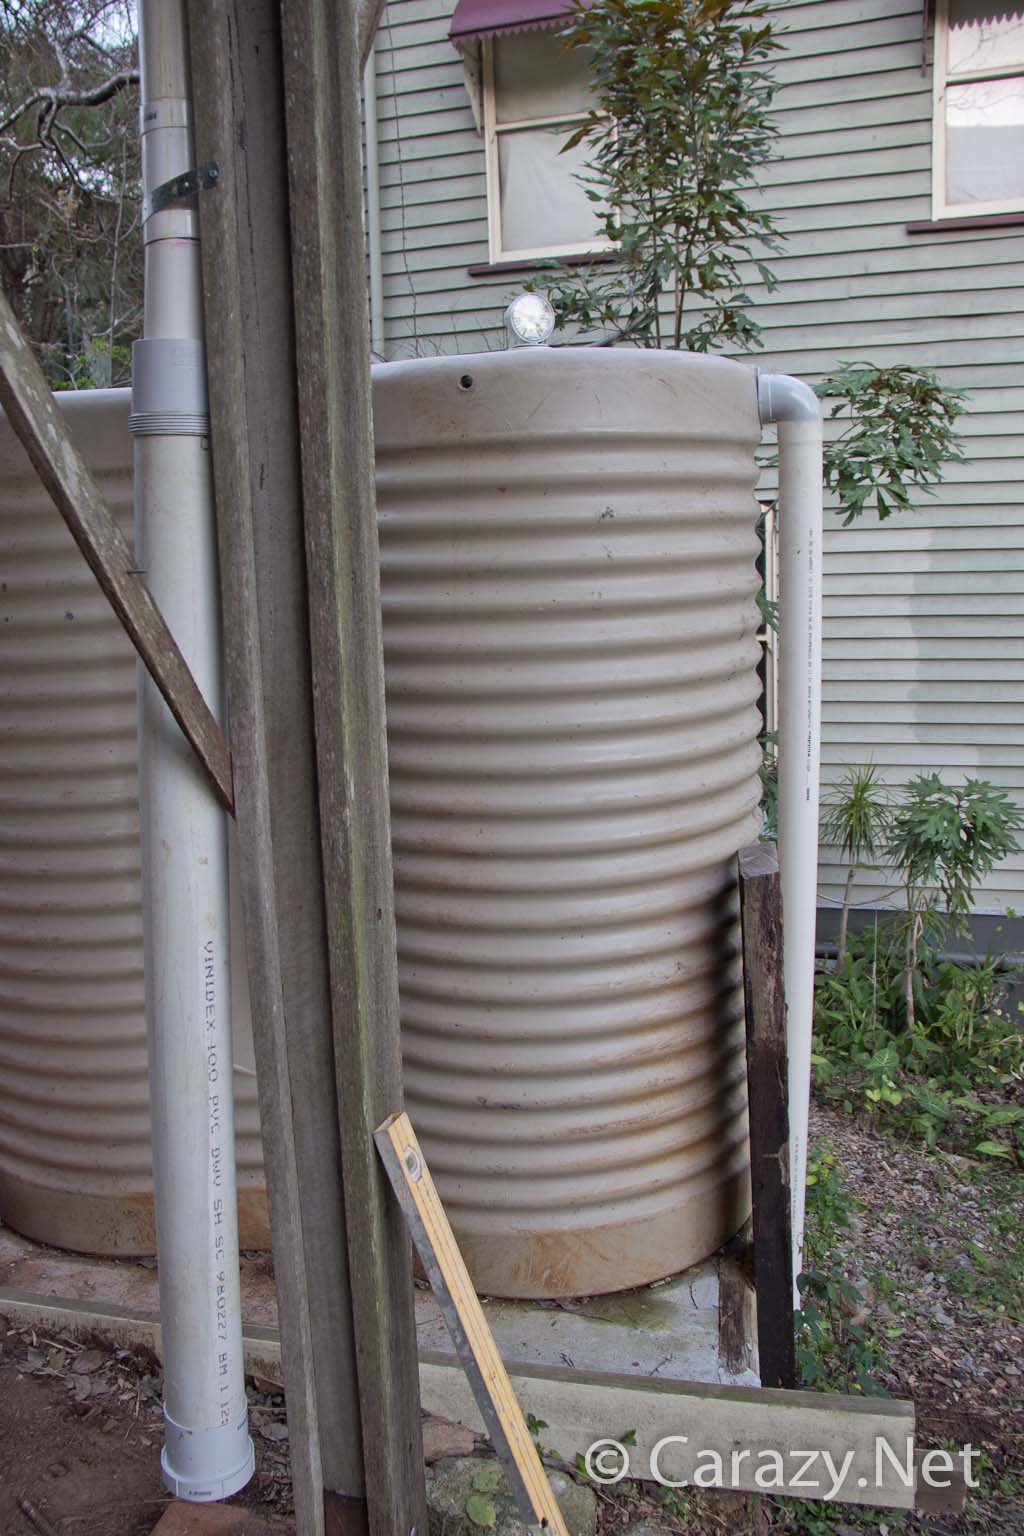
With the rainwater tank set up it was time to plumb it all in to collect the water from my gutters which are still clear thanks to my gutter mesh I installed over a year ago.
The mesh has 5mm holes in it to allow the rain to enter the gutters however all the dust and other fine sediment that accumulates on the roof during the dry suddenly gets washed off and heads straight for the tank in the first few minutes of rain. This fine sediment will become an unwanted sludge in the base of your tank and lead to clogging of pipes. To remedy this I built a first flush diverter. Now you can buy a 90mm kit for $27 but where’s the fun in that! Also not everyone has access to a cheap kit but can easily make one up using regular plumbing fittings and following these steps.
There are recommendations of clearing 0.5-2L per m² but I would need either 30m of 100mm pipe or a barrel to do this. I figured even a small amount would help so I went about gathering the parts to build my DIY first flush diverter.
Generally a first flush system is connected vertically down from the main plumbing via a T-joint fitting. Since I was using 90mm pipe I needed the top part to be a short 90mm section to slot into the T-Joint. This went into a 90-100mm adapter. Even though it’s expanding into 100mm I used the word ‘reducer’ because when you go to the shops and ask it may be labelled as such. The reducer is important for two reasons. It allows me to use 100mm pipe which gives me an extra ~5.5L for every metre length. Secondly, by putting a 92-95mm wide float in the 100mm pipe the difference in diameter is how the float will plug up the diverter when it rises to the top to allow water to then head towards the tank. A 100mm sleeve/coupling is then used to attach the reducer to the 100mm section of pipe that will hold the dirty water. Note: The coupling at the top does not need to be threaded.

I had planned on buying a 100mm styrofoam ball from the art supply store for $1- trimming the sides by 4mm and weighing the base down to keep the trimmed part to the sides. In hindsight if you’re doing this a cheaper easier way might be to just cut a 95mm disc from some old styrofoam box. I decided instead to make my own float from an old 1.5L water bottle that was destined for landfill. It happened to be a perfect fit being slightly over 90mm in diameter and I cut the bottle down in size and to reduce the space it would take up in the dirty water reservoir. It’s sealed tight with silicone and has a lid. It’ll sit flat and rise up and block the reducer opening.

The lower section of the 100mm pipe does require a threaded sleeve. A threaded cap is attached to this with the float inside the system. The screw cap allows you to periodically open the base up and clean out all the buildup of roof grime that’s in there.

I do have a proper drip fitting from an off the shelf kit that came with some recycled pipe but in the interests of testing a complete DIY I’m not installing it.
So I drilled a small 3mm hole in the centre of the cap. This allows water to slowly trickle out and empty the dirty water reservoir in preparedness for the next rain. I may need to increase this to a 4-5mm hole but I’ll work that out over the next few rainy days.

And here it is in action!
The tank filled up in one day! It’s amazing how much water actually lands on your roof in a few hours.

I attached a flanged overflow elbow at the top and angled it so the pipe would not drop straight down in front of the tap. (Poor choice of outlet positions from first owner/original installer). The overflow will be going to one of my swales.

At the base another elbow with a mosquito screen fitting.

I will eventually add some pipe and redirect all overflow water to my other swale.

The tank design is pretty poor in some respects. The tank roof has two large depressions that basically hold a heap of water making it perfect mosquito breeding spots. The right side is drained because I drilled a pilot hole for my tank gauge. I’ll be putting a tiny piece of cloth or geofabric on the other side draped over the edge to wick away the water.

I calibrated then attached a tank gauge by placing it atop a small section of capped pipe. Note how I didn’t silicone all the way around the base. This allows water but not debris to seep under the rim and into the tank via the hole the gauge’s plumbob /float goes in. The riser also allow me to see the gauge as placing it in the roof depression obstructs viewing from ground level. I wanted a gauge because I’ll be using this as a primary water source attached to timers so I need to know when it’s time to switch to mains water.

And here’s the whole setup done and dusted! Time to smash another of the dozen or so projects I’ve got lined up.