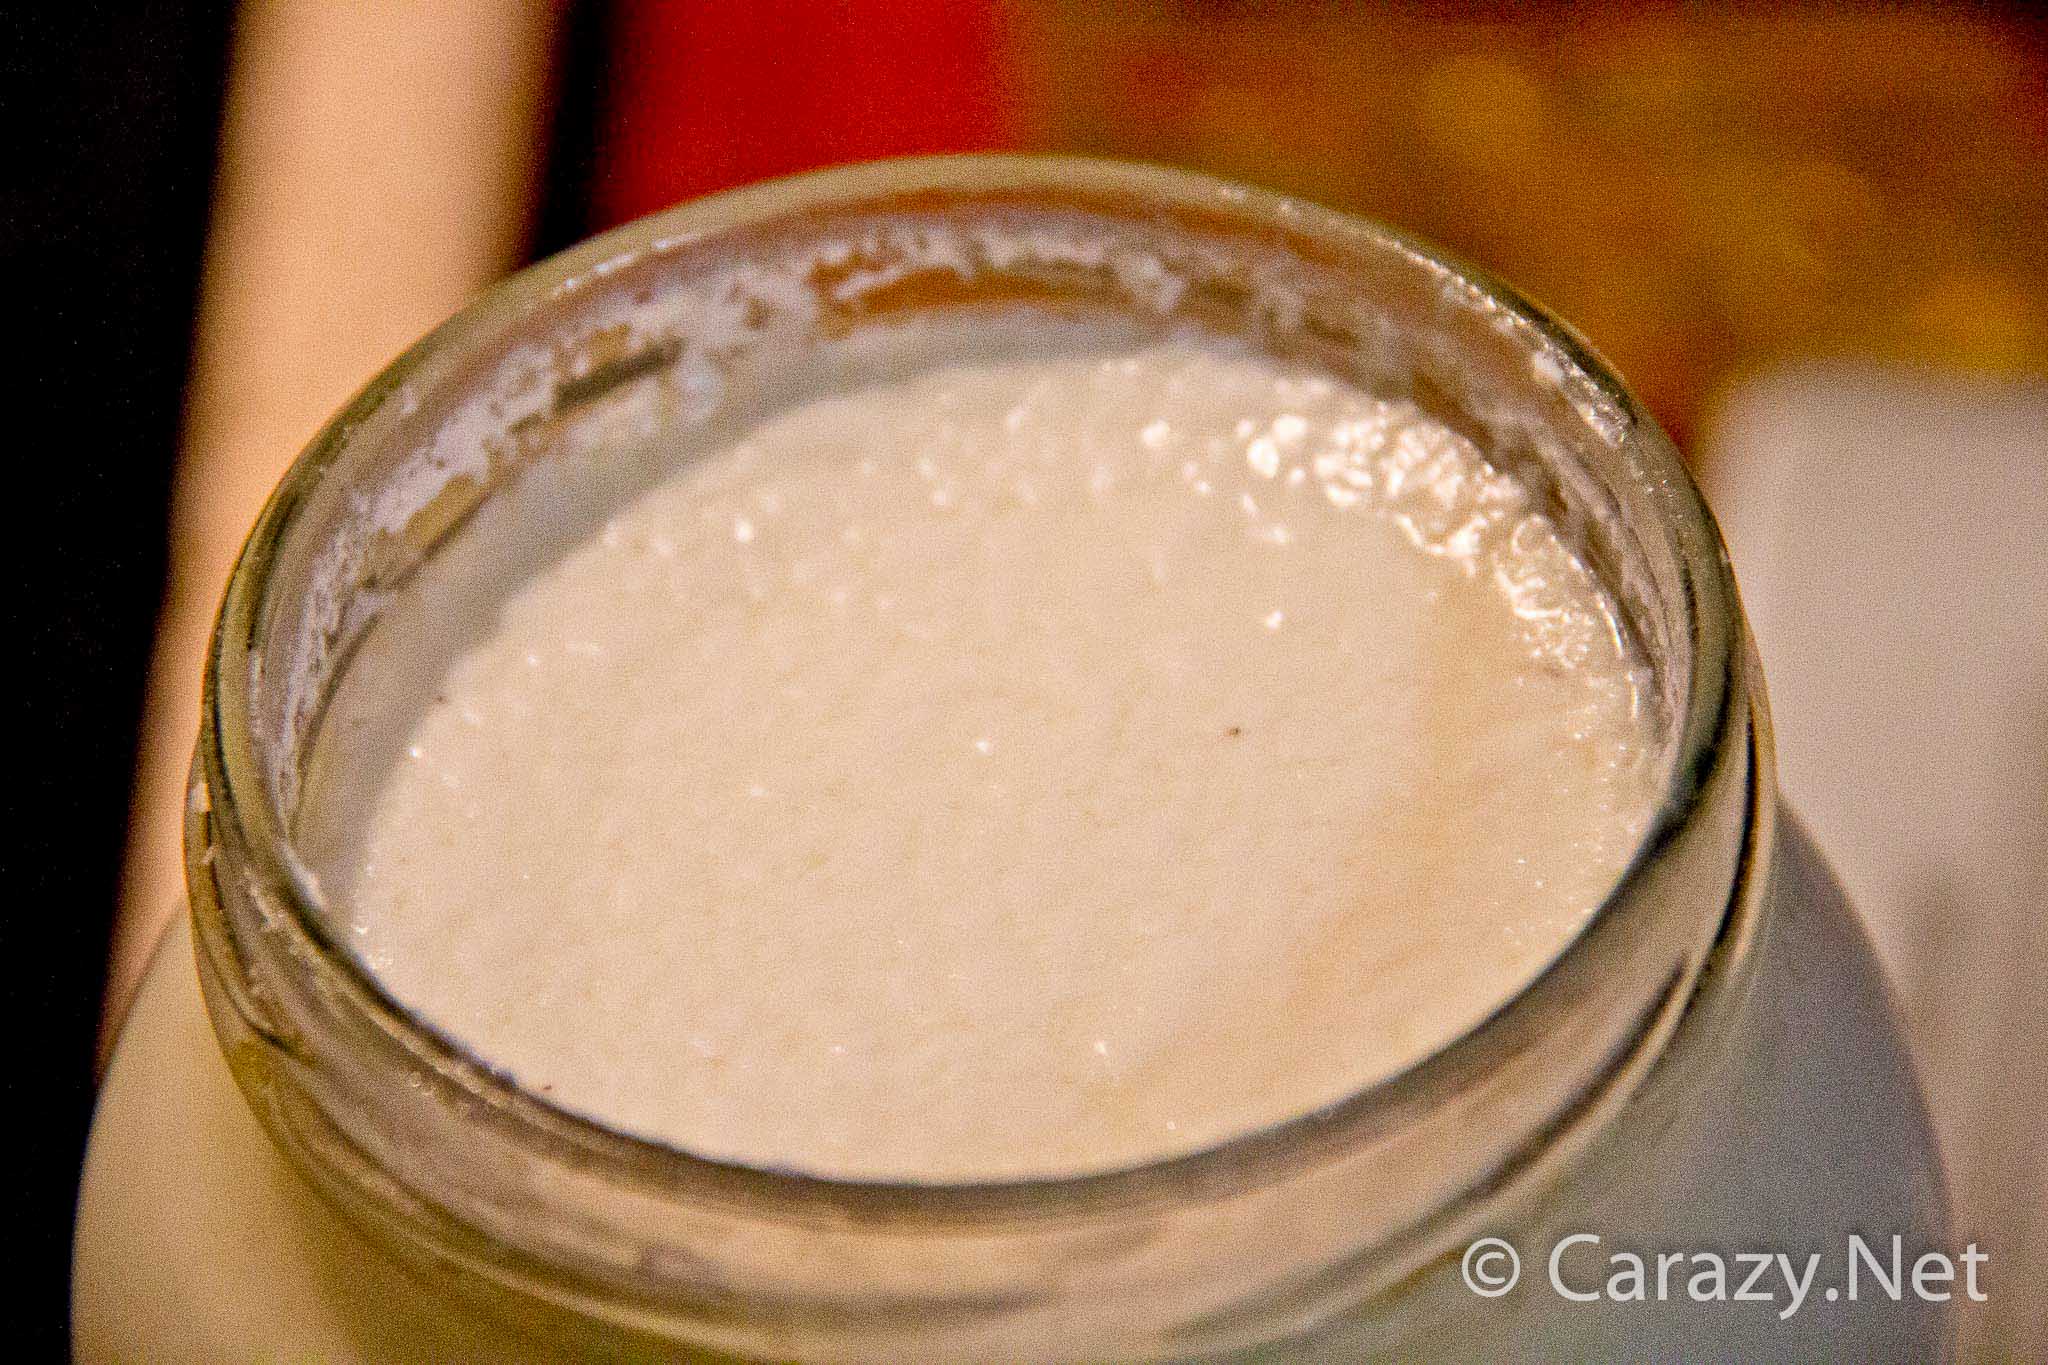
When I was growing up we always had yoghurt in the fridge. It’s so cheap and simple to make. Some people stuff around with getting their milk to 67.84341°C and then trying to maintain temps while it forms. My Mum would mix a tablespoon of yoghurt into a bowl of milk, cover it in cling wrap and shove it on a shelf out of the way. 8 hours later it was yoghurt and ready for the fridge. No thermometers no special tools.
Mum’s Method
Place milk in bowl.
Mix in 1 tablespoon of yoghurt.
Leave in warm place for 8-10 hours.
Refrigerate for at least 4 hours before use.
She would always keep a tablespoon or two aside as the yogurt got near the end to use as starter culture on the next batch. It was like some sort of magical infinite yoghurt loop! Needless to say if we were little pigs and finished off the tub before she had taken out the starter culture we’d be reprimanded.
It was always very warm in Papua New Guinea (where I spent the first 8 years of my life) so the shelf was fine. Here in Brisbane the temperatures are a bit cooler and so I opt to use an esky (beer cooler) filled with hot tap water. This allows me to make yoghurt even during the winter months.
Making your own yoghurt is incredibly simple.
My Super Thick Yogurt Method
Ingredients
1 Litre Milk
1 Large Tablespoon yogurt from your last batch of yoghurt
1 additional Cup Powdered Milk (Optional but well worth it if you want super thick yoghurt)
METHOD:
Place milk in a large clean jar.
Add milk powder and mix thoroughly till it’s all dissolved in.
Whisk the tablespoon of yogurt with your spoon/fork so that it is smooth and runny then add into milk mixture.
Place jar into a small beer cooler. We call them an esky (eskies plural) here in Australia.
Fill with hot water till just below the lid. Cover and wait. (You may need to take out half the water after 4 hours and put in more to keep heat up.)
8 -10 hours from your starting time carefully take out the jars and place in the fridge to set. Do not shake or move the jars around too much as the yogurt will break up and not set properly.
Several hours later your yogurt is ready to eat!
Make sure you save a tablespoon of the culture from this batch to make your next batch!
————–
Notes:
– I love my yoghurt thick and creamy so I add milk powder. I usually make the whole thing out of milk powder! Yes it works just as well. If the milk powder packet states use one cup of powder to 3 cups of water, I make sure my mixture is more concentrated. So for a litre of yoghurt I’d do 2 cups of powder to 4 cups of water.
– Break up the starter yoghurt before putting it into the milk. It won’t be lumpy and will mix through better.
– Shaking the jar vigorously causes lots of bubbles to form. The powder will often be suspended in the bubbles and not mix through which is why I suggest stirring it in to dissolve the powder.
I have used stick blenders as well.
– The longer you leave it in the warm place the thicker and tangier the final result will be.
Some other warm places
If you have warm summers the kitchen bench should be fine.
Sunny window
In the car in the sun (Don’t go driving with it though!)
(I have used yogurt and yoghurt interchangeably throughout this article so that anyone searching for it can find it using either spelling, both are correct)


