Bokashi! No it’s not a weird Japanese game show, although it was created by Japanese Professor Dr. Teruo Higa. Bokashi is the fermentation composting of kitchen waste in an anaerobic bin. Normally anaerobic breakdown of material involves putrefying which means the horrible rotting stench of decomposition.
I had read about Bokashi composting and liked the idea but was put off by the idea of the expensive little bin (~$130 at the time) and the need to continually buy their special EM (Essential/Effective Microbes) powder. You essentially put kitchen waste in the bin and sprinkle the special EM powder over the waste to inoculate it with the microbes. Then seal the bin shut from air. Each time you add a thick layer of scraps you add the EM powder. It’s so efficient you can even compost meat and fat in there! Pretty much any solid kitchen waste except bones.
The leachate juice is an amazing concentrated fertiliser that you dilute with water and feed to your plants. The juice is also a great drain cleaner as the bacteria will feast on the food goop you’ve let slip down the kitchen sink. Once the bin is full, the fermented waste can be buried in the ground where the bacteria continue their work. They rapidly breaking down the organic matter faster than would normally happen. The bokashi waste can also be fed to worms so can complement vermiposting.
In January 2012 I got really lucky and happened to pick up a Bokashi bin on freecycle for the amazing price of zero dollars. The lid needed a little silicone and the tap wasn’t very well built but it was a jump start into a whole new world that I would otherwise have put off doing.
It doesn’t look very pretty but it was free and it’s been sitting outside my kitchen door fermenting for me for two and a half years, with more to go.

With bin in hand and kitchen waste available, all I needed was my EM inoculant. Even making it from EM concentrate would be fairly expensive long term, but persevere in your research and eventually you find the answer. I initially made my home made EM powder using Method 1 here, but over time have developed an infinitely easier way.
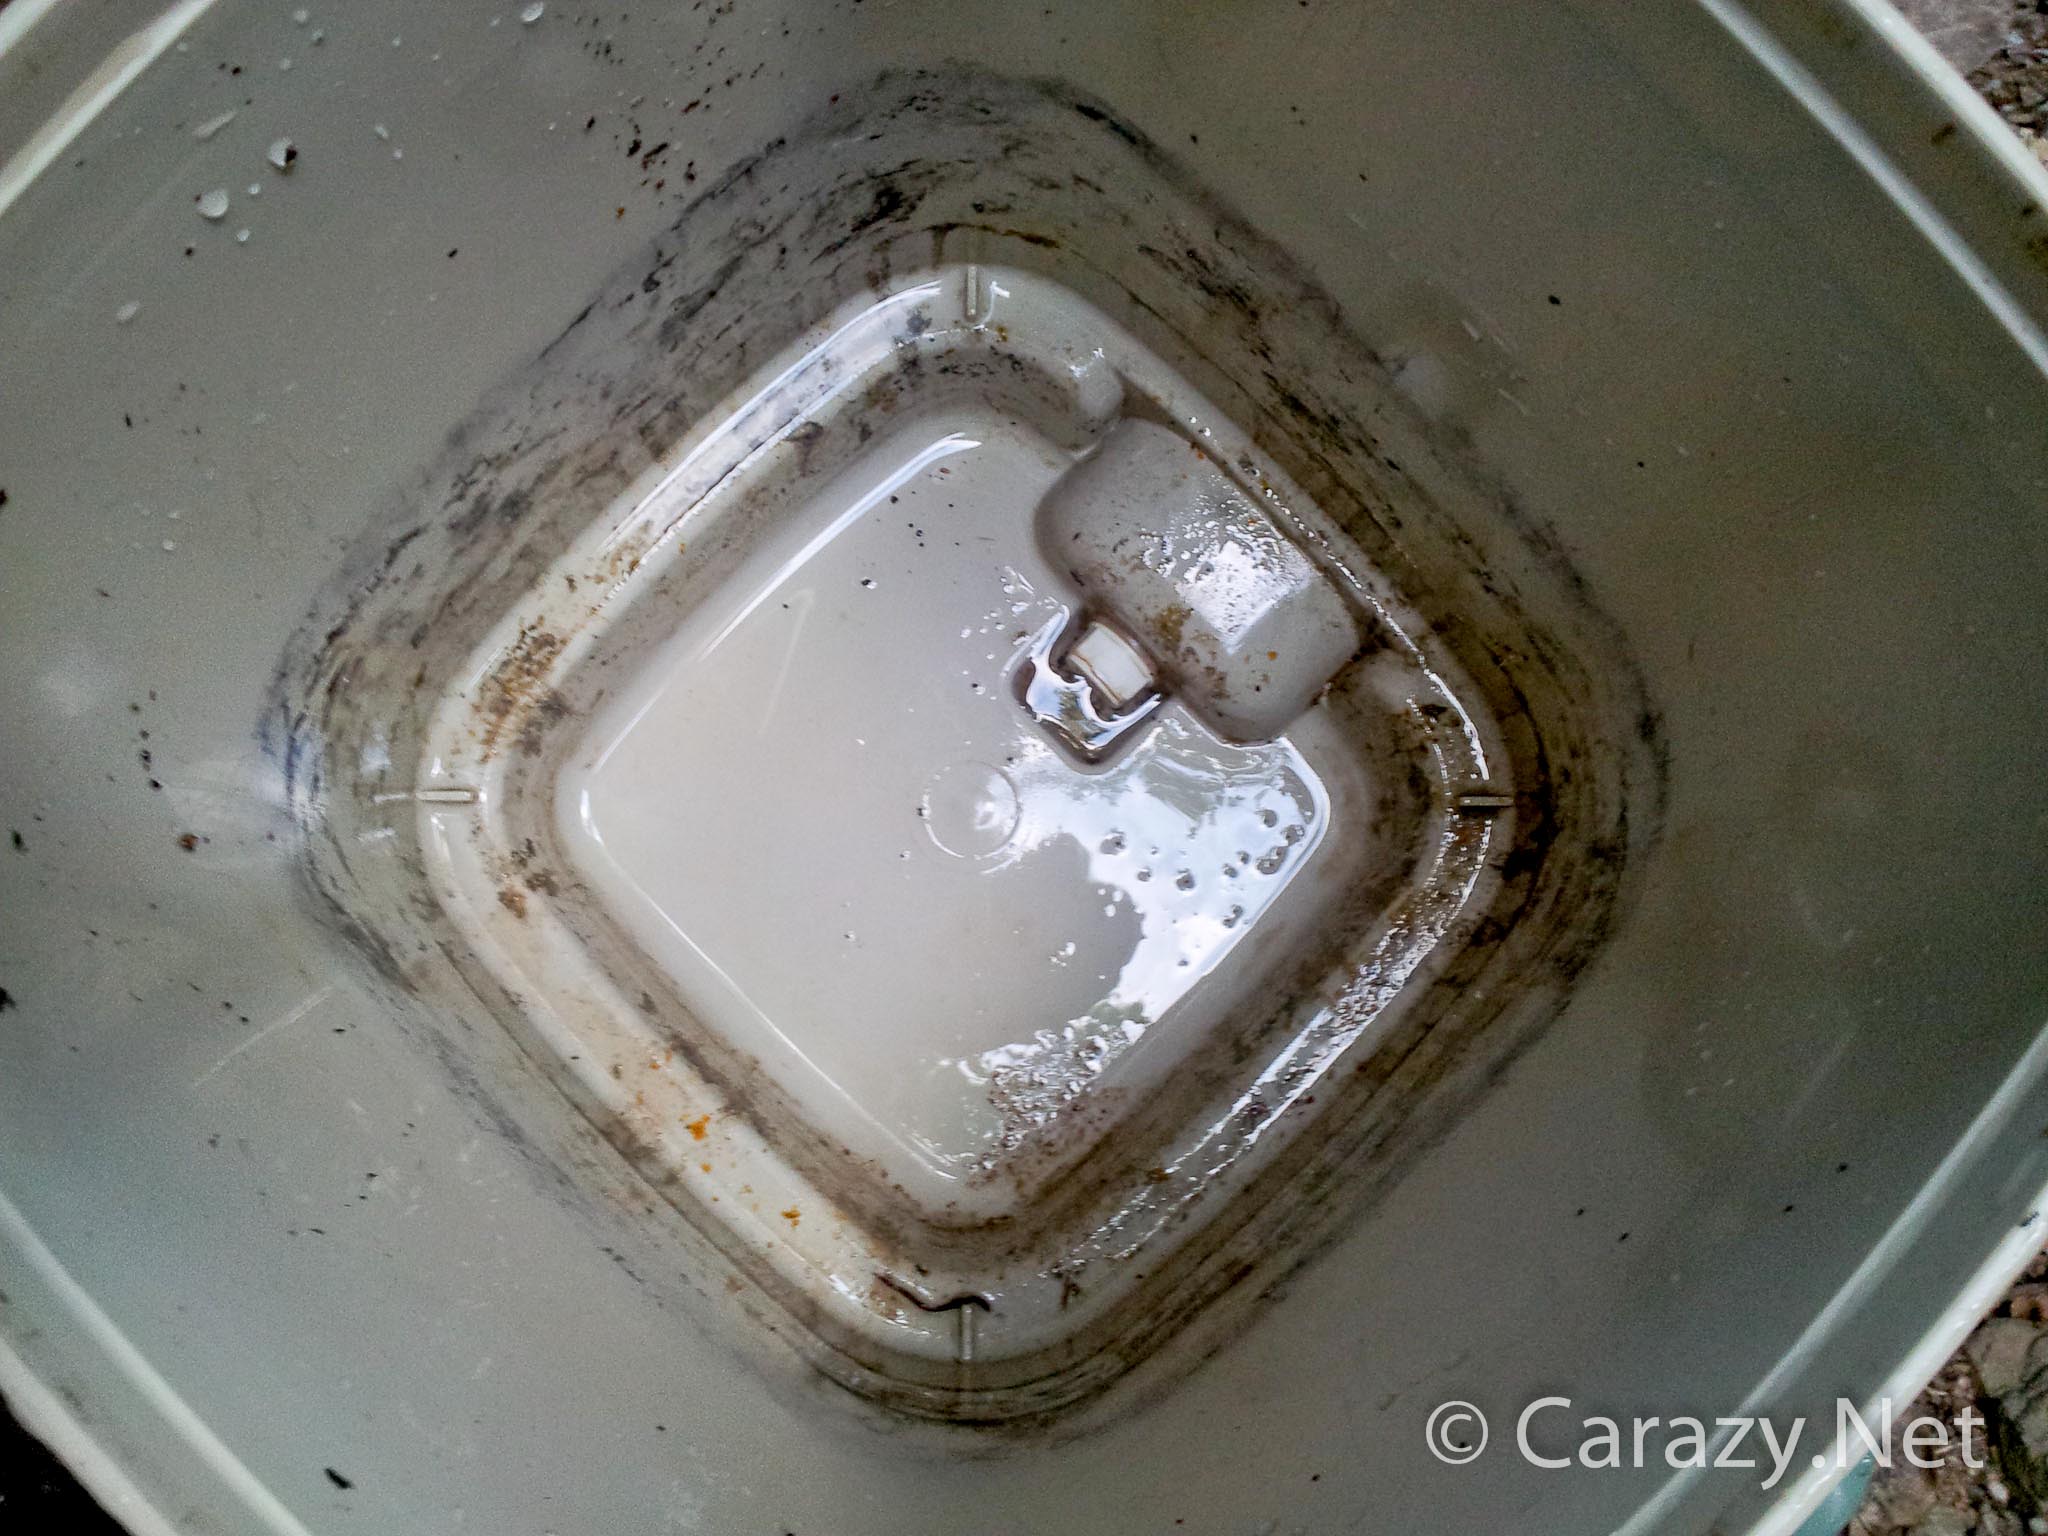
This is what the bokashi bin looks like inside with the strainer removed. The low area below the lip is where the excess juice drains to. The white nut holds the tap in place.
The strainer sits on the lip and has a ring pull handle in the centre to ease lifting it out.

All that’s required now is to add your kitchen scraps and begin the layering process.

The bin would fill extremely quickly and I’d have to bury it in the ground just as the juices were getting going. The upside of pre-fermented compost is that the bokashi bacteria continue their good work underground. Almost all the organic matter will break down to nothing much faster than if it were just regular scraps buried. (Large woody chunks like avocado seeds and fibrous material don’t break down as easily so now I implement the habit of chopping up my composting material into smaller bits before I add it to the bin. This is best done while you’re preparing your food and have the cutting board and knife out.

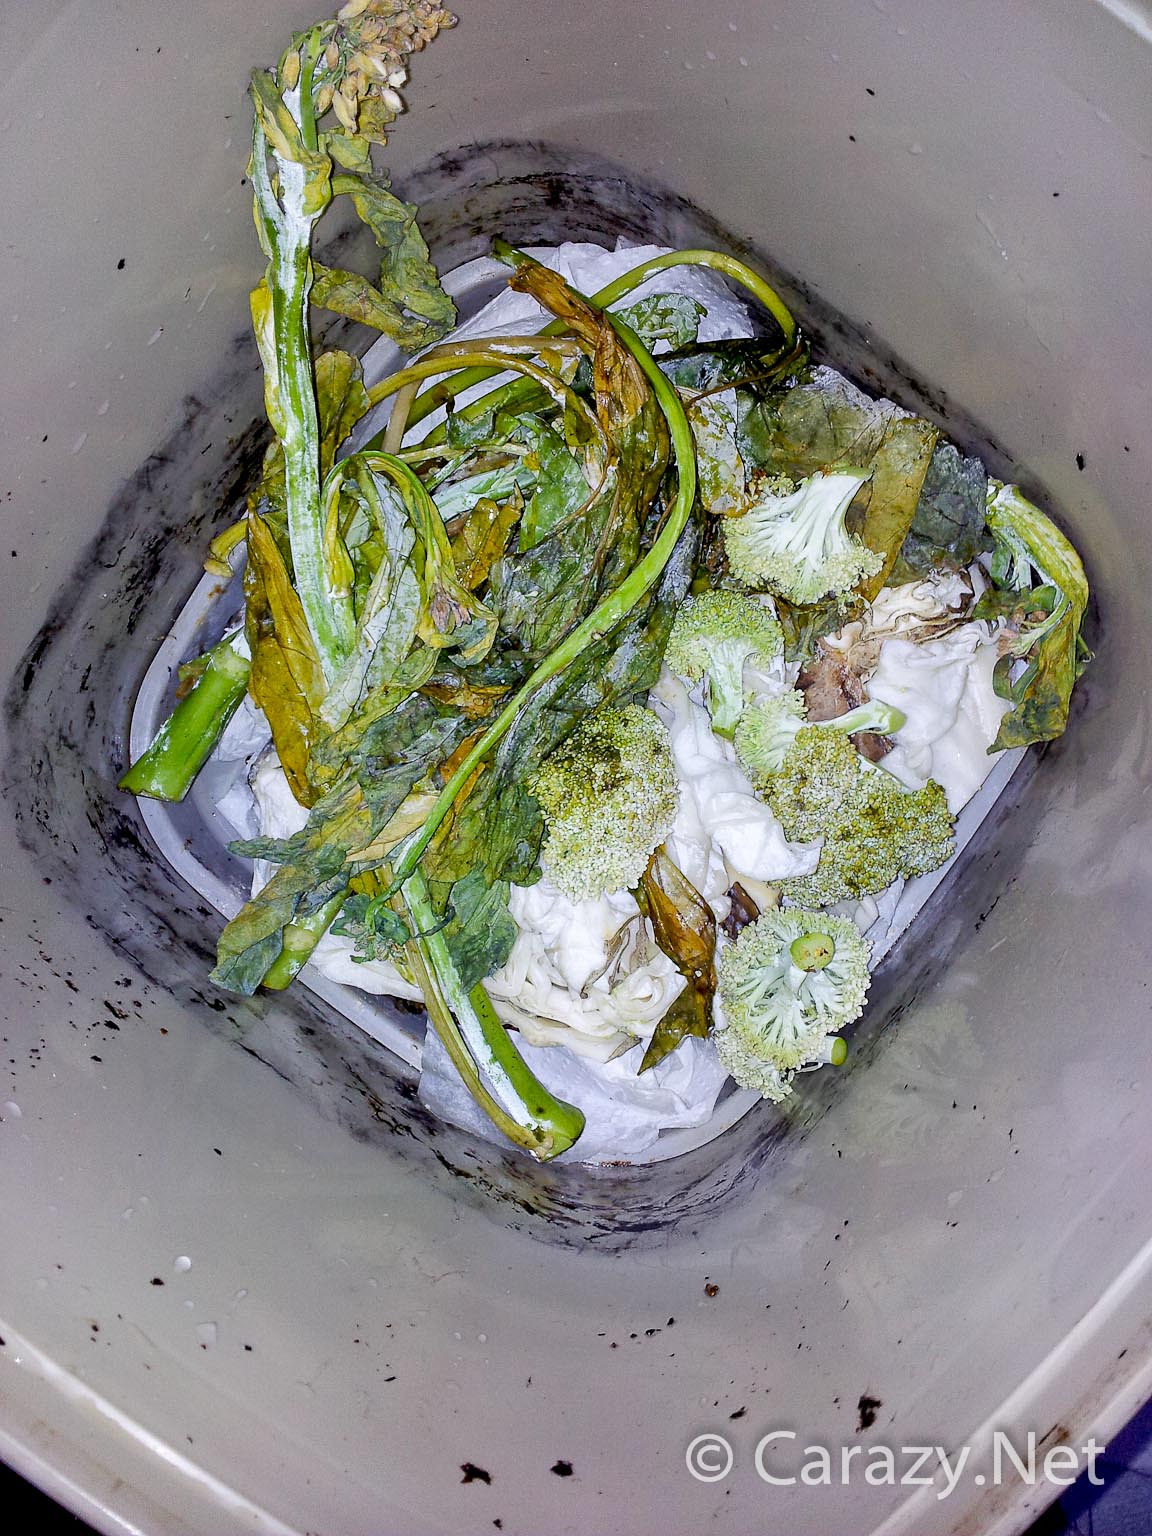
I decided I really wanted the juice for fertilising, more than I wanted simply pre-fermented waste, so I decided to leave it going. It was fine for a while until the tap started turning loosely in the socket when I tried to extract the juice. I tried repairing it a few times to no avail. I got the leak stopped somewhat but ended up forgetting about it and it sat there for most of the year. When I finally opened it up it was a thick slurry but smelt the same which was good in that it hadn’t putrefied. I’m guessing the bacteria ran out of food and it would have just been sitting in the acidic juices pickling. You can see the only discernible shapes are corn cobs and eggshells.

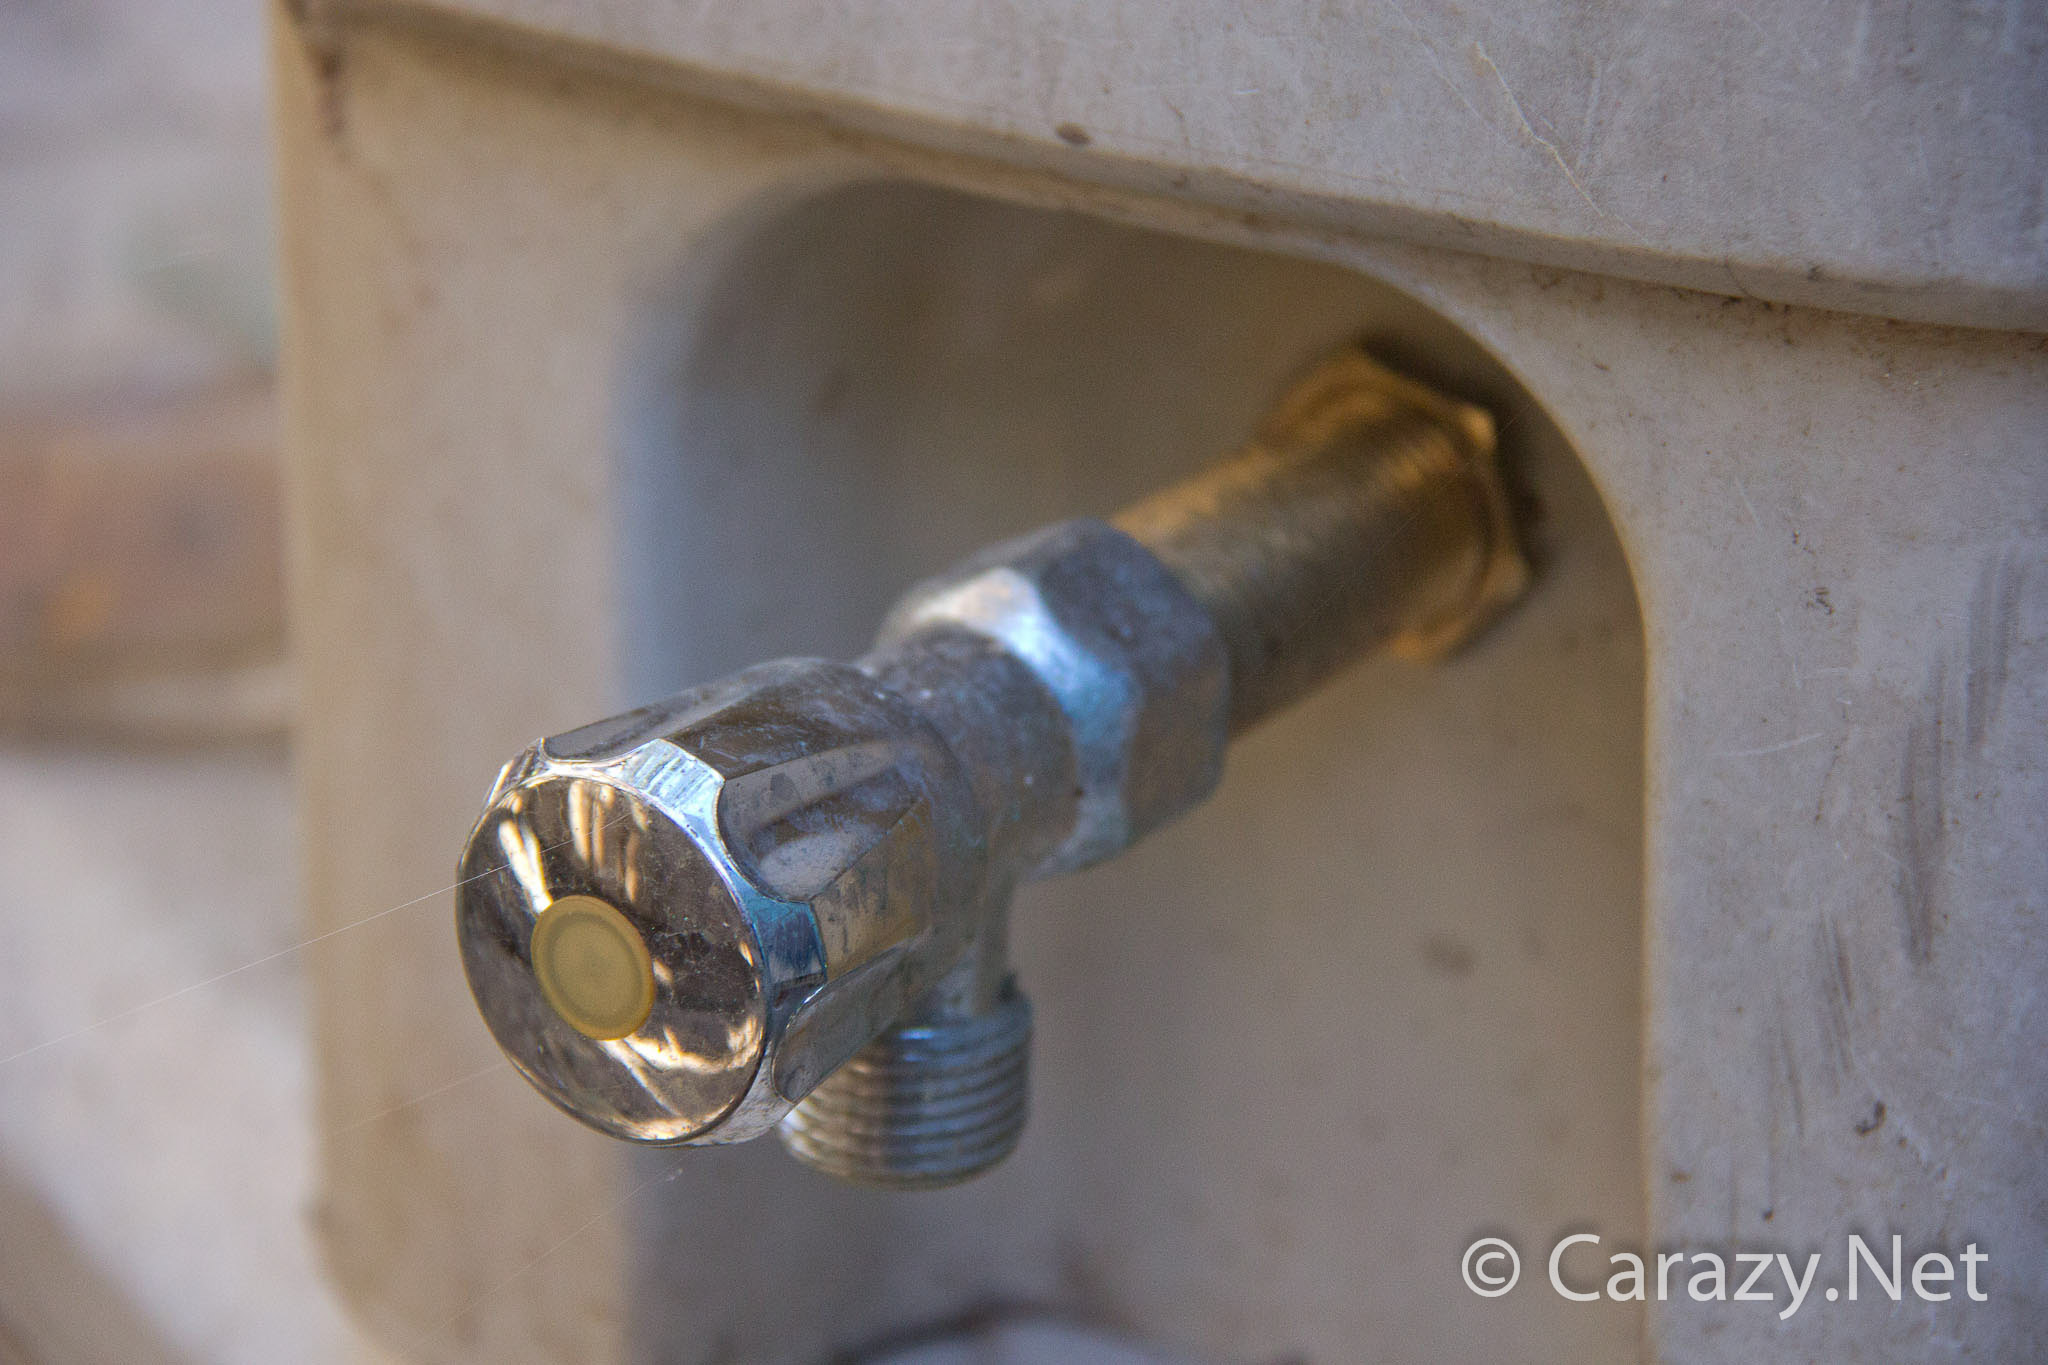
The original tap, despite the recess, is still awkwardly close to the sidewall such that whenever I tried to fill my watering jug, juice would trickle everywhere. To get around that I would have to move the bin precariously to the edge and hope the weight of the bin didn’t cause it to teeter off the edge and explode on my boots.

When the internal nut cracked while I was tightening it trying to stop the leaking tap, I decided the replacement original tap was too expensive for such a flimsy design. I retrofitted it with a long 15mm brass threaded pipe to extended the tap further out, two locking nuts and a chrome cistern stopcock. It was around the same price as a genuine one but my version will outlast the bin. If you do replace it make sure the tap turns 90° downwards.

Bokashi composting is awesome. It allows for a great deal of neglect (unlike the poor worms in the past who’ve forgotten to be fed by yours truly). It was originally designed for small apartments and as such has an extremely small footprint. Some people don’t like the strong smell. Personally I describe it like sickly sweet over-ripe pineapple that’s been pickling in vinegar. There is a lot of generic information out there on the interwebs about this style of composting. Have a read of it and if it appeals to you come back here because my system is extremely easy to use and free (almost). If you’re cashed up and/or couldn’t be bothered creating the EM serum like I have on this page then then by all means buy the pre-made bokashi powder. Either way your garden will love you. If someone has come across a cheaper and easier way than mine let me know!
I’ll also show you how to make your own extremely cheap Bokashi bin using some basic stuff from the hardware store and/or around the house.
Have an awesome day!

