
This is an addendum to the post Setting up the wicking bed with modified large capacity reservoir
There are a number of ways you can go about building a wicking bed. Many of the decisions involved are to do with what media you will use.
Living on a limited budget I spent countless hours looking at free alternatives to the many options available. Some friends had to sandbag their house from flooding so once they were done, rather than throw the bags in the tip, I asked if I could re-use it.
When the time came to start filling the wicking beds I had a quick attempt at washing the free sand as it was extremely silt & clay laden. The process took so long, used far too much water for my liking and the sand left was still not cleaned to my satisfaction. So I came to the decision that I’d have to purchase the wicking media, but how to do it without breaking the bank? Some serious number crunching was needed.
-
THE LOWER RESERVOIR WICKING AREA
DESIGN
I chose to use plastic crates wrapped in geofabric for two reasons. Firstly it would create a large void where only water would sit, allowing for greater availability of water, especially during periods like holidays where I wasn’t at home for a week or two. Secondly the more space taken up by the water reservoirs meant less wicking media was required to be purchased. So to maximise this I opted for two large voluminous cavities per bed. I calculated that the double chambers would use up around 125L (33gal) which was half the volume of the reservoir area so that was pretty awesome.

MEDIA
I needed to find out how best to fill the remaining 125L/bed. I looked at scoria, pebbles, sand and numerous other aggregates and the best pricing I could get was around the $50 mark for a 1/2m³ which is roughly what I’d need for all three beds. If you’ve read some of my other posts you’ll know I live on a ridiculously steep hill. There is no access with a vehicle which means any bulk material that needs to move around my property means I carry it by hand. So I needed to minimise what could be an extremely painful workhorse experience while also not blowing ridiculous amounts of money.
I’ve only just recovered from pulling the muscles in my back a few months ago. That combined with the memory of helping a friend bucket by hand, a tonne and a half of gravel uphill to sort out some drainage issues that left me with back spasms, highlighted how much I really didn’t want to deal with heavy materials. I weighed the sandbags I had and 15L of volume weighed 20kg’s. That would mean I’d have to carry a minimum of 500kgs of sand in buckets just to do the three beds. Erm, no thanks.
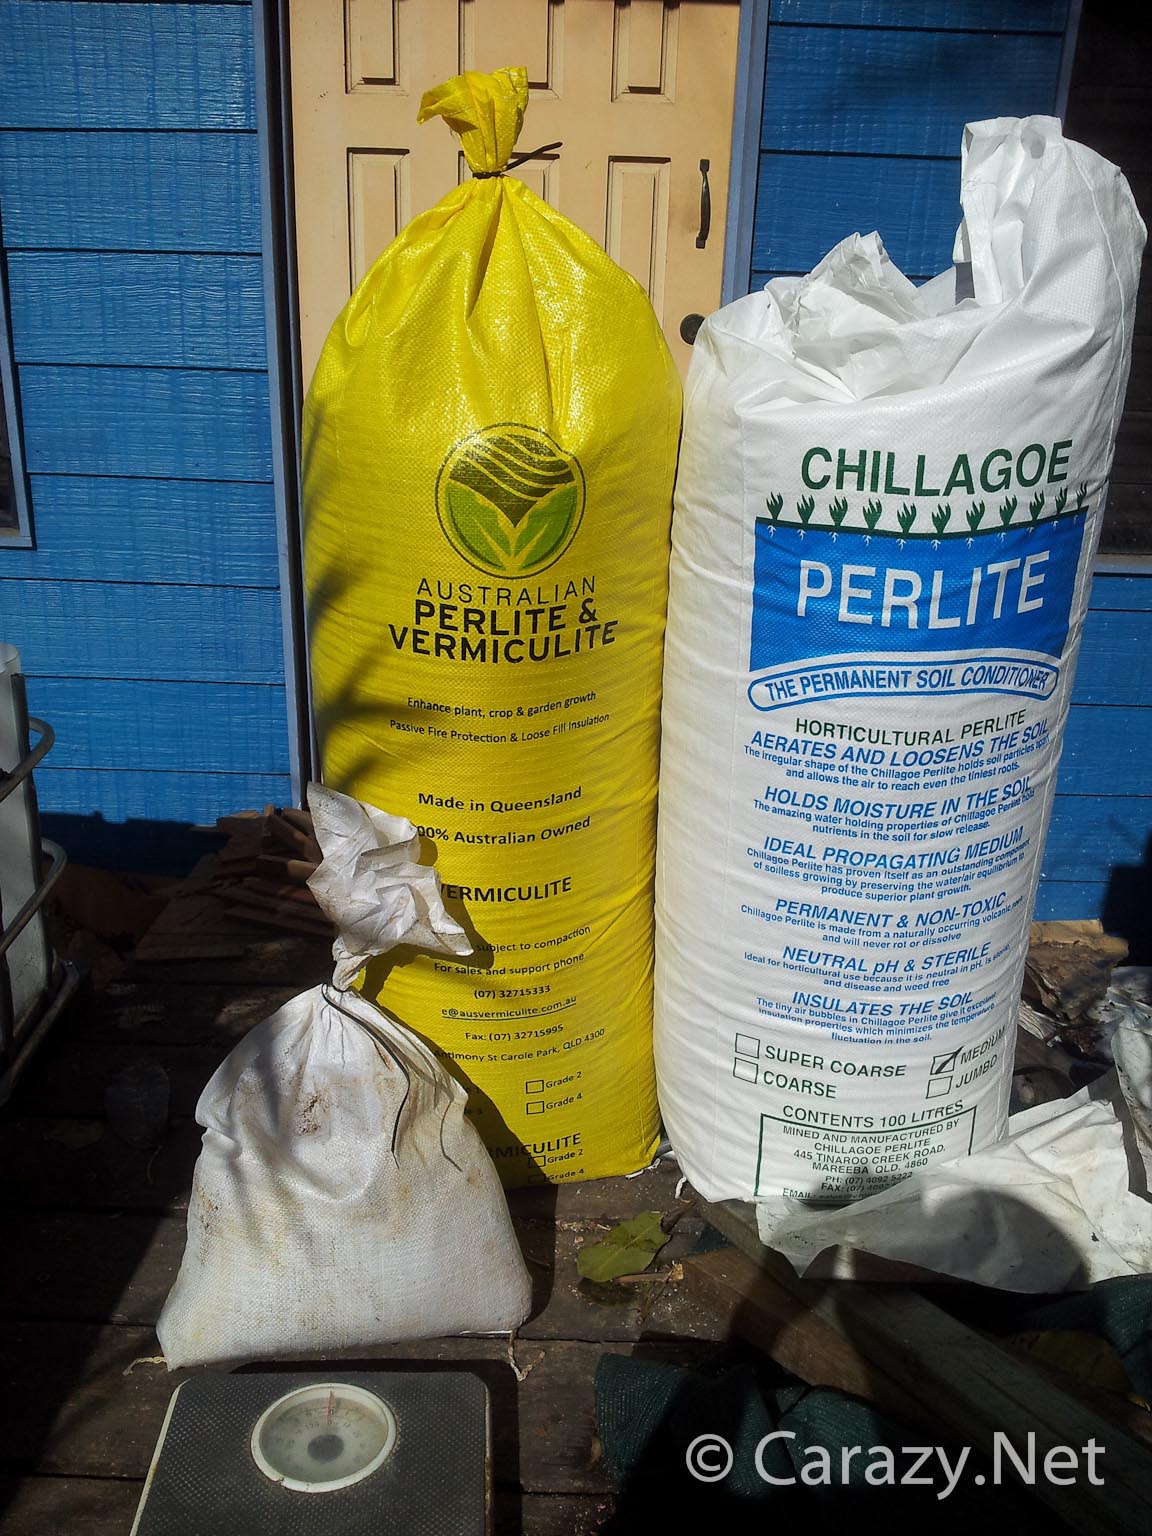
So I went into my interwebs research wormhole checking out perlite and vermiculite. Both are made by taking a raw mineral and heating it up to an extreme temperature until it basically puffs up like popcorn. The main differences in properties is that perlite is able to hold water because it is highly porous. It also holds it’s shape extremely well over time. Vermiculite absorbs water and holds it in more like a sponge however it compacts and deteriorates over time.
Perlite’s porosity allows an easier release of the water within it and as such it has great wicking capabilities. Combined with it’s relative structural strength it was the best choice for the bottom section. Vermiculite has a tendency to hold water within itself due to absorption so it was better suited to hold water where it least wanted to stay, in the upper section. It’s weak structure meant it wasn’t suitable for the reservoir.

| SUBSTRATE | SIZE | UNIT WEIGHT | Amount Req’d | Total Weight if purchased | COST |
|---|---|---|---|---|---|
| Perlite | 100L (3.5ft³) | 4kg (9lb) | 400L (14ft³) | 16kg (35lb) | $100 |
| Vermiculite | 100L (3.5ft³) | 9kg (20lb) | 200L (7ft³) | 18kg (40lb) | $50 |
| Sand | 1/2m³ (18ft³) | 750kg (1650lb) | 400L (14ft³) | 600kg (1320lb) | $50 |
| Coir | 1Block ~ 60L (2ft³) | 4kg (9lb)dry | 600L (21ft³) | 40kg (88lb) dry | $75 |
| Garden Soil | 1m3 (35ft³) | 850kg (1870lb) | 900L (32ft³) | 765kg (1683lb) | $65 |
I used weights and volumes for the sand and topsoil from a local landscaper supplier who fortunately had both in the description (For some reason many Australian landscape supply places sell bulk soils/sands etc by the tonne which is odd because they don’t actually weigh it when you buy it). The sand was washed river sand which was the same price as other sands but clean and garden soil the cheapest available.
I put topsoil in there just as a comparison but the price was pretty much the same as coir so it played little part dollar wise but a lot with sheer weight.
So assuming the top section was going to be a coir/vermiculite combination for either setup, then the only price difference would be $50 extra for using perlite instead of sand. Given the difference of 584kg (1285 lbs) of materials handling it was pretty much a no brainer.
** The cheapest combination is of sand and garden soil with a saving of $110- over a perlite/coir/vermiculite combo, but the choice between having to shovel nearly 1.4 tonne vs 74kg of bulk material is worth paying the extra money.
** I got a really good price on my perlite and vermiculite as it was a bulk purchase so in the interests of a fairer retail comparison it would cost an additional $32 on the perlite total above plus an additional $16 for vermiculite. Still worth it!
Perlite looks and feels like irregular shaped styrofoam bean bag beans. It’s pretty awesome lifting those giant bags with ease.

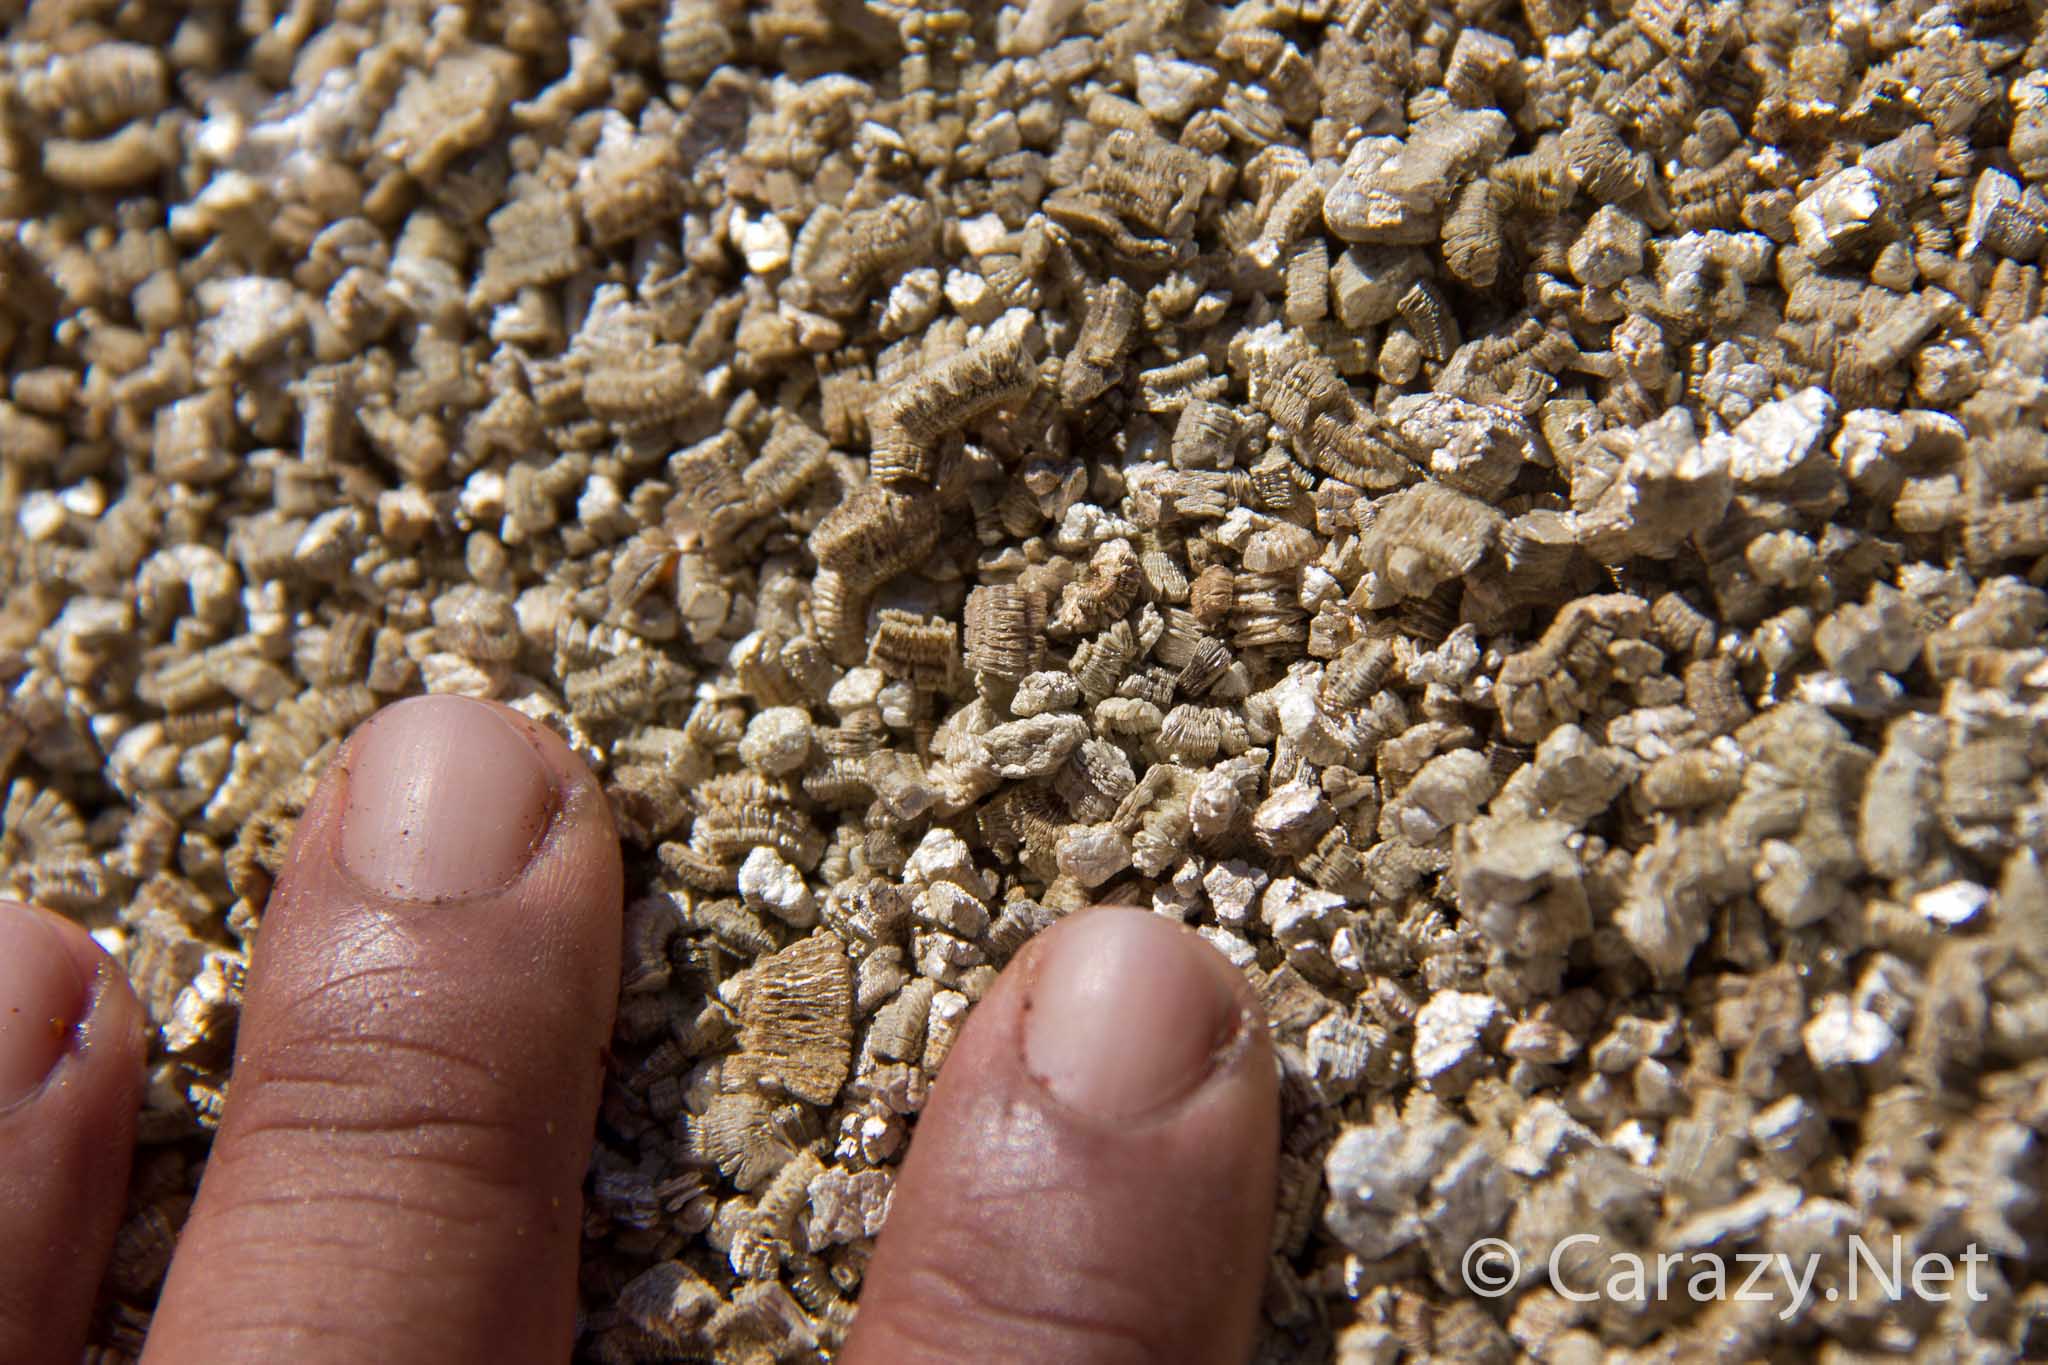
Strangely the heavier vermiculite is much softer in that you can squish it into a paste with your hands. Much like a sponge I guess which is what it mimics.
Here’s a closeup of the coir. It feels like fibrous sand and barely sticks to your skin like wet dirt would. Because of it’s wicking capabilities, some people use it in the reservoir. I considered it but it comes in a highly compacted block which means that under weight it can compact a lot so perlite was still the better option.

The best part of all of this is that leftover coir and vermiculite combine to make a fantastic seedling mix!